


A couple weeks ago, we created our first — drum roll please — 3D sign. Well, technically, two 3D signs. One was a smaller version of the other.

Three-dimensional sign
The signs were created for Lendlease, a property group specializing in project management and construction, real estate investment and development. We used max metal as the base of the sign and acrylic for the logo’s layers and words. We did not install the frosted acrylic (above) to which the signs were attached, although it looks very cool with the max metal art.
Although the word “3D” sounds intimidating, the production of these signs was relatively simple and straightforward.
Step 1. Print the max metal base
The first thing we had to do was print the max metal base. We used our VUTEk machine to do this, as it can print on most rigid substances up to 2″ thick. We printed an outline of the Lendlease logo to ensure Brook (our wide-format printing whiz) placed the acrylic parts in the exact right place.
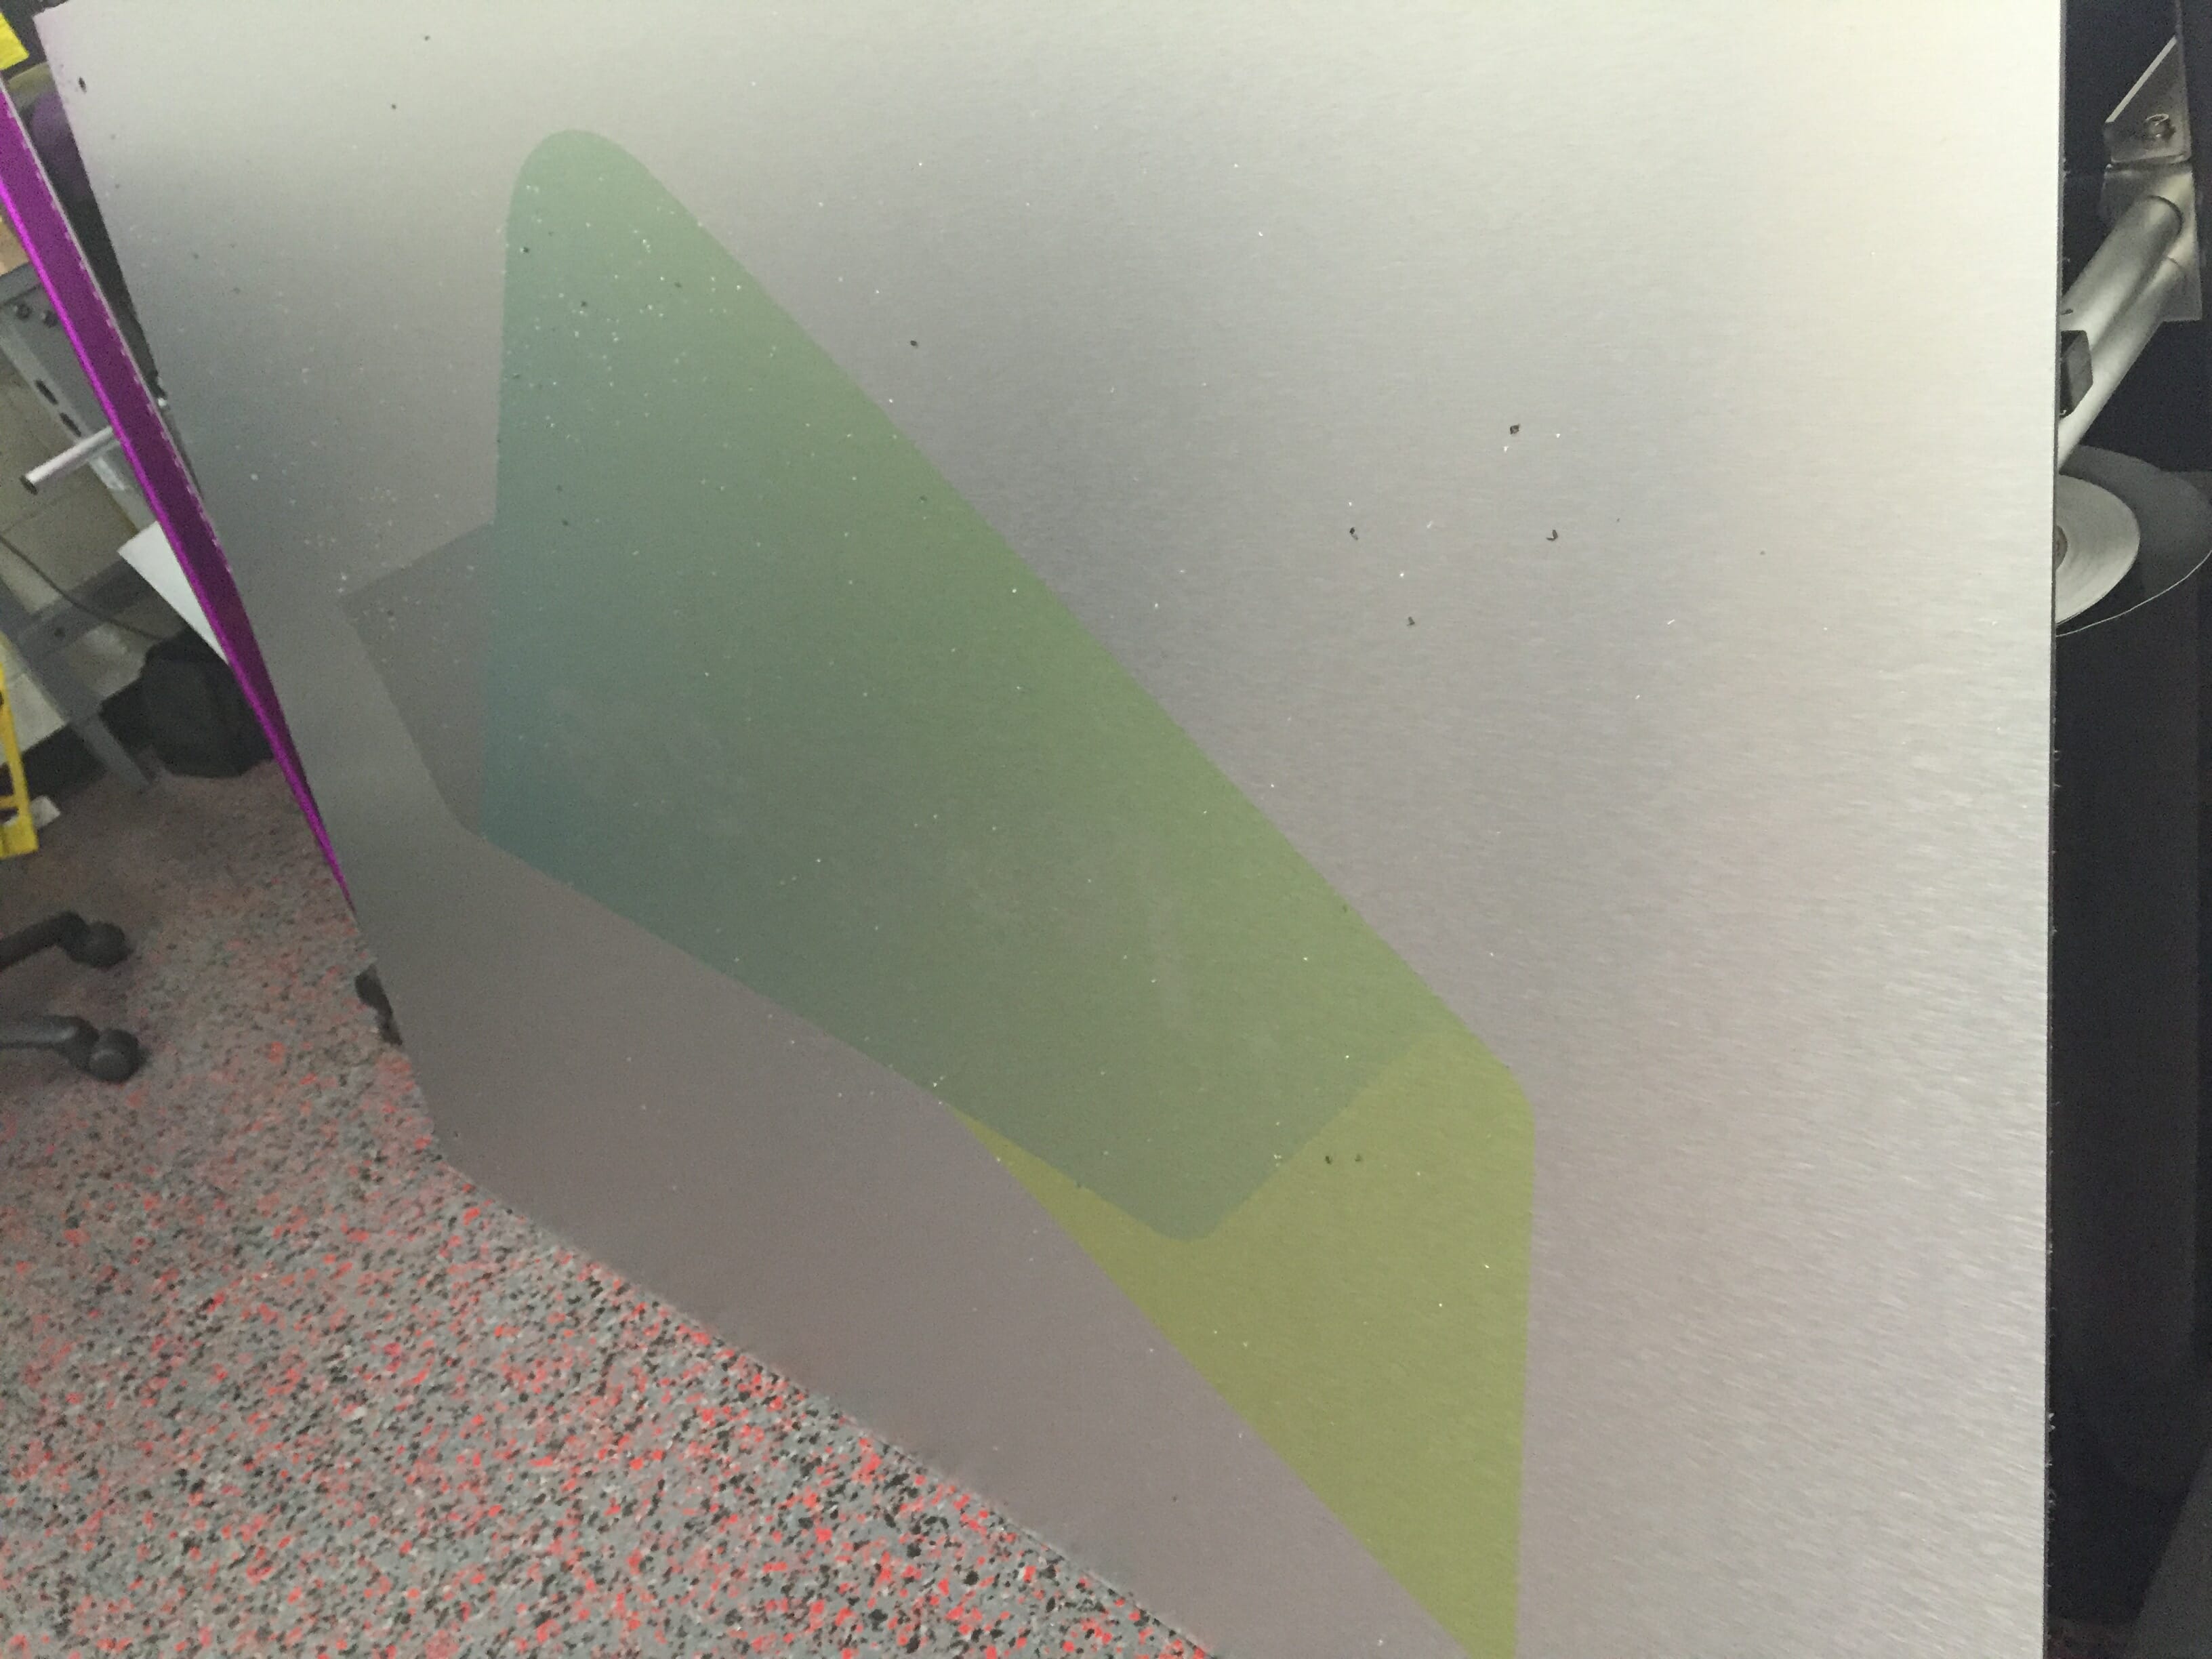
The max metal base of the 3D sign
If you look closely, you can see the shavings from the routing (cutting) process. We use a 90% alcohol mixture to clean all of our substrates before and after printing/routing. The exception is a full-print bleed — that kind of print is cleaned with plain, old Windex!
Step 2. Print, cut and attach the three layers of the Lendlease logo
After the base has been cut and cleaned to perfection, it’s time to focus on the 3 layers of the Lendlease logo. This picture was taken after the acrylic pieces had been printed and cut. Like the base, the 3 layers were printed on our VUTEk and routed on our Colex machine.
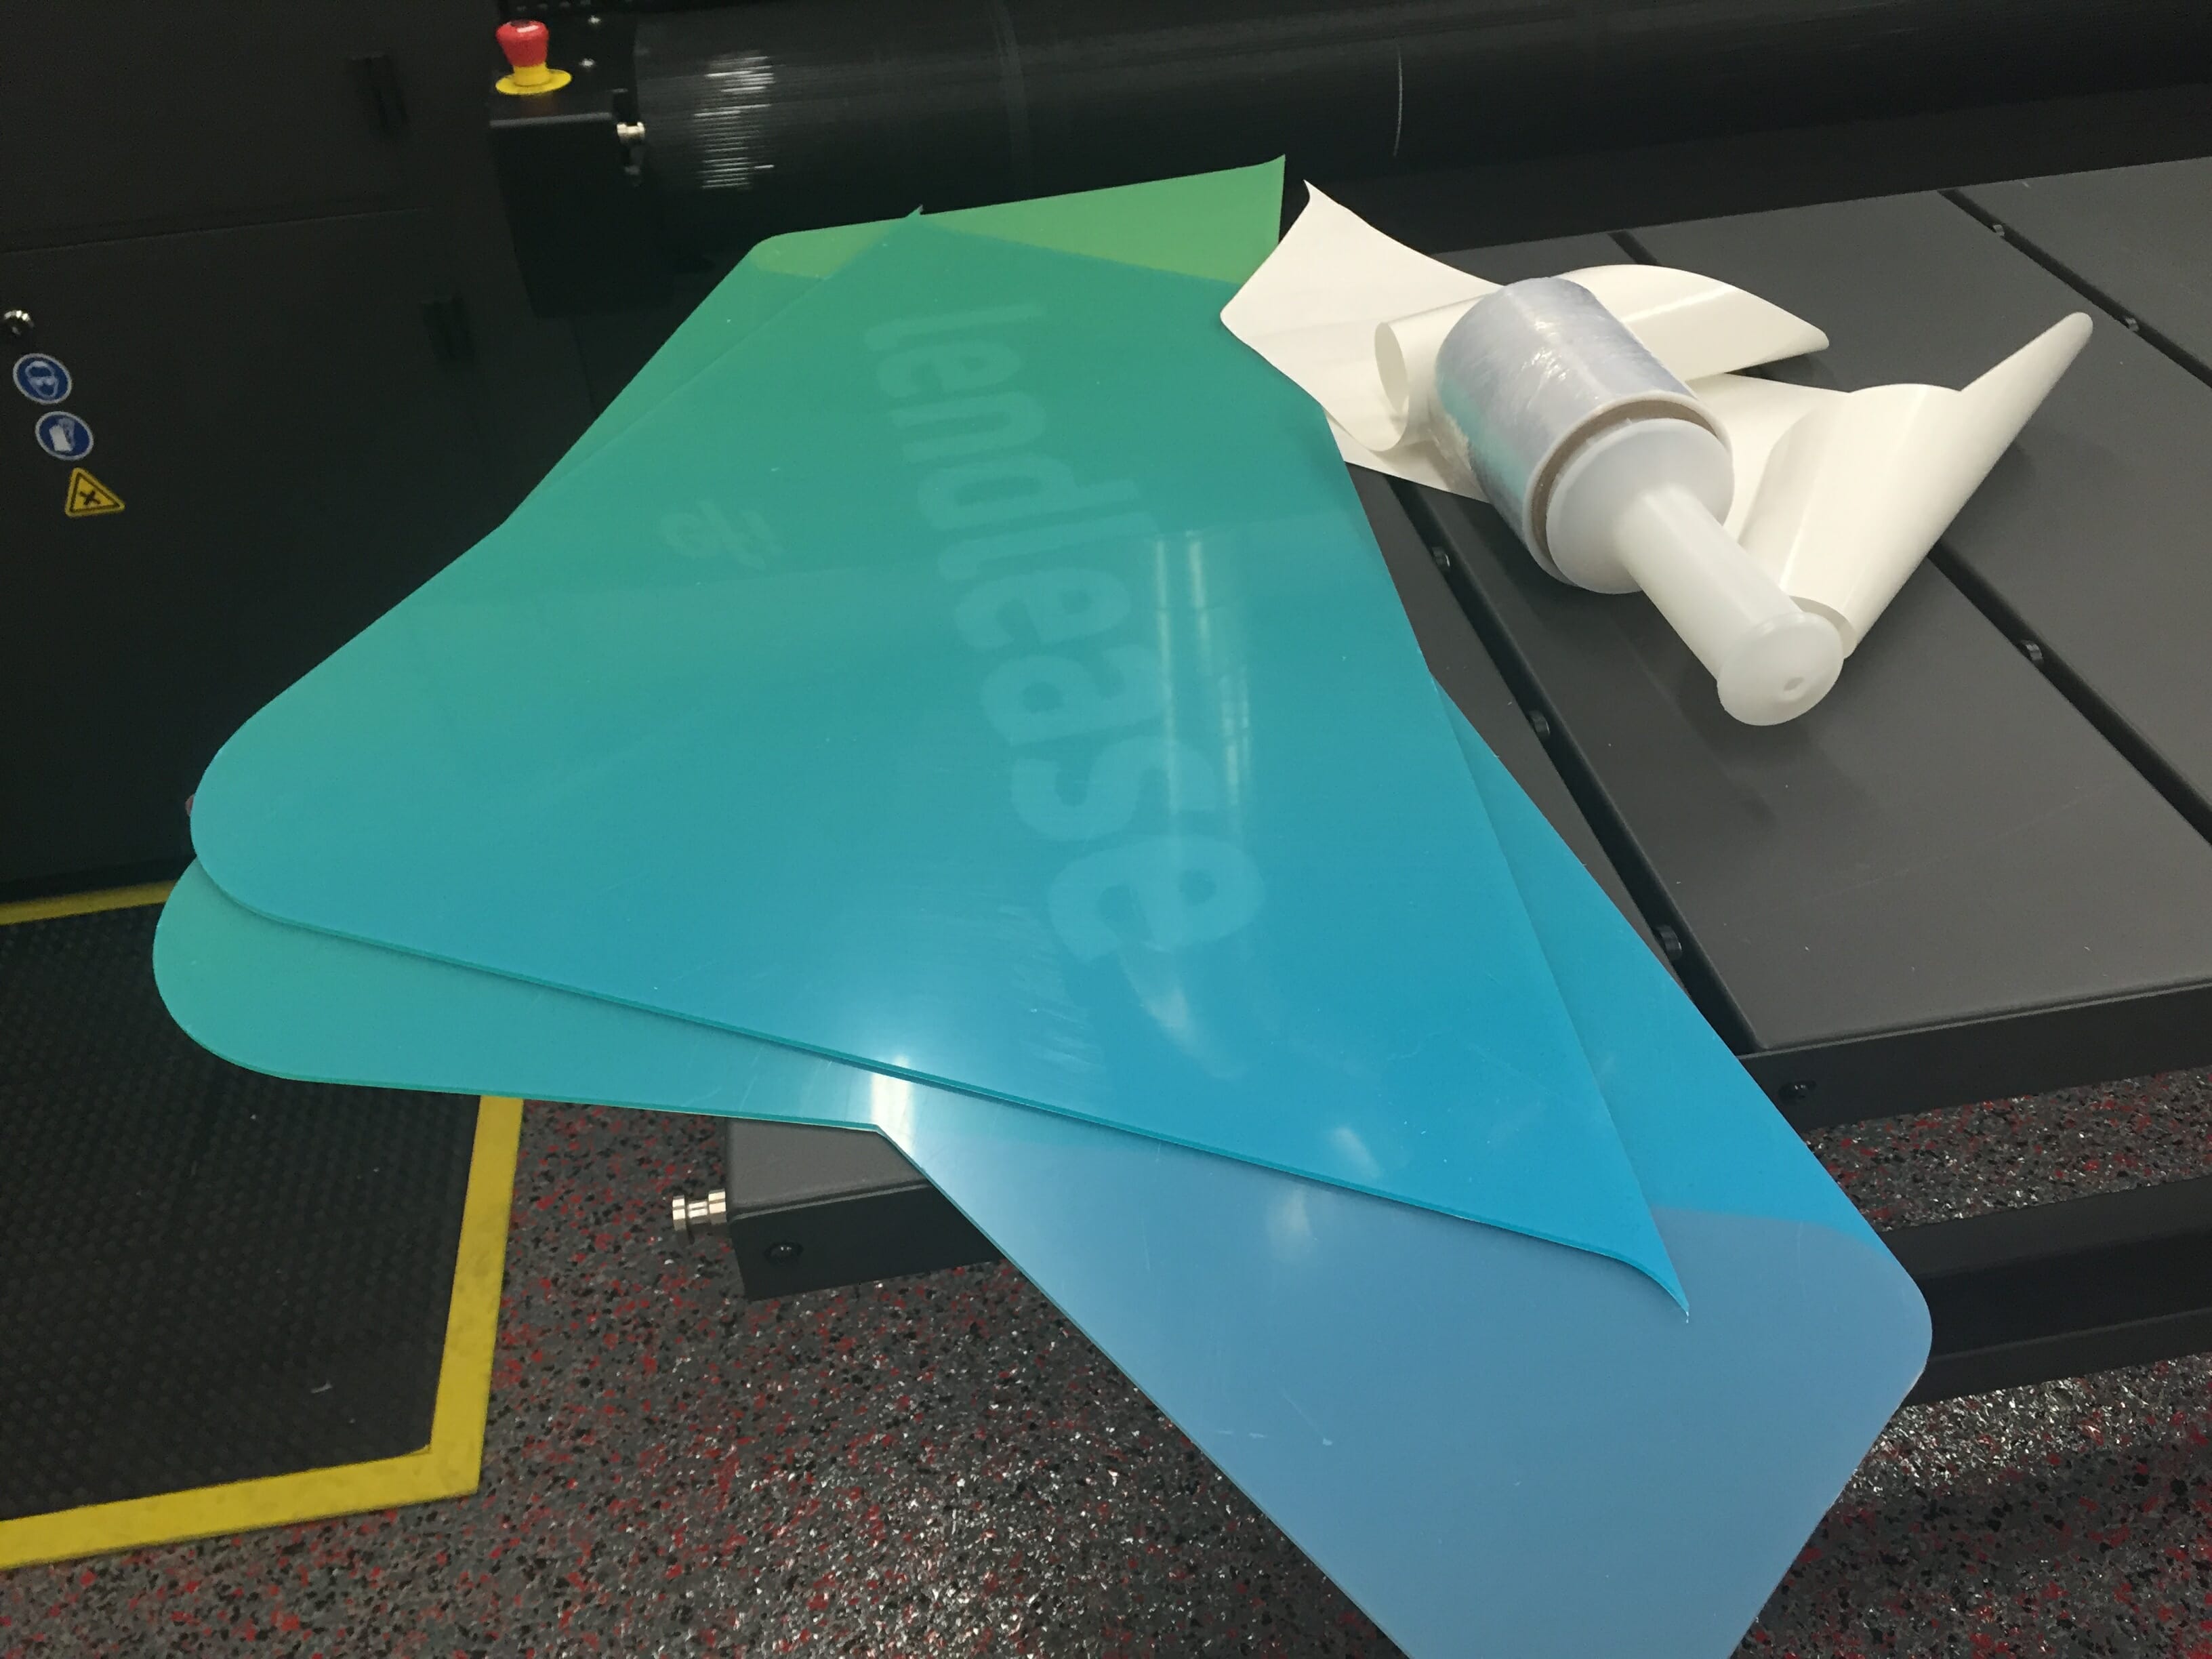
The 3 layers of Lendlease’s logo
Something cool to note about the three layers of the logo? They are second-surface printed. This means that they were printed on the opposite side from which the product was intended to be viewed. If this is Greek to you, check out the diagram below provided by blog.smartpress.com.
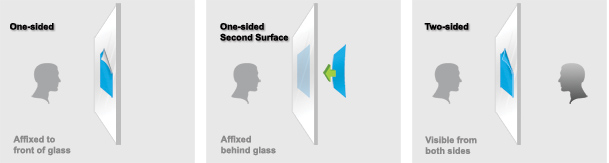
First-surface v. second-surface print
The reason for this is to create a more transparent logo, which in turn creates a more apparent three-dimensional object.
Step 3. Print, cut and attach the Lendlease name
Once we’ve attached the three pieces of the logo, the third step is to add the letters. The blue mask you see Brook removing is a protective film. It is applied to the acrylic before it is sent to the Colex.
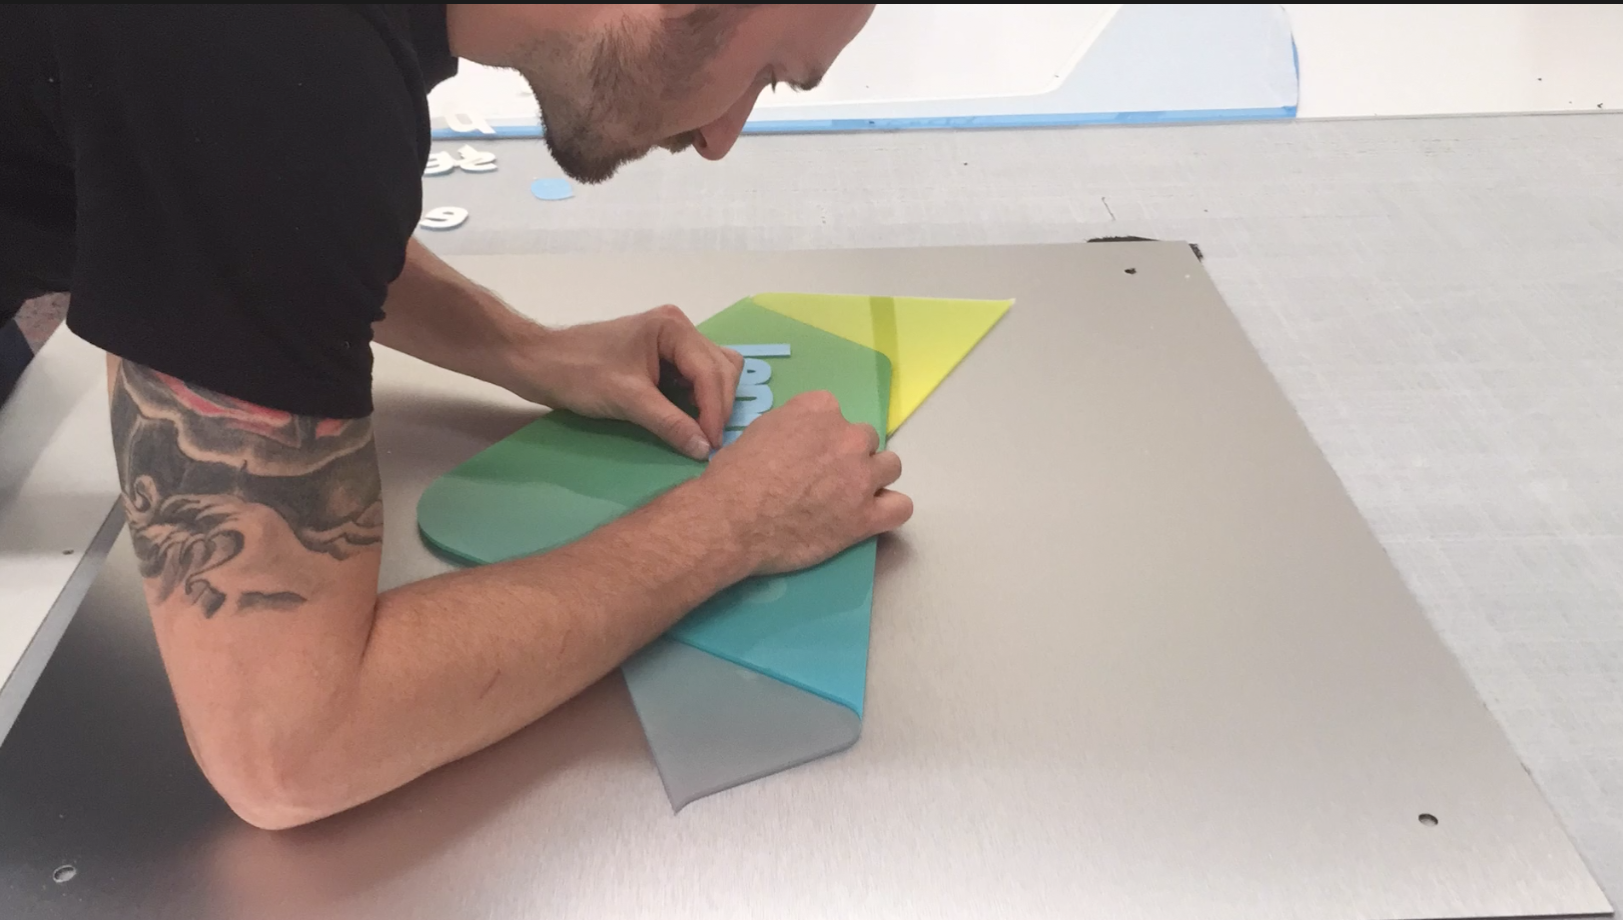
3D letters
Step 4. Attach the standoffs and install the 3D signs
The final step of the 3D sign creation process is to attach the standoffs. You may remember standoffs from our blog post on Third Man Records. For them, we used black standoffs to match their black max metal prints. For Lendlease, we used silver to match their silver base.
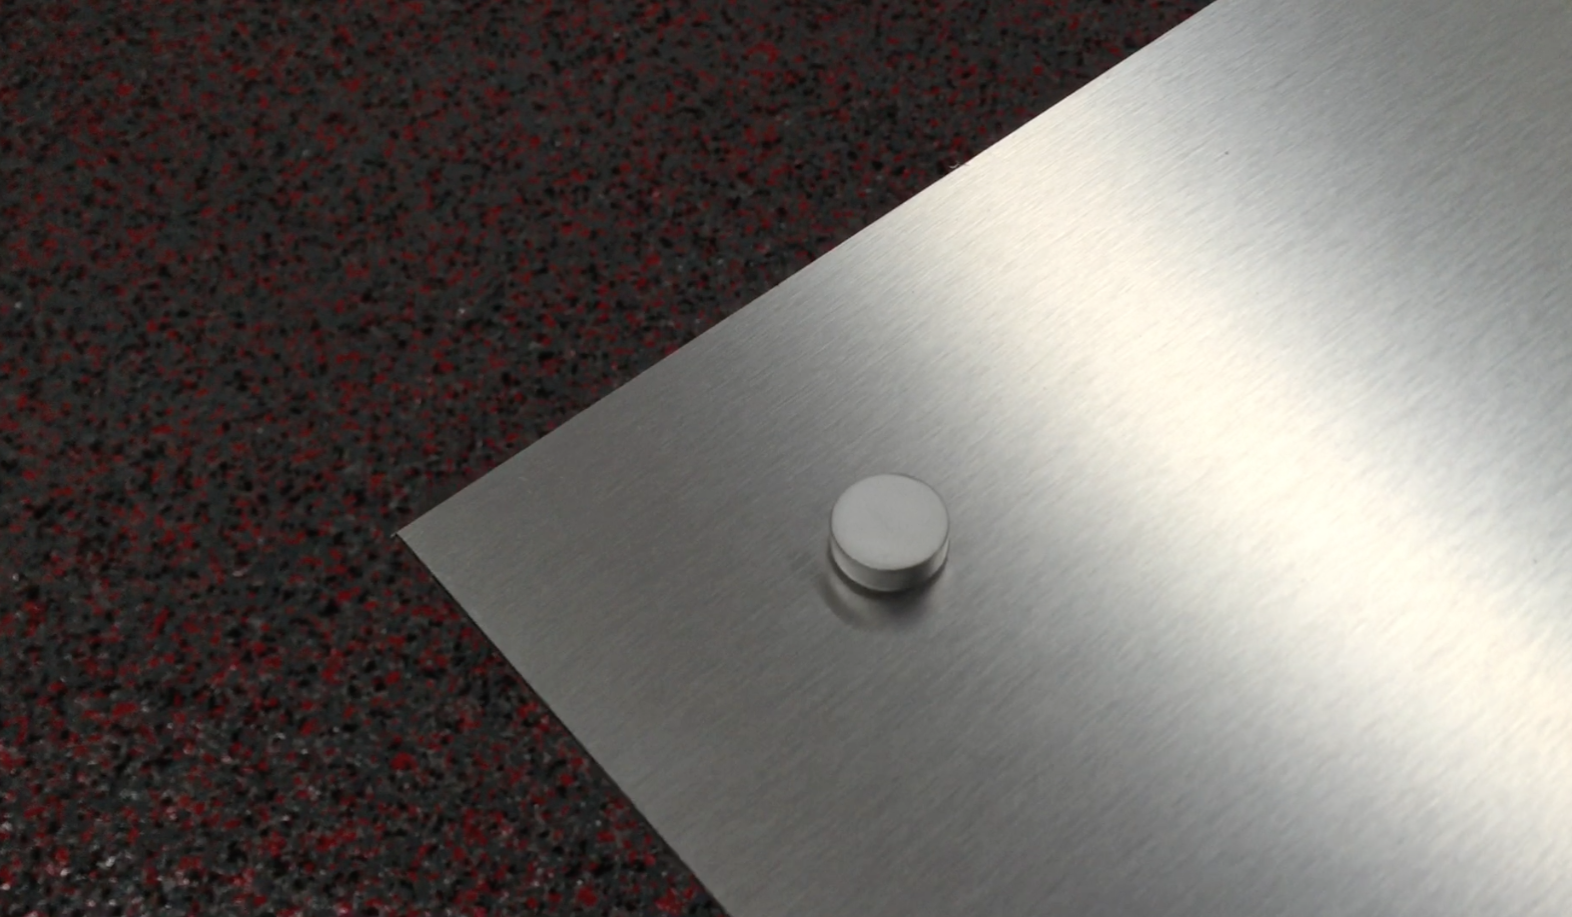
Silver standoffs
After that… voila! The signs are complete and looking awesome.
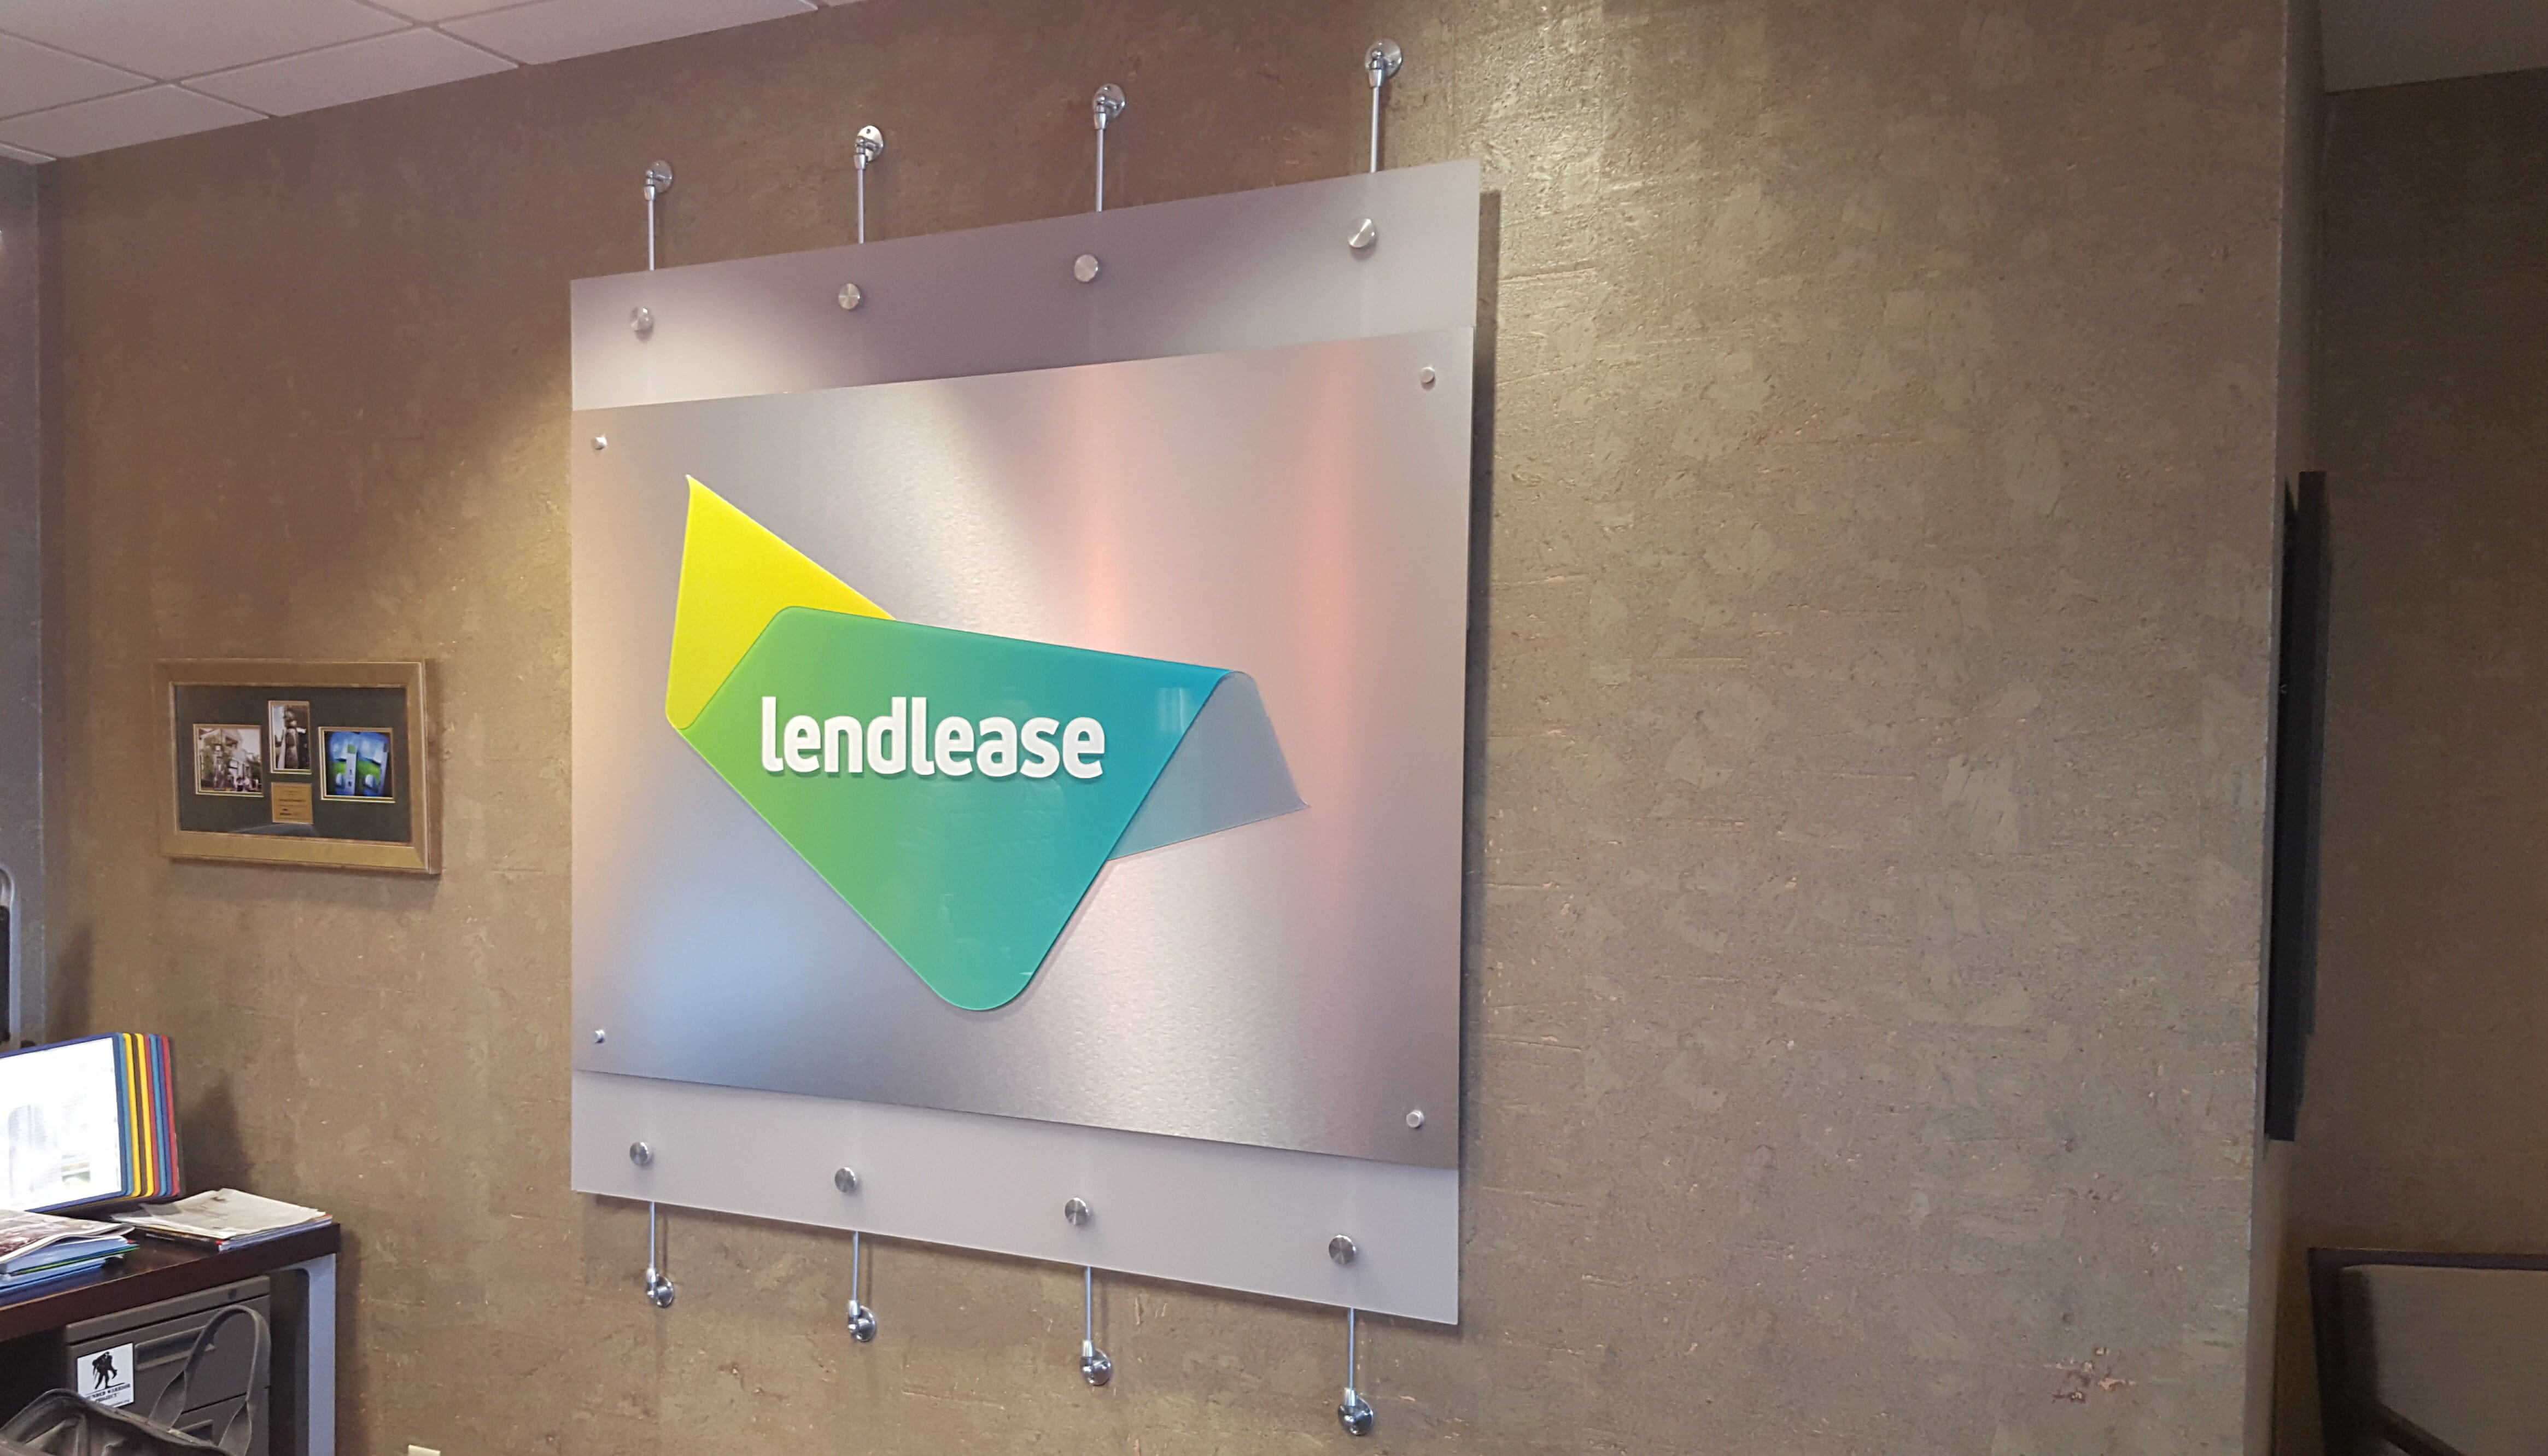
(Larger) 3D sign after installation
(Larger) 3D sign after installation
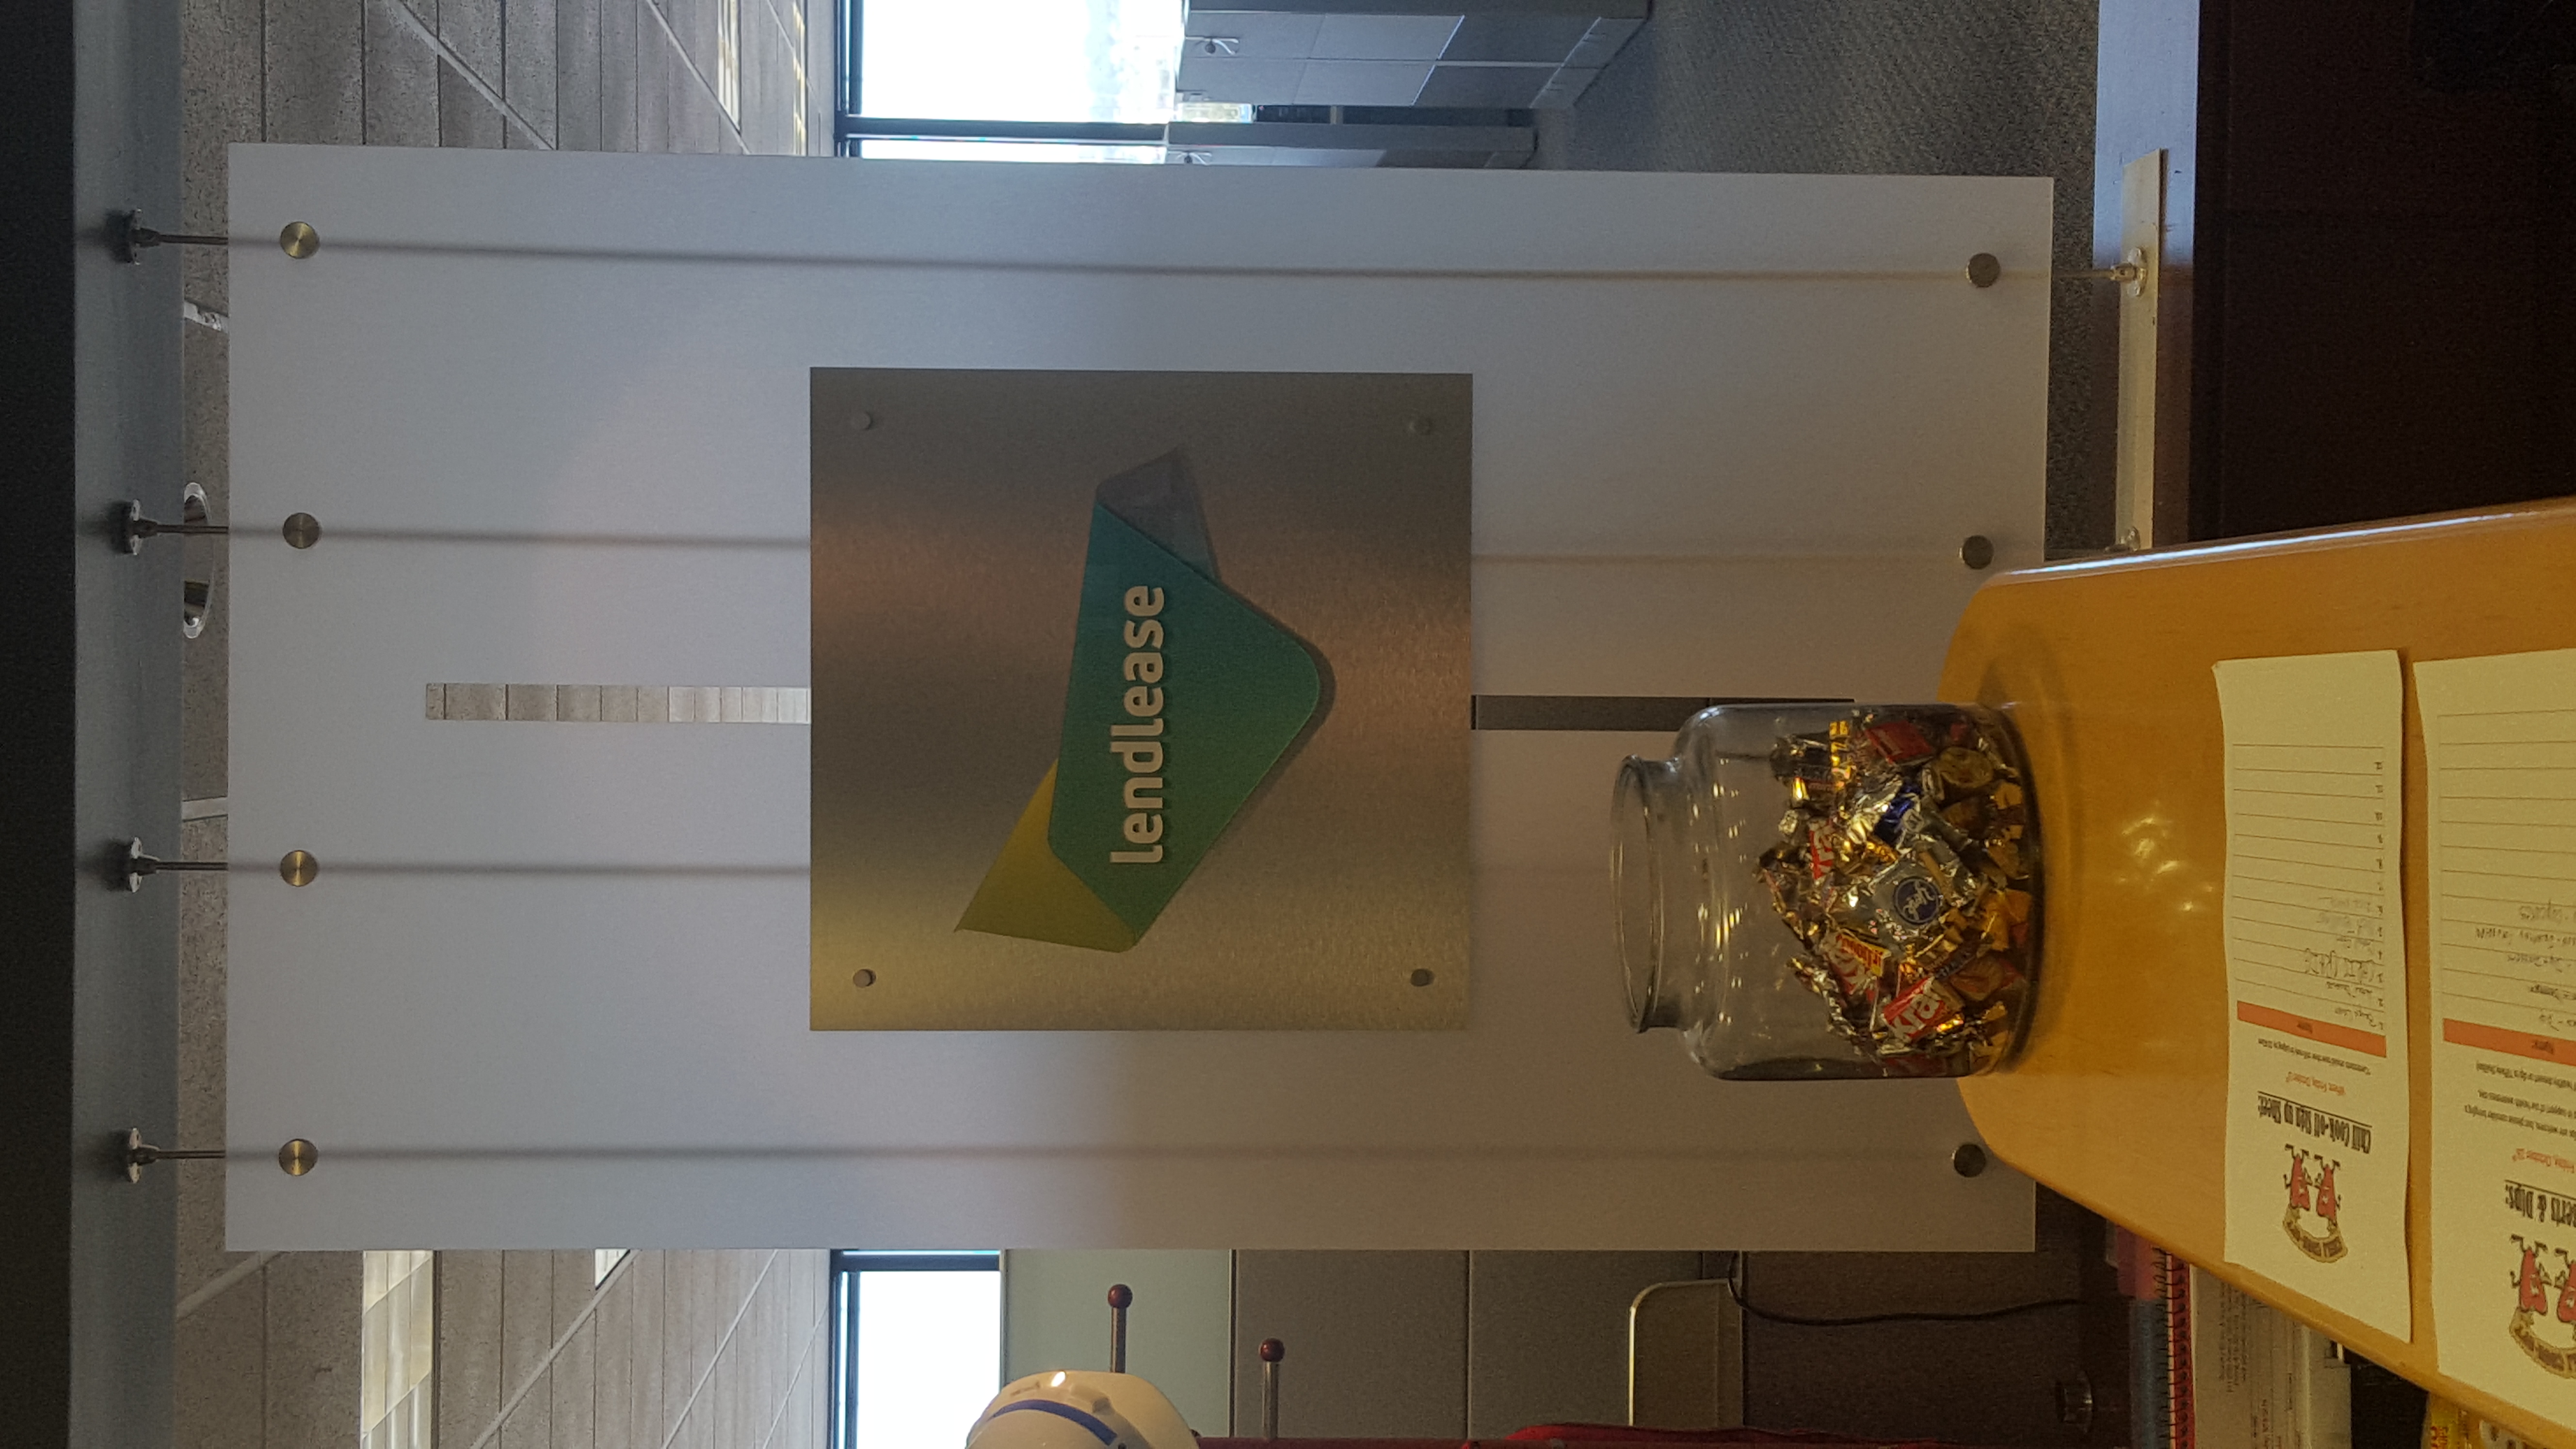
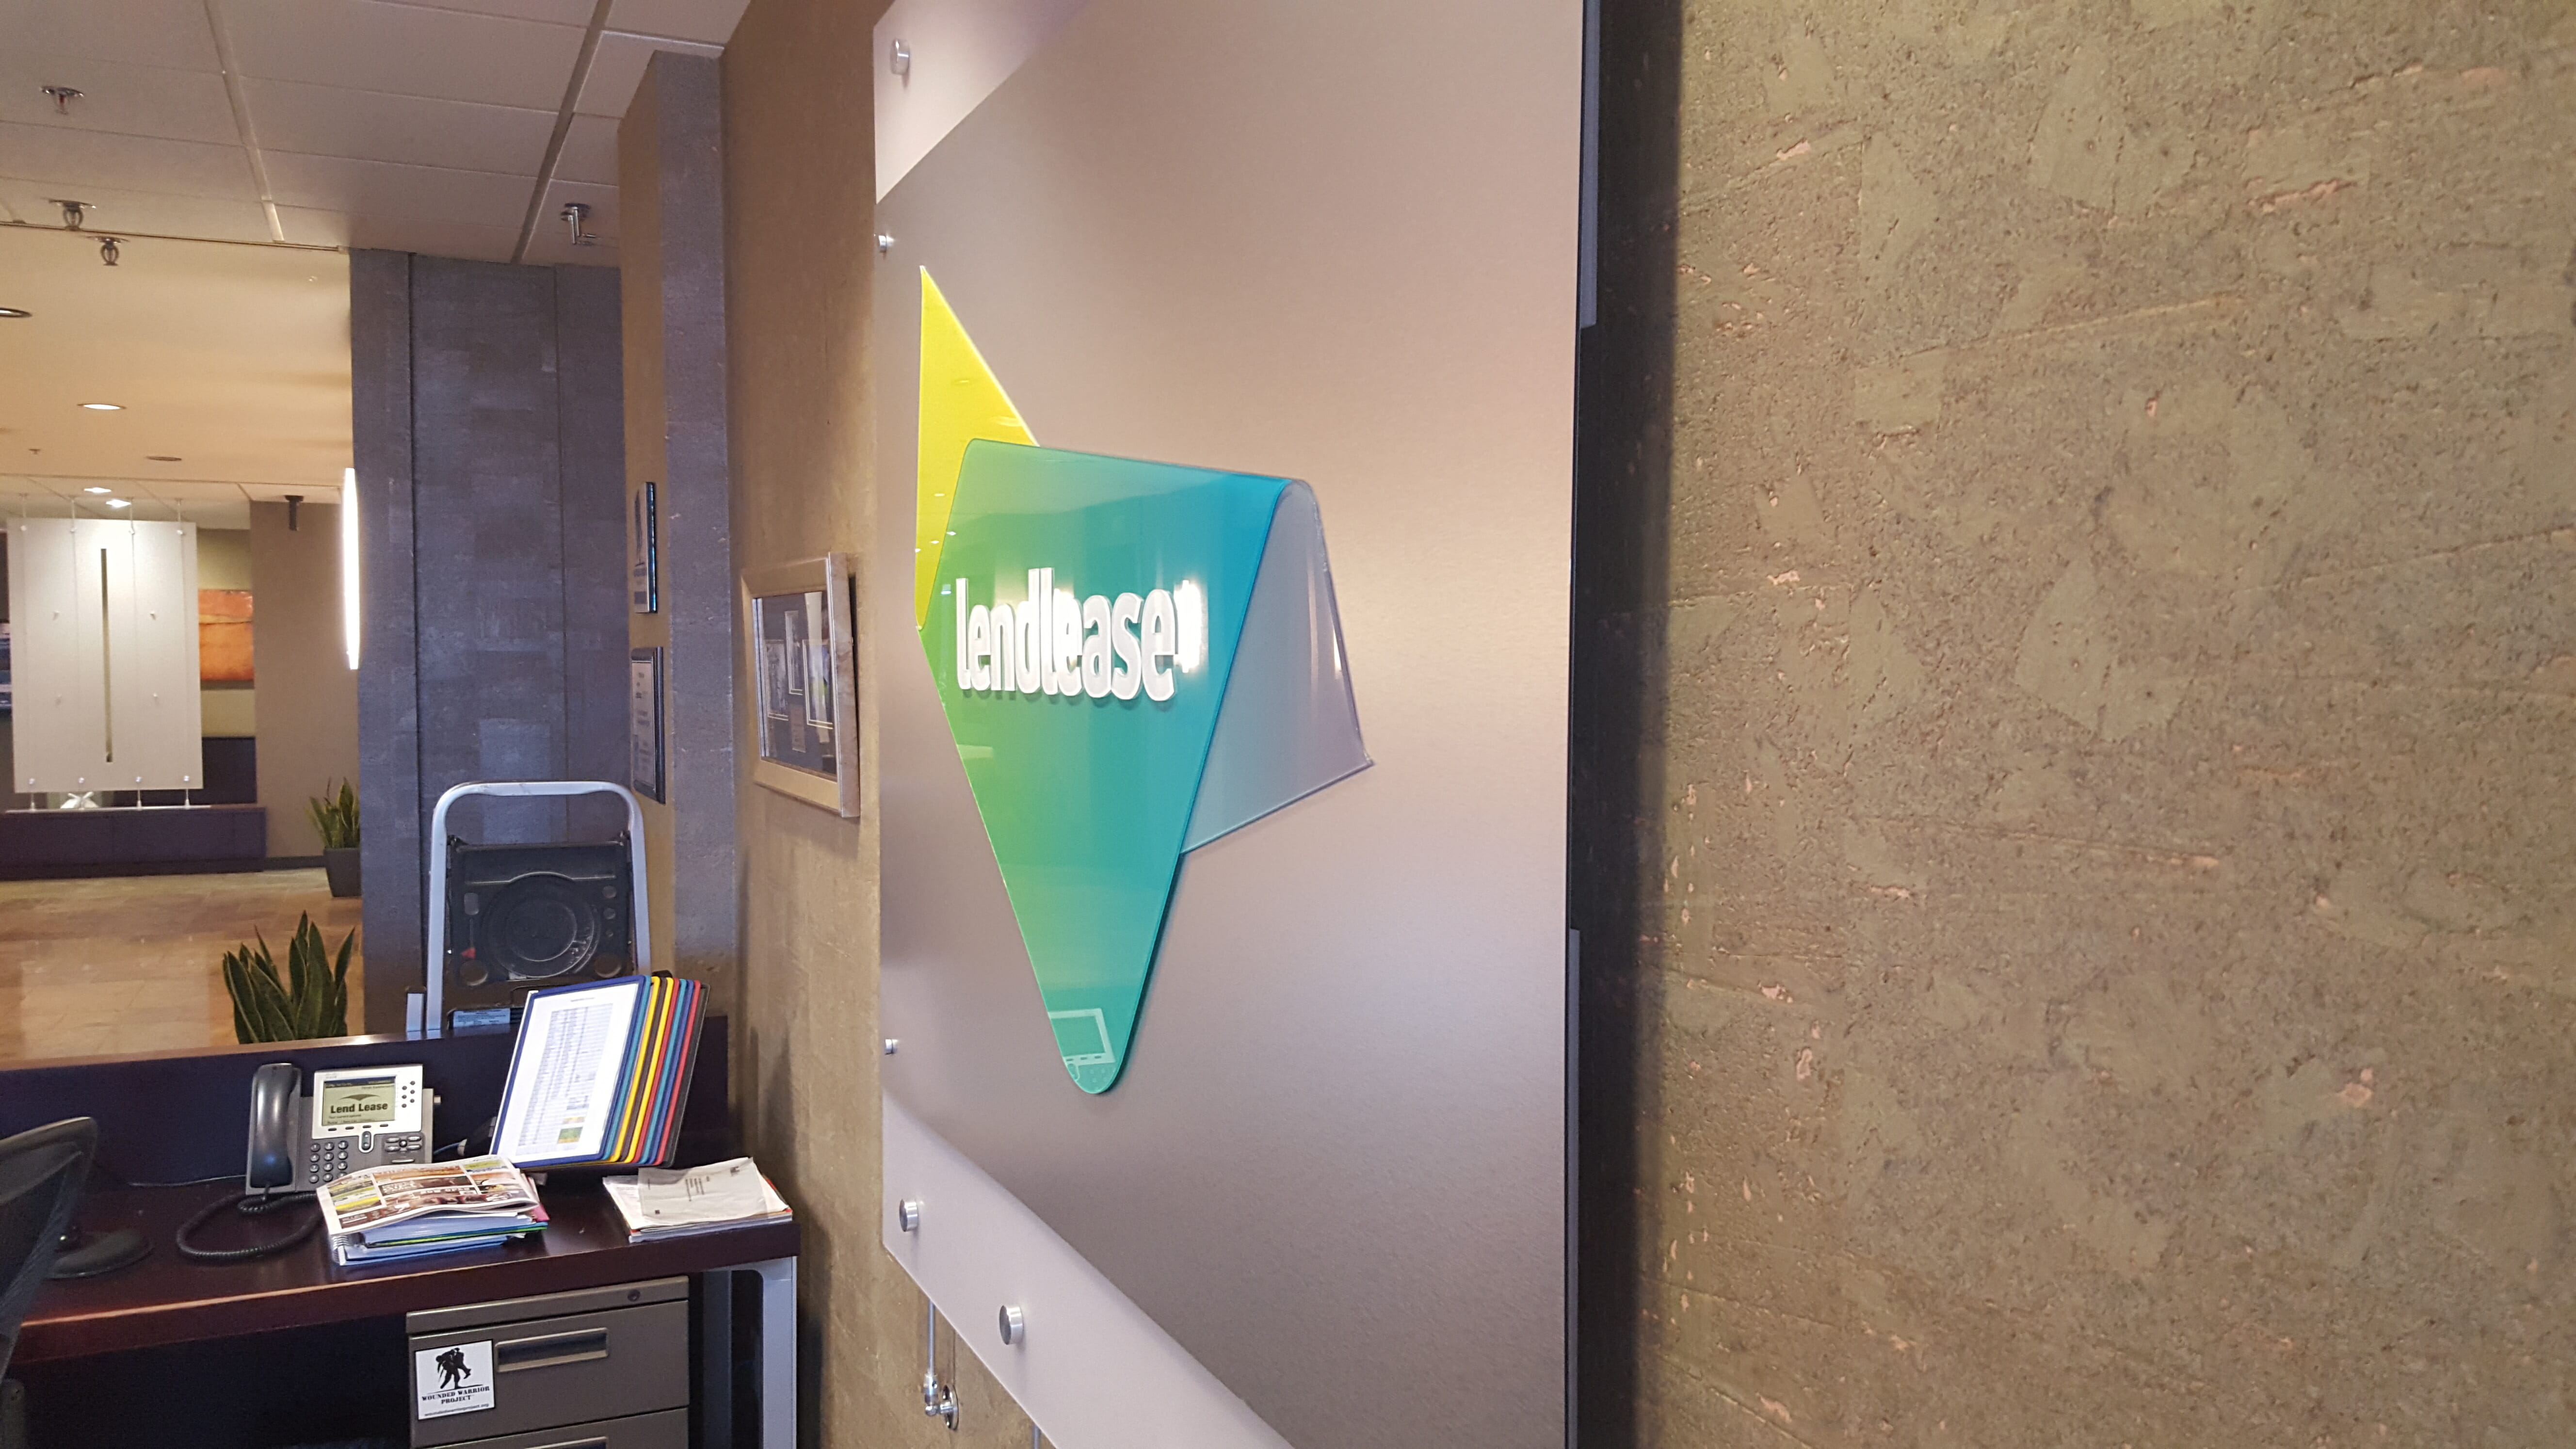
(Smaller) 3D sign after installation
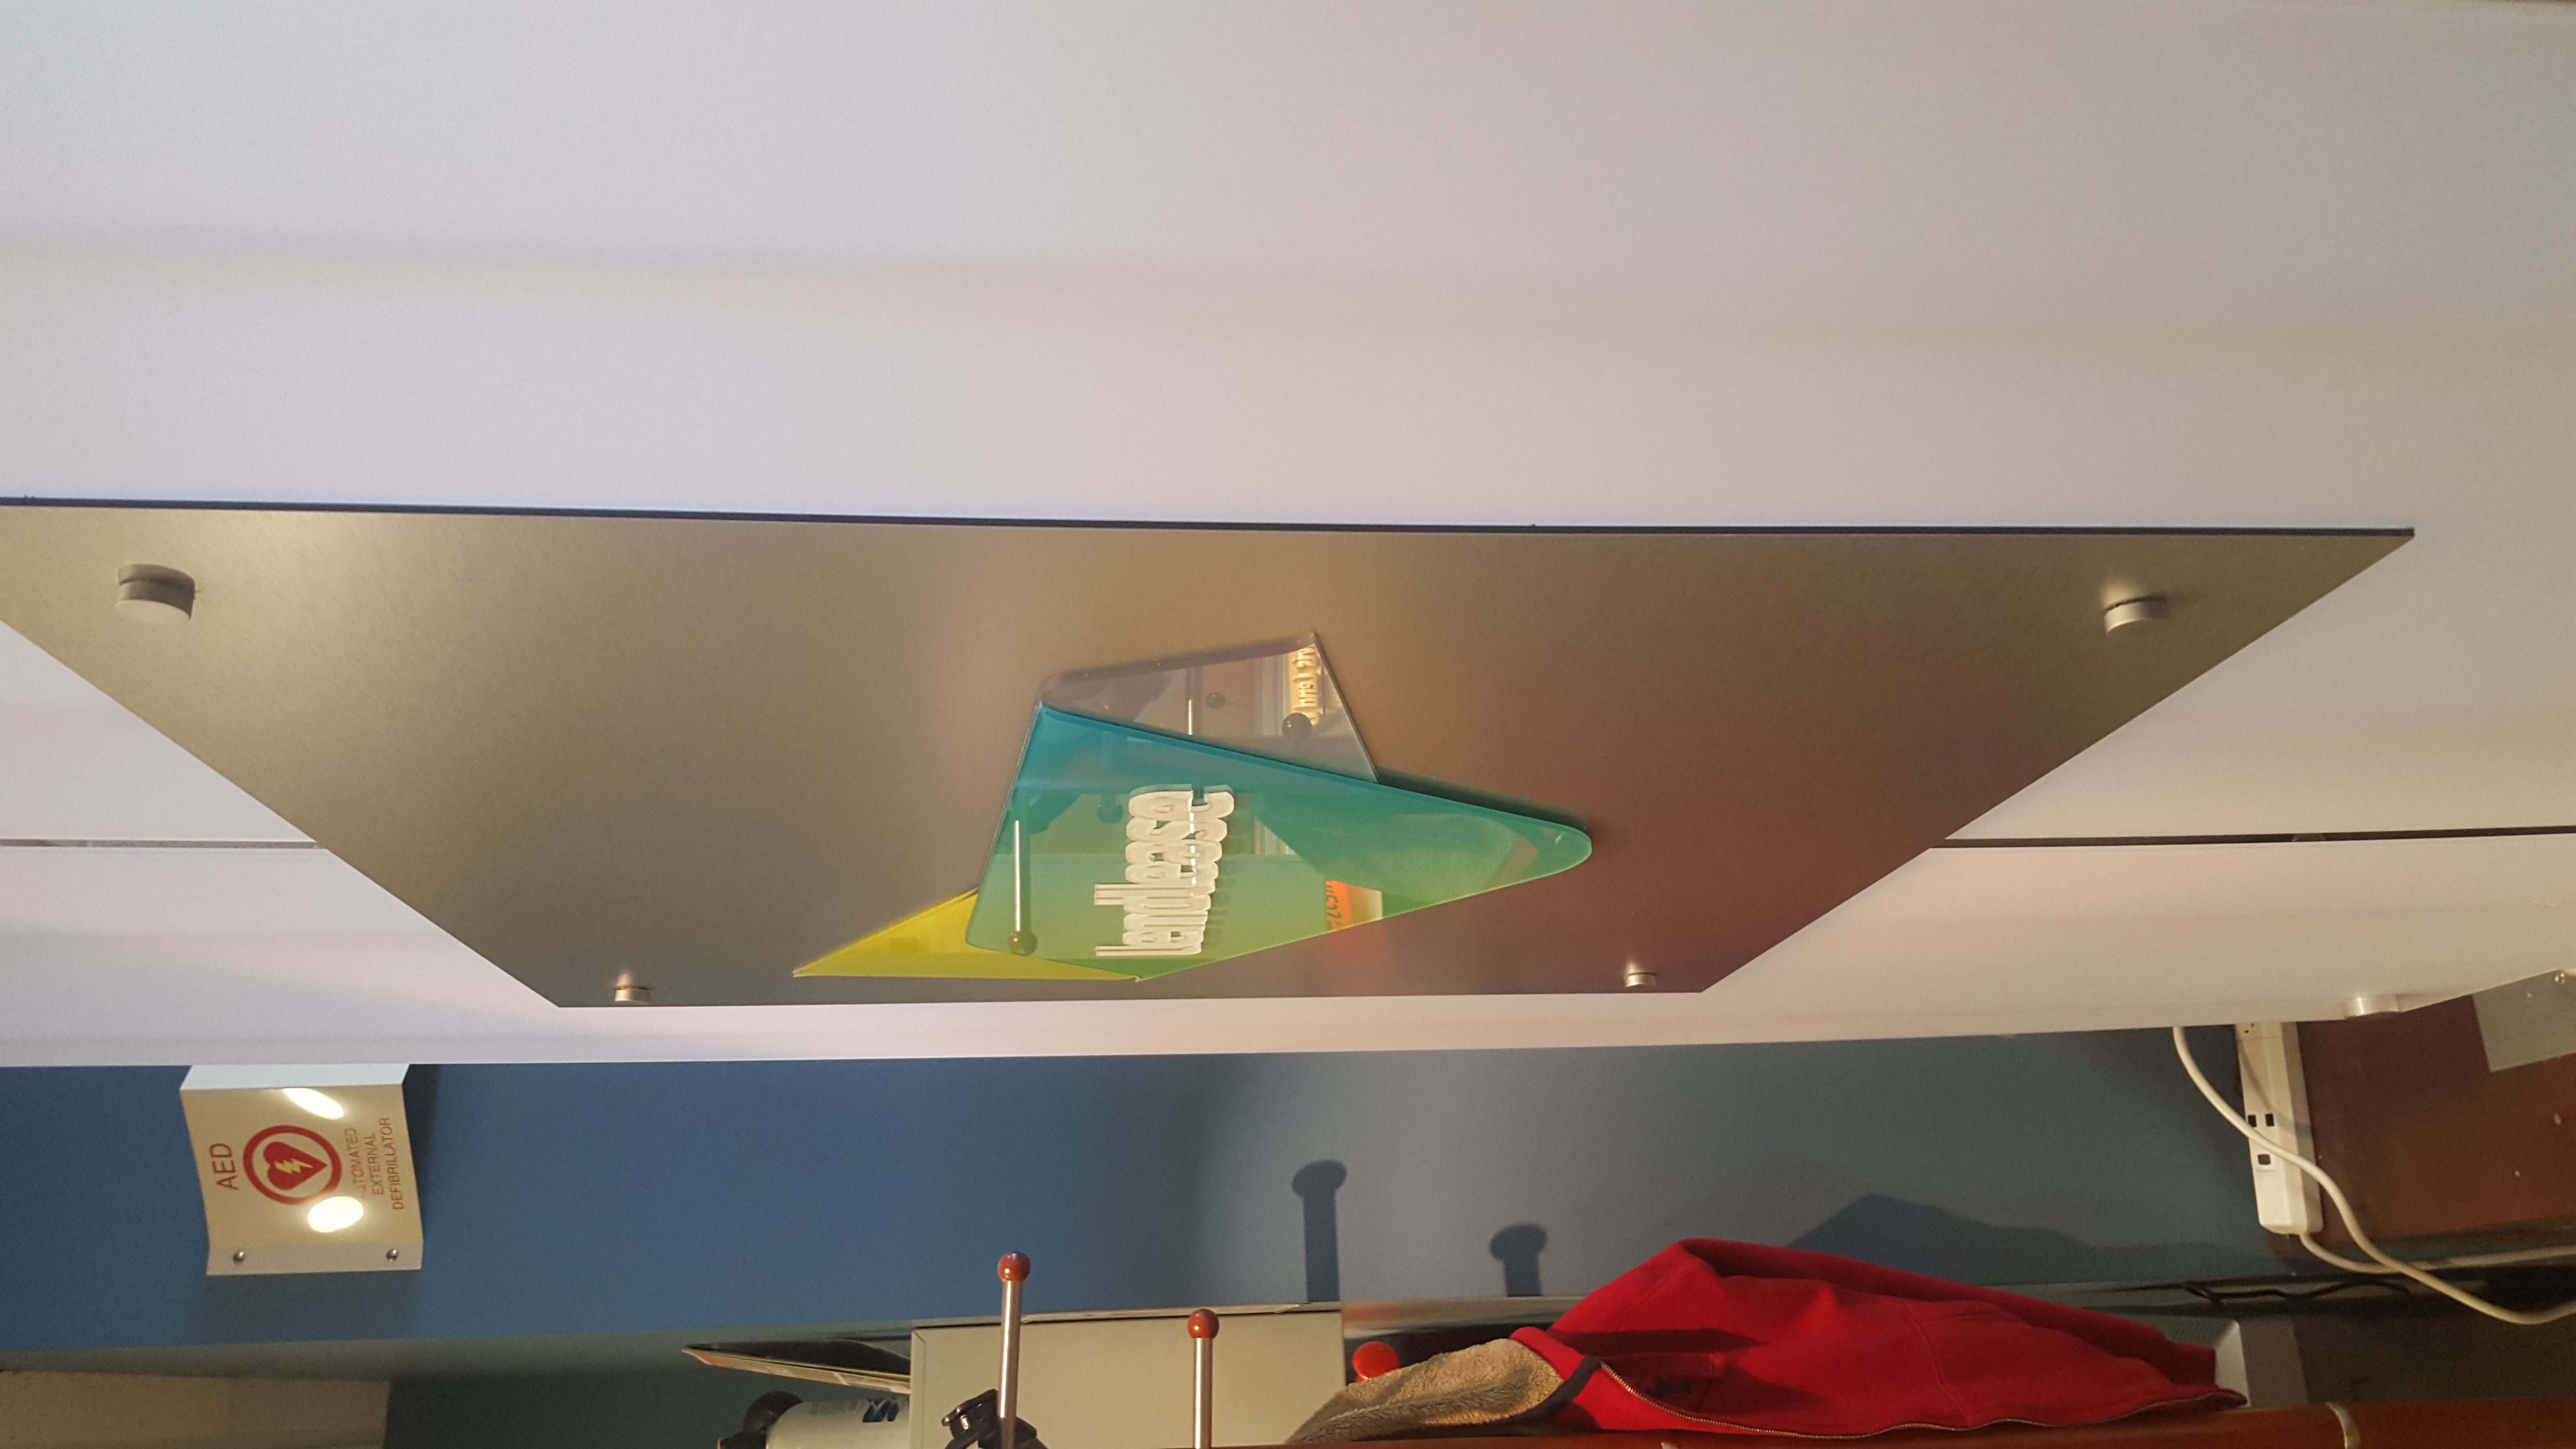
(Smaller) 3D sign after installation