


As every bride in America knows, letterpress is an elegant print method that makes a soft indentation (embossing) on card stock. We use a 1971 Heidelberg Windmill to create this clean, stunning design.
Recently, Judith Bright decided she wanted to revamp her print products, and it was only fitting to create letterpress notecards and jewelry tags. She makes gorgeous jewelry, and beautiful print products to add to her overall aesthetic.
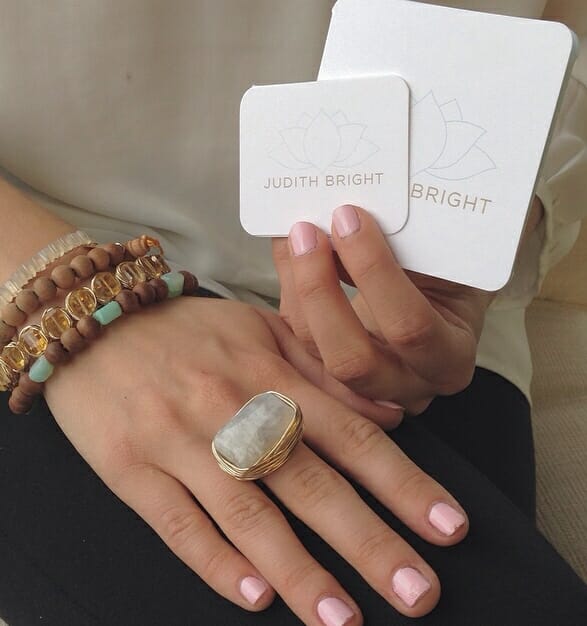
Original jewelry tags
In the image above, you can see that she prefers simple design and light colors. Her jewelry tags and informational cards have a light blue logo and her name in a gold color.
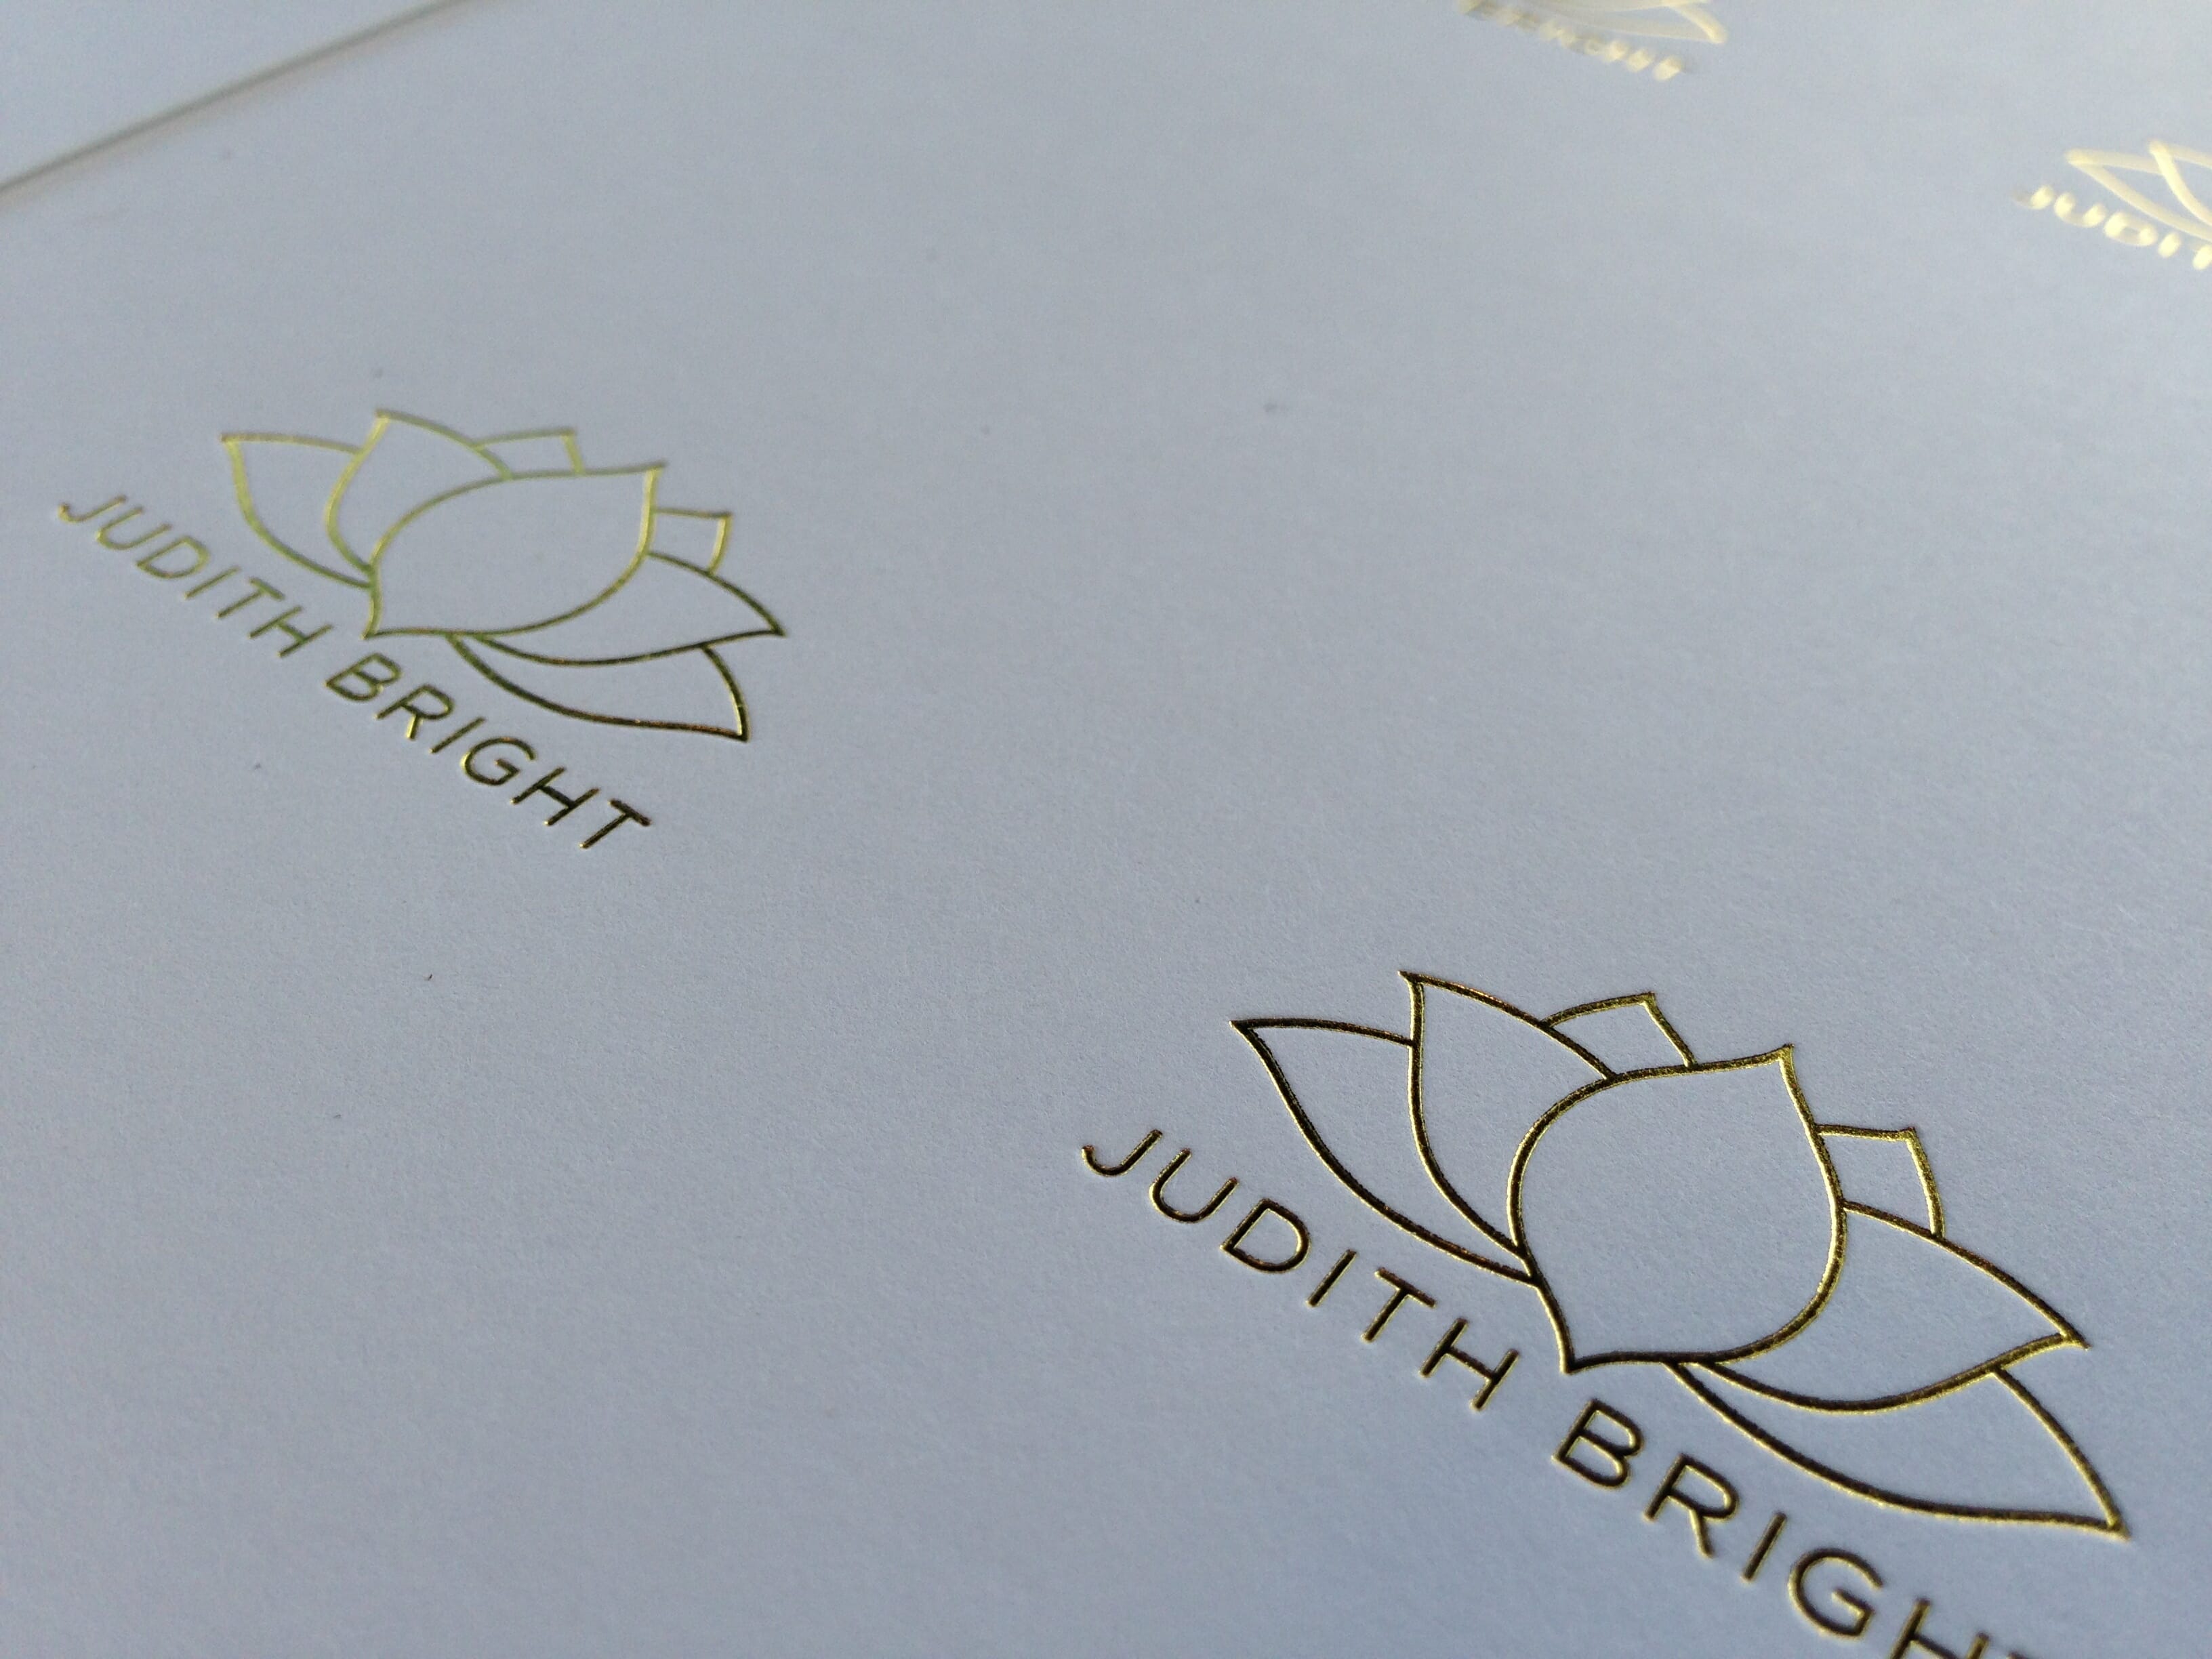
Her new cards maintain the simplicity of her original cards, but she decided to use foil-stamping and debossing to add an extra touch of elegance to her print products. The end result is nothing short of beautiful.
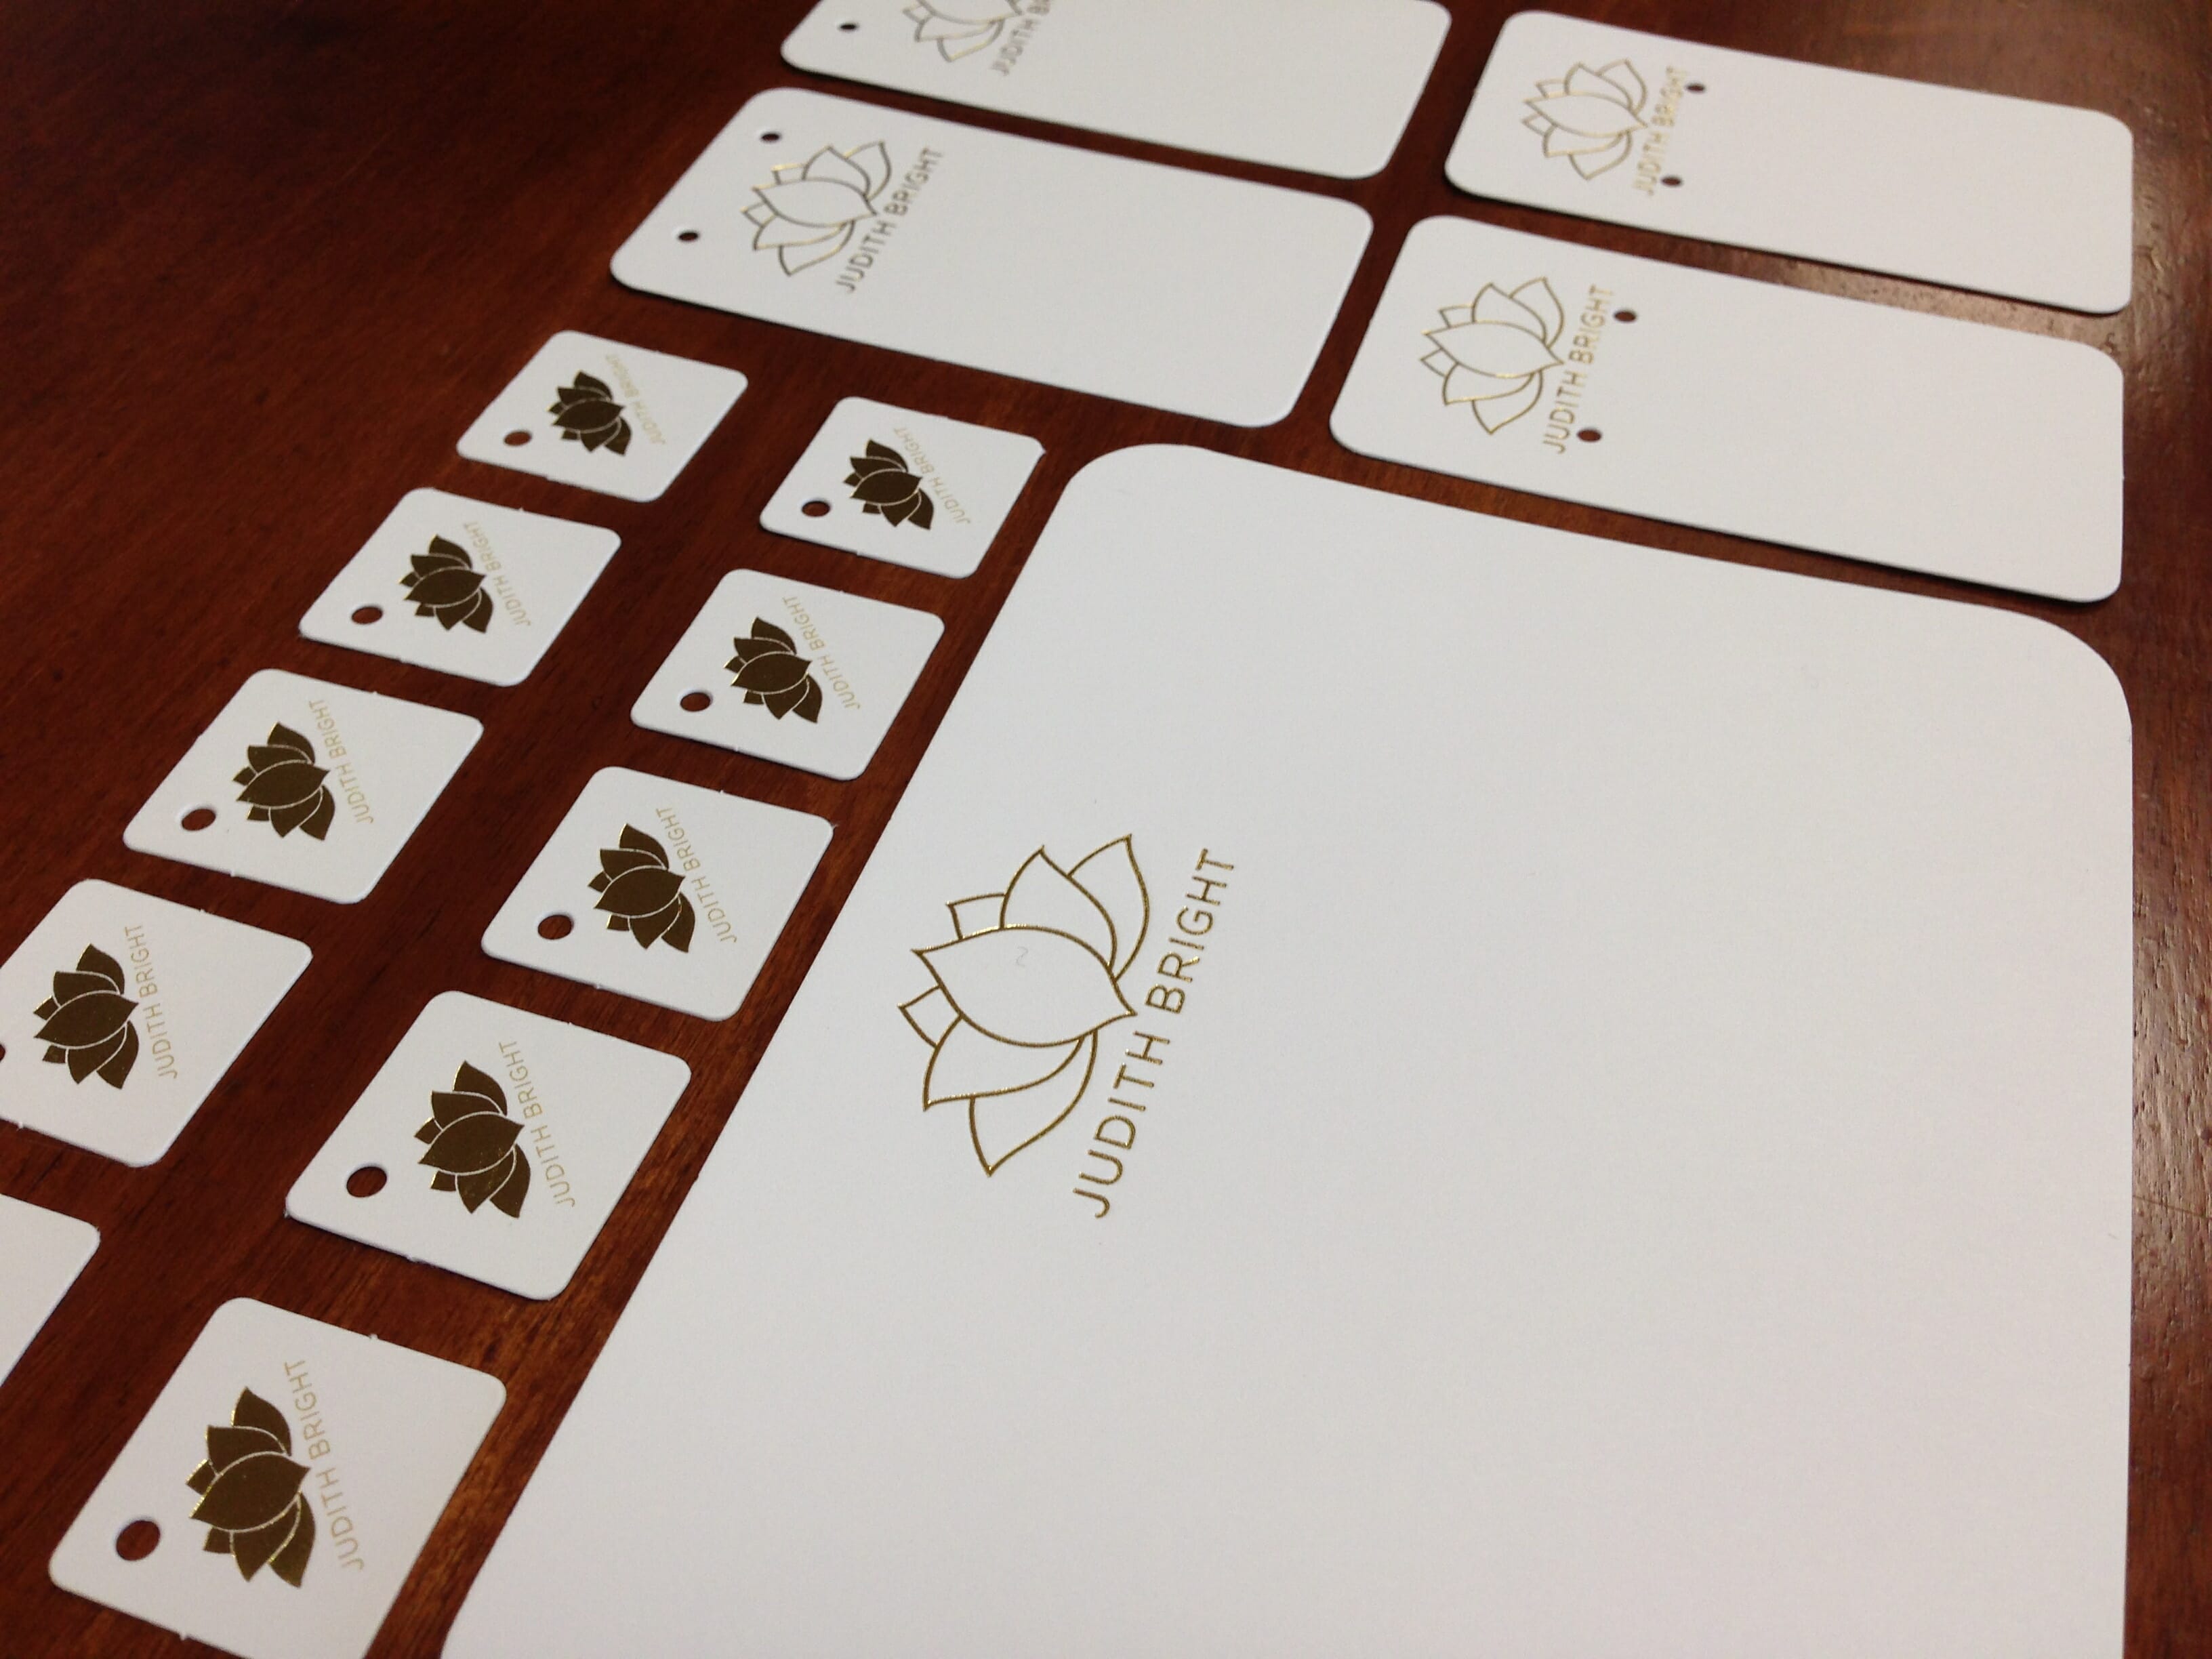
New jewelry tags and notecard
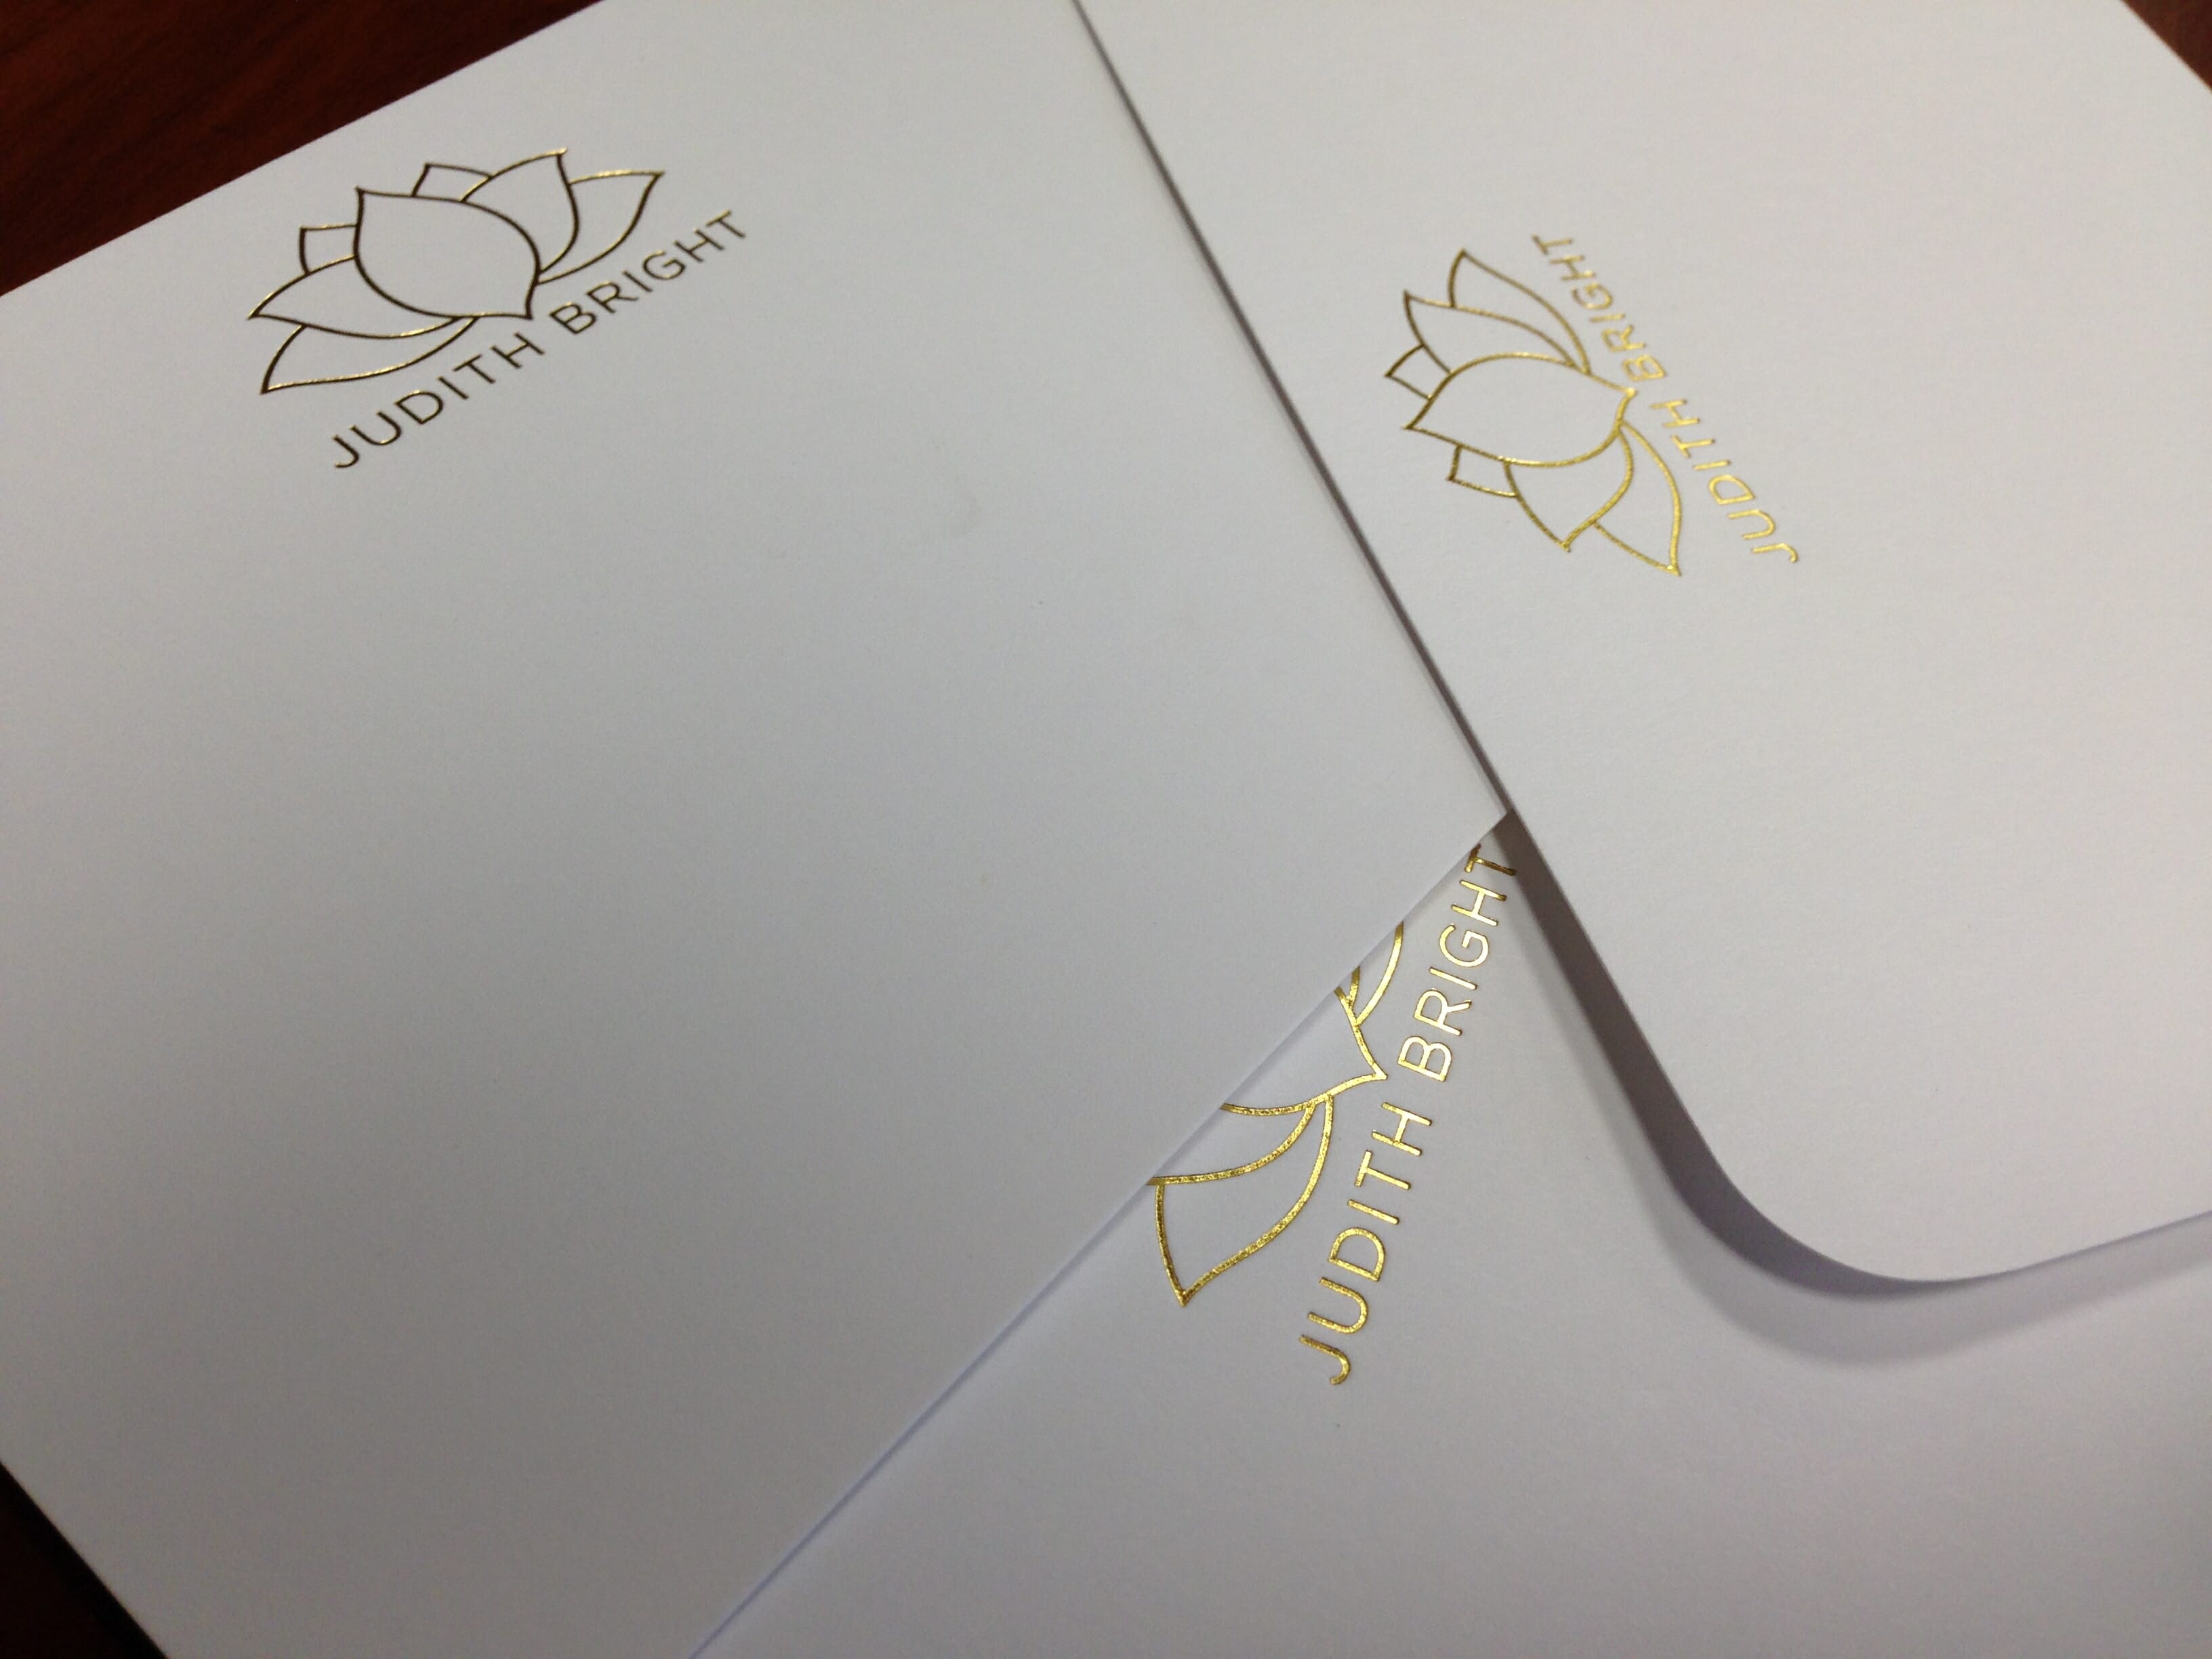
Debossed and foil stamped notecards
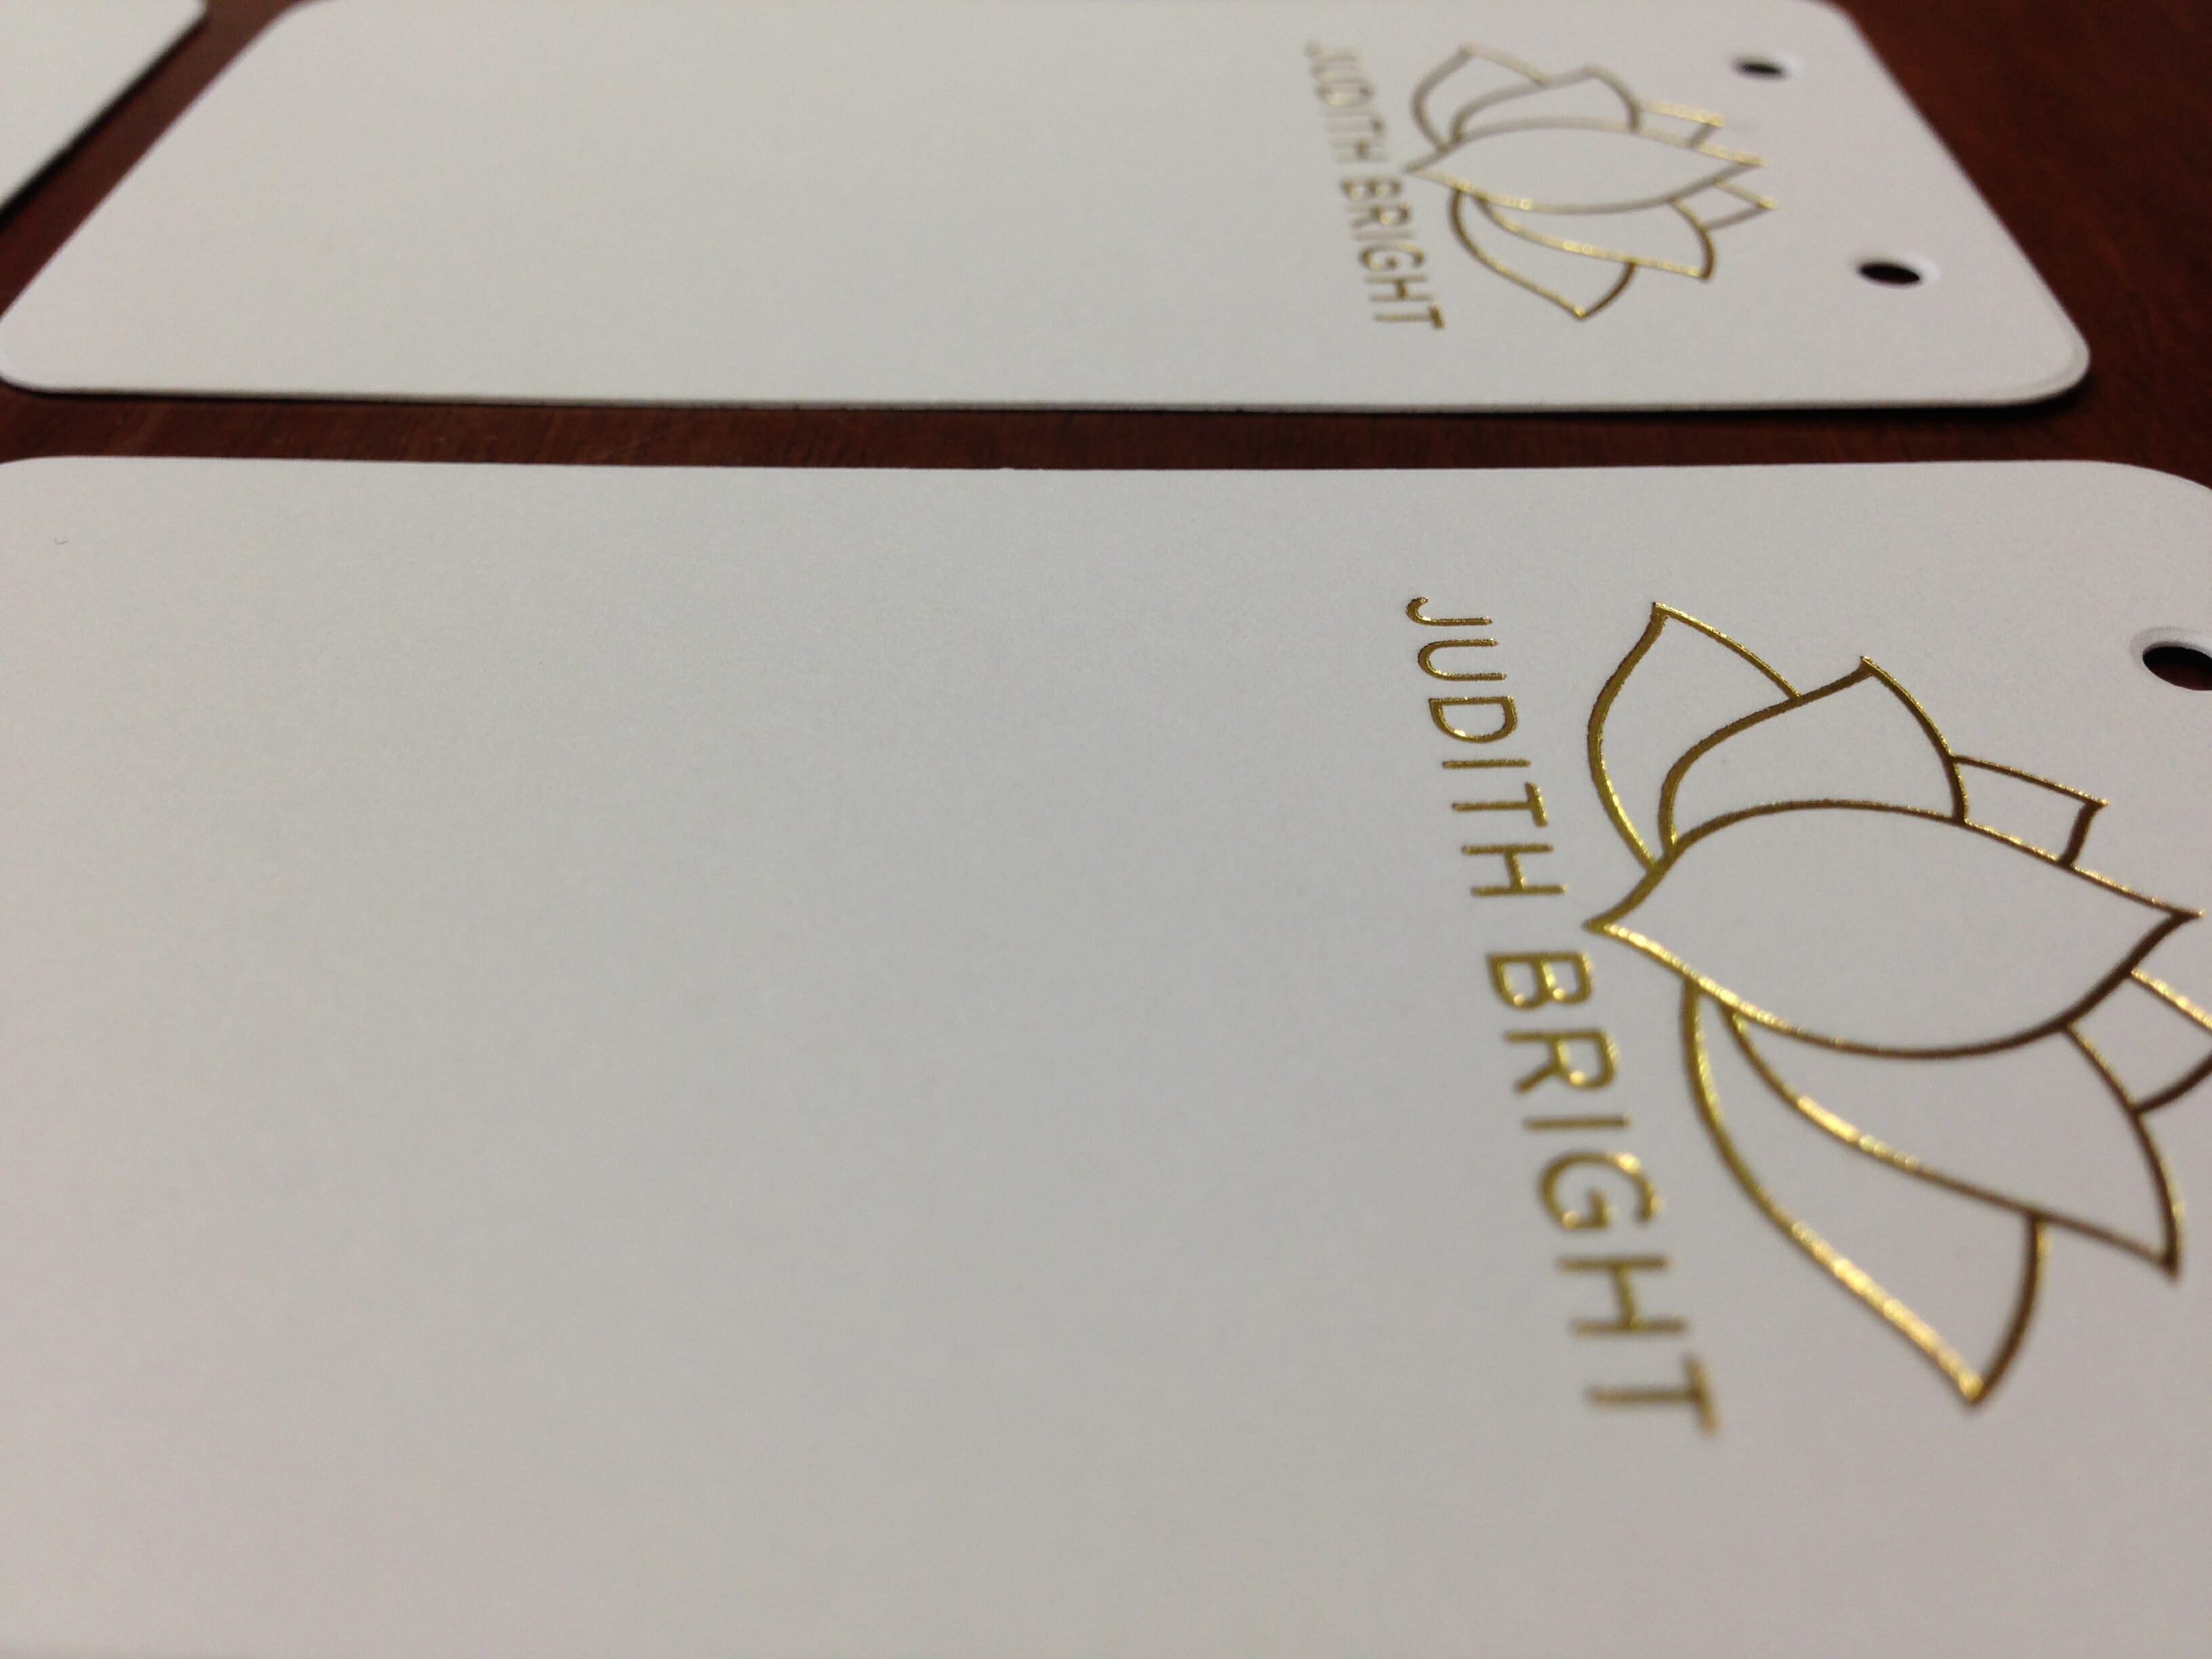
Letterpress earring holders
You can tell someone cares about his or her business and customers when he or she puts so much effort into the brand aesthetic. These tags and cards required several time-consuming steps, which we want to highlight. Understanding the letterpress process is very beneficial for anyone considering using this technique.
Letterpress Step 1: Creating an online design template
The first step of letterpress is design and layout. Judith wanted cards with rounded corners, which requires a die of its own. To make a physical die, you must first create an online version of the die. Most graphic designers should be able to do this. However, make sure that your graphic designer understands how to design for print.
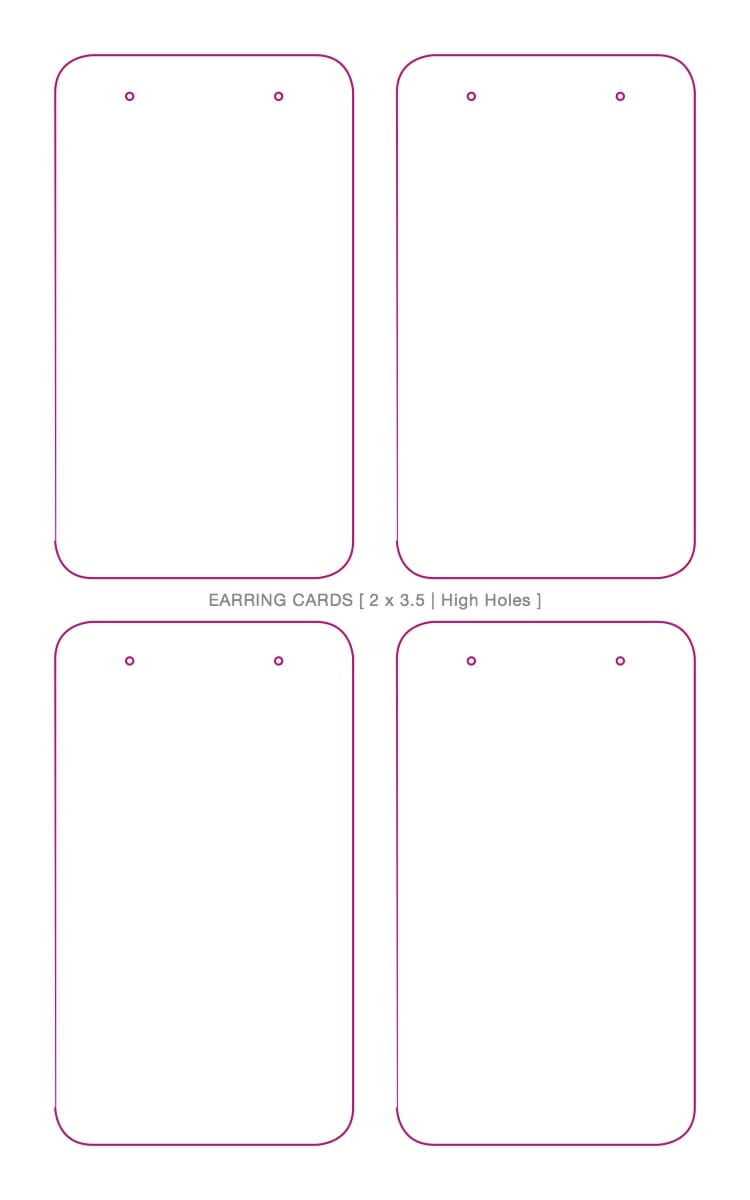
Rectangular earring cards with upper holes die cut die
To deboss (or emboss) anything, you must create a separate die (shown below). Again, you need an online template.

Rectangular earring cards emboss die
Although this isn’t really necessary, you can create an online mockup to see how the two dies will look when combined.
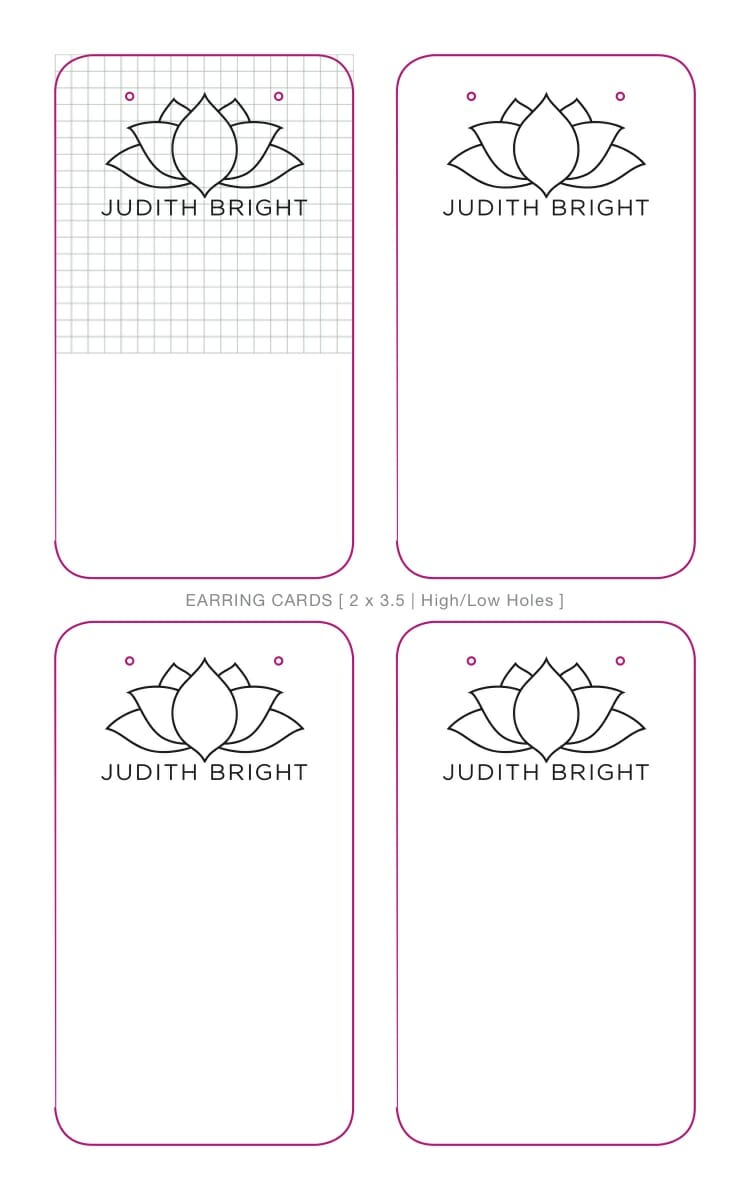
Mockup of rectangular earrings with upper holes
Letterpress Step 2: Create the dies
Once you have created a design and layout, it is time to send the file to your local printer. If they cannot make the die in-house, they should be able to find someone who can.
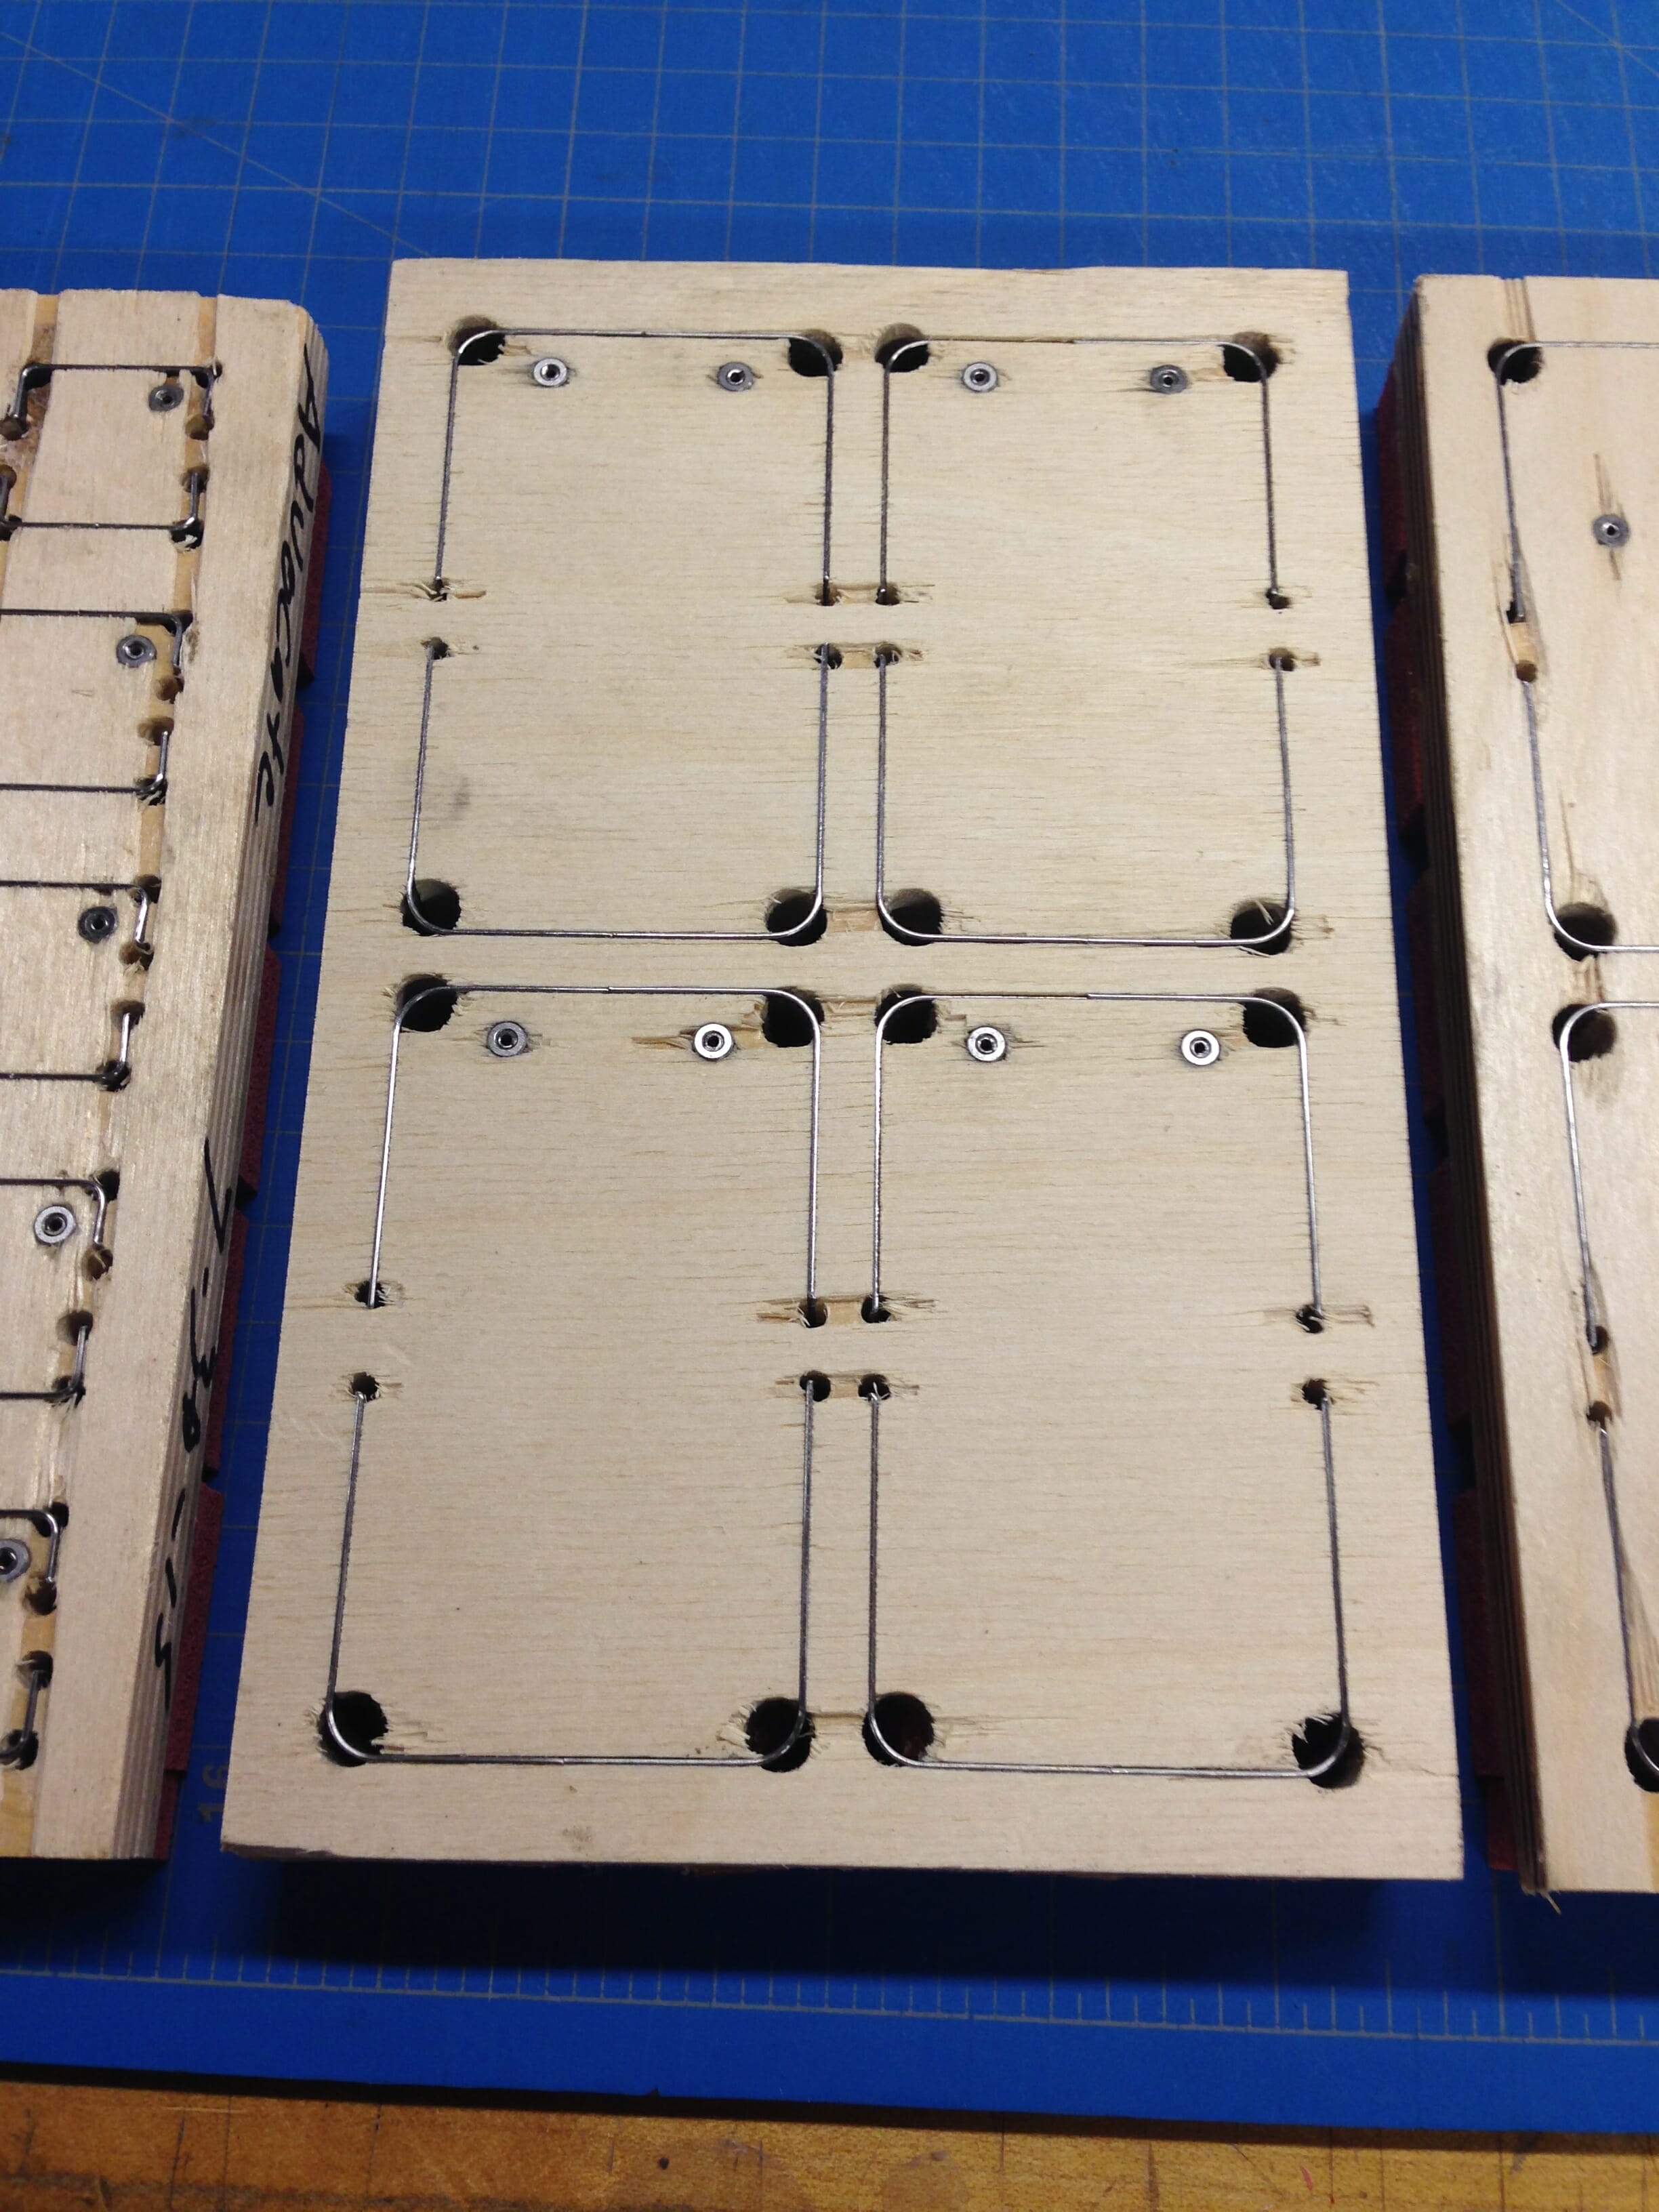
Rectangular earring cards with upper holes die cut die
The above photo is the die cut die of the earring tags. The below photo is the emboss die of the same earring tags.
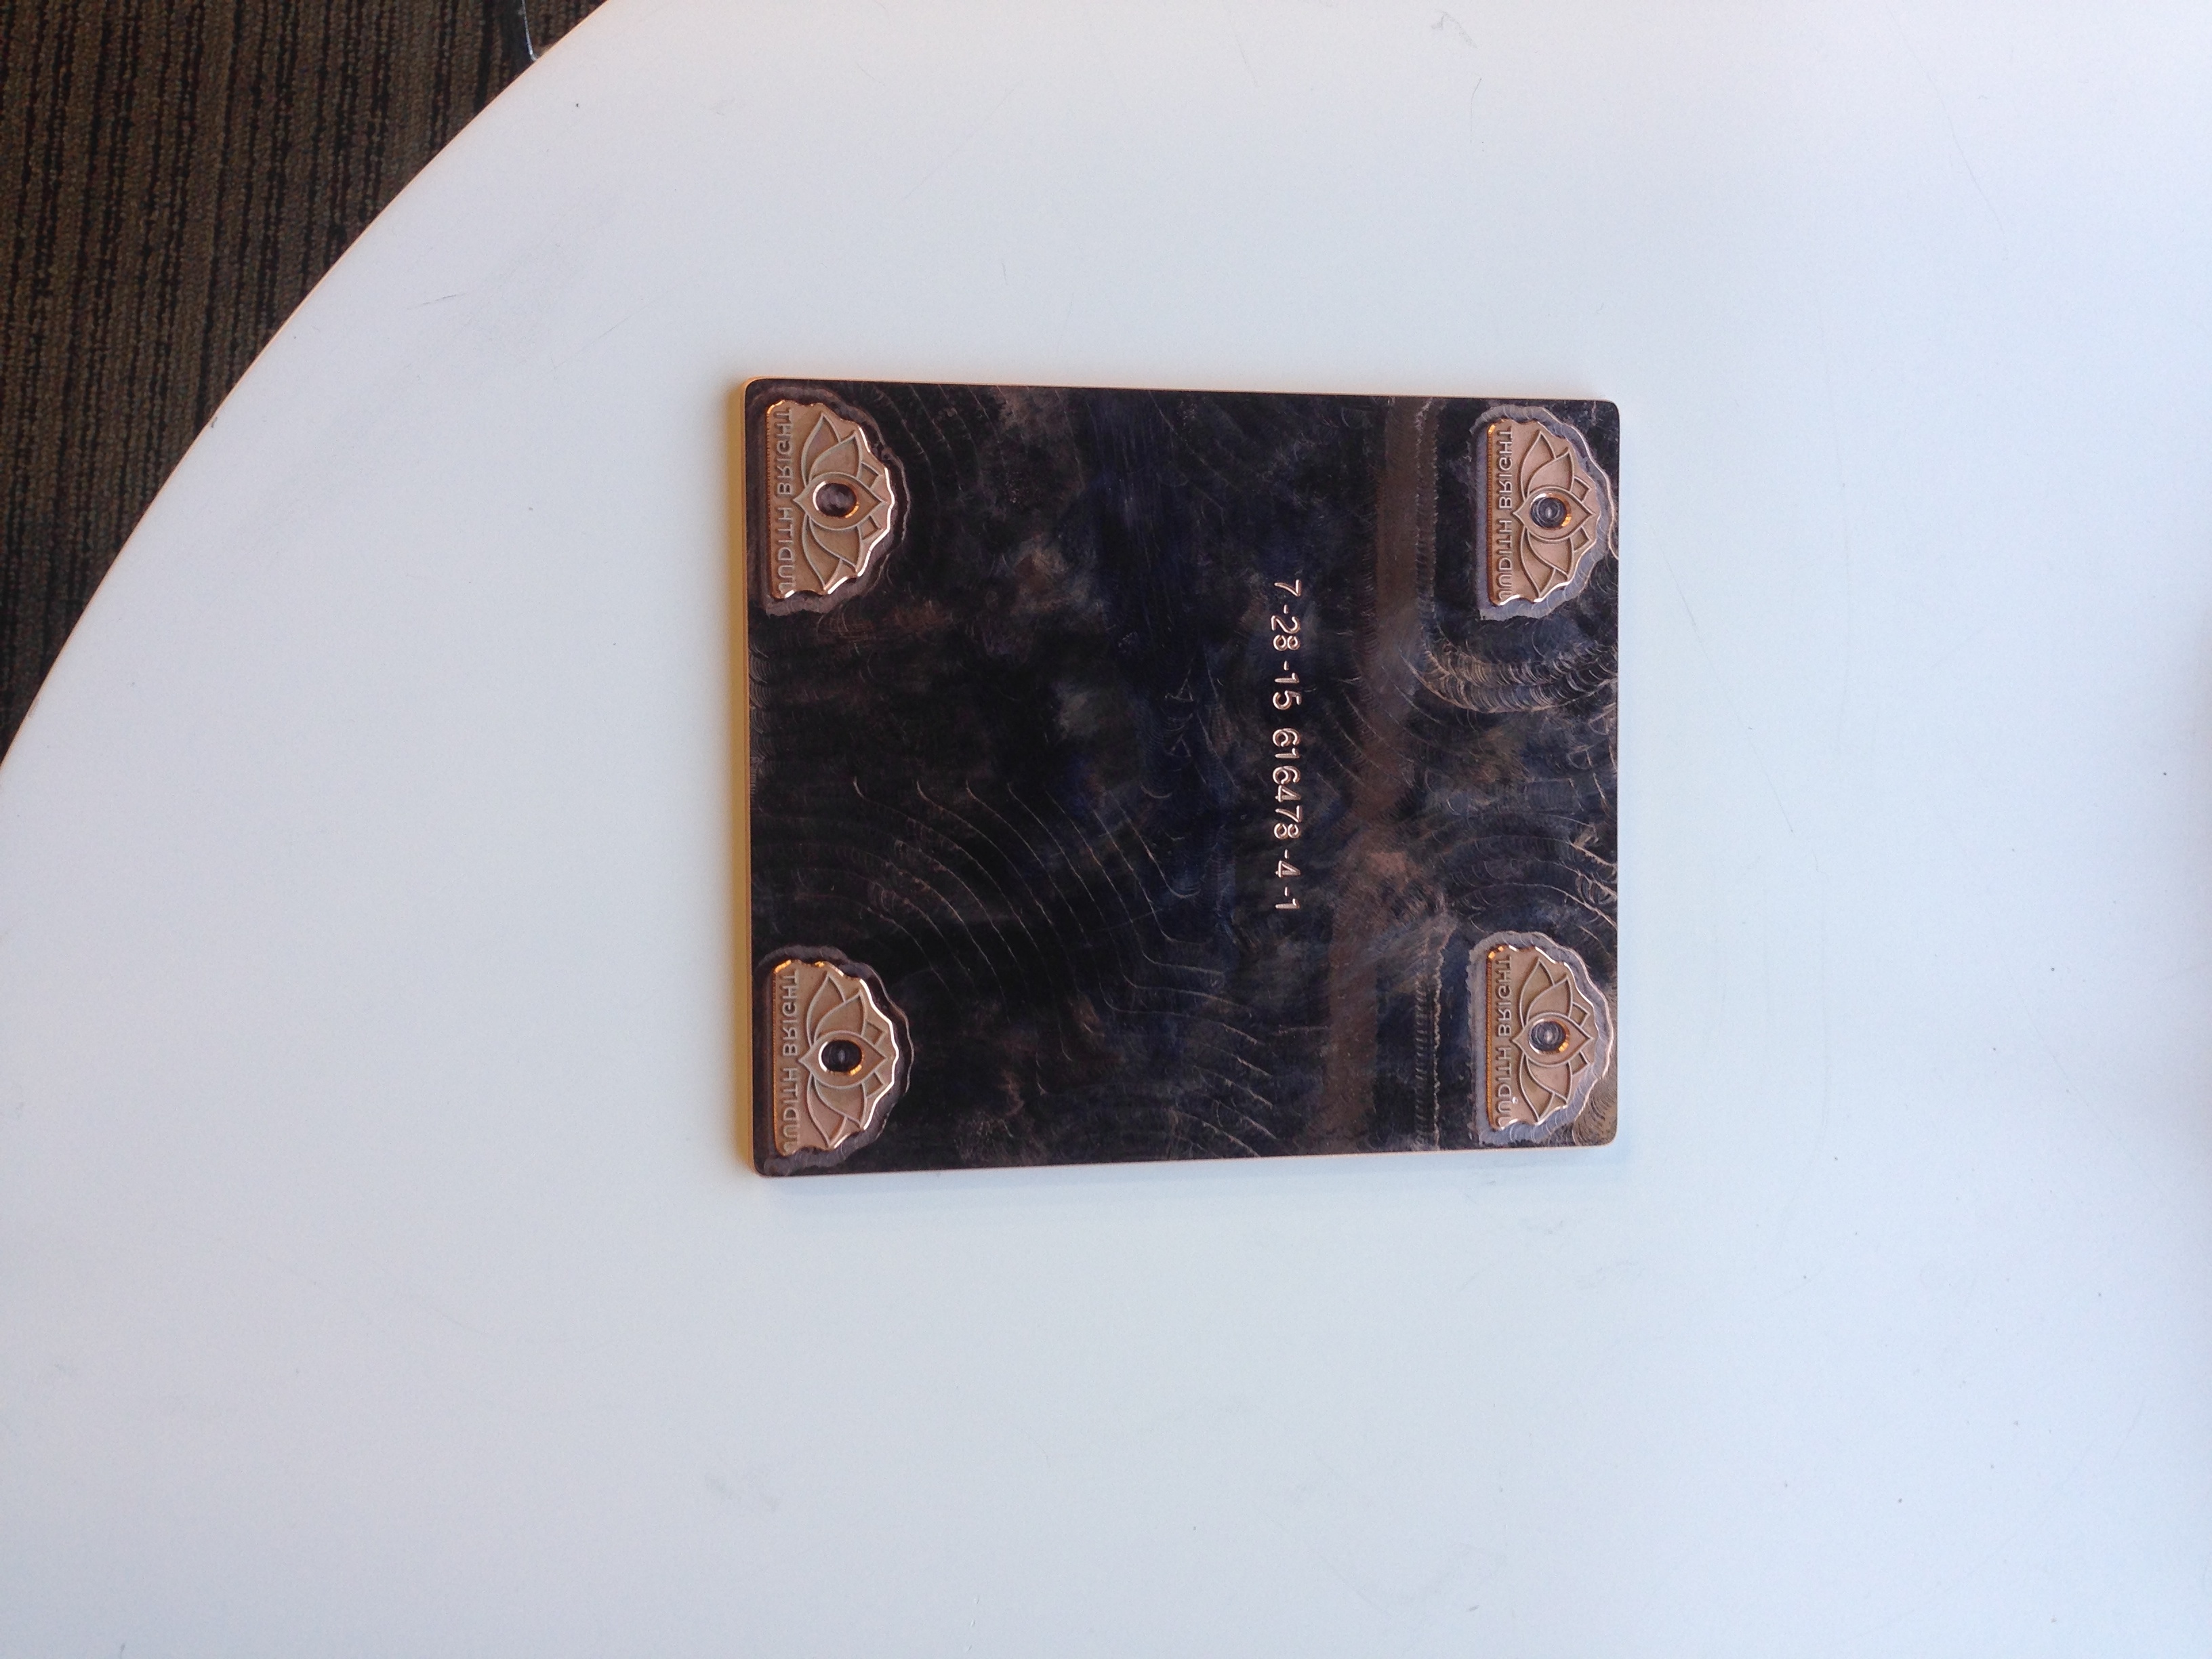
Rectangular earring cards with upper holes emboss die
Letterpress Step 3: Print cards
The only printing required on this set of tags and cards was for the one-inch necklace squares. “Judith Bright” is printed below the logo because it is too small to emboss.
Letterpress Step 4: Foil stamp
Once you have created your dies and sent your cards to press, it is time to foil stamp your print products! This is where one uses the emboss die, as shown above. Applied with metallic foil and heat, the die creates a beautiful end product (shown below).
Foil-stamped rectangular earring cards
Letterpress Step 5: Die cut
Almost done! Now it is time to use the letterpress. Again, we use a 1971 Heidelberg Windmill to die cut 4 earring tags at a time.

Die cut and foil-stamped rectangular earring cards
Letterpress Step 6: Punch out
Finally, once everything is cut and stamped, it is time to punch out the final cards. Each individual card (and its jewelry holes) must be removed by hand.
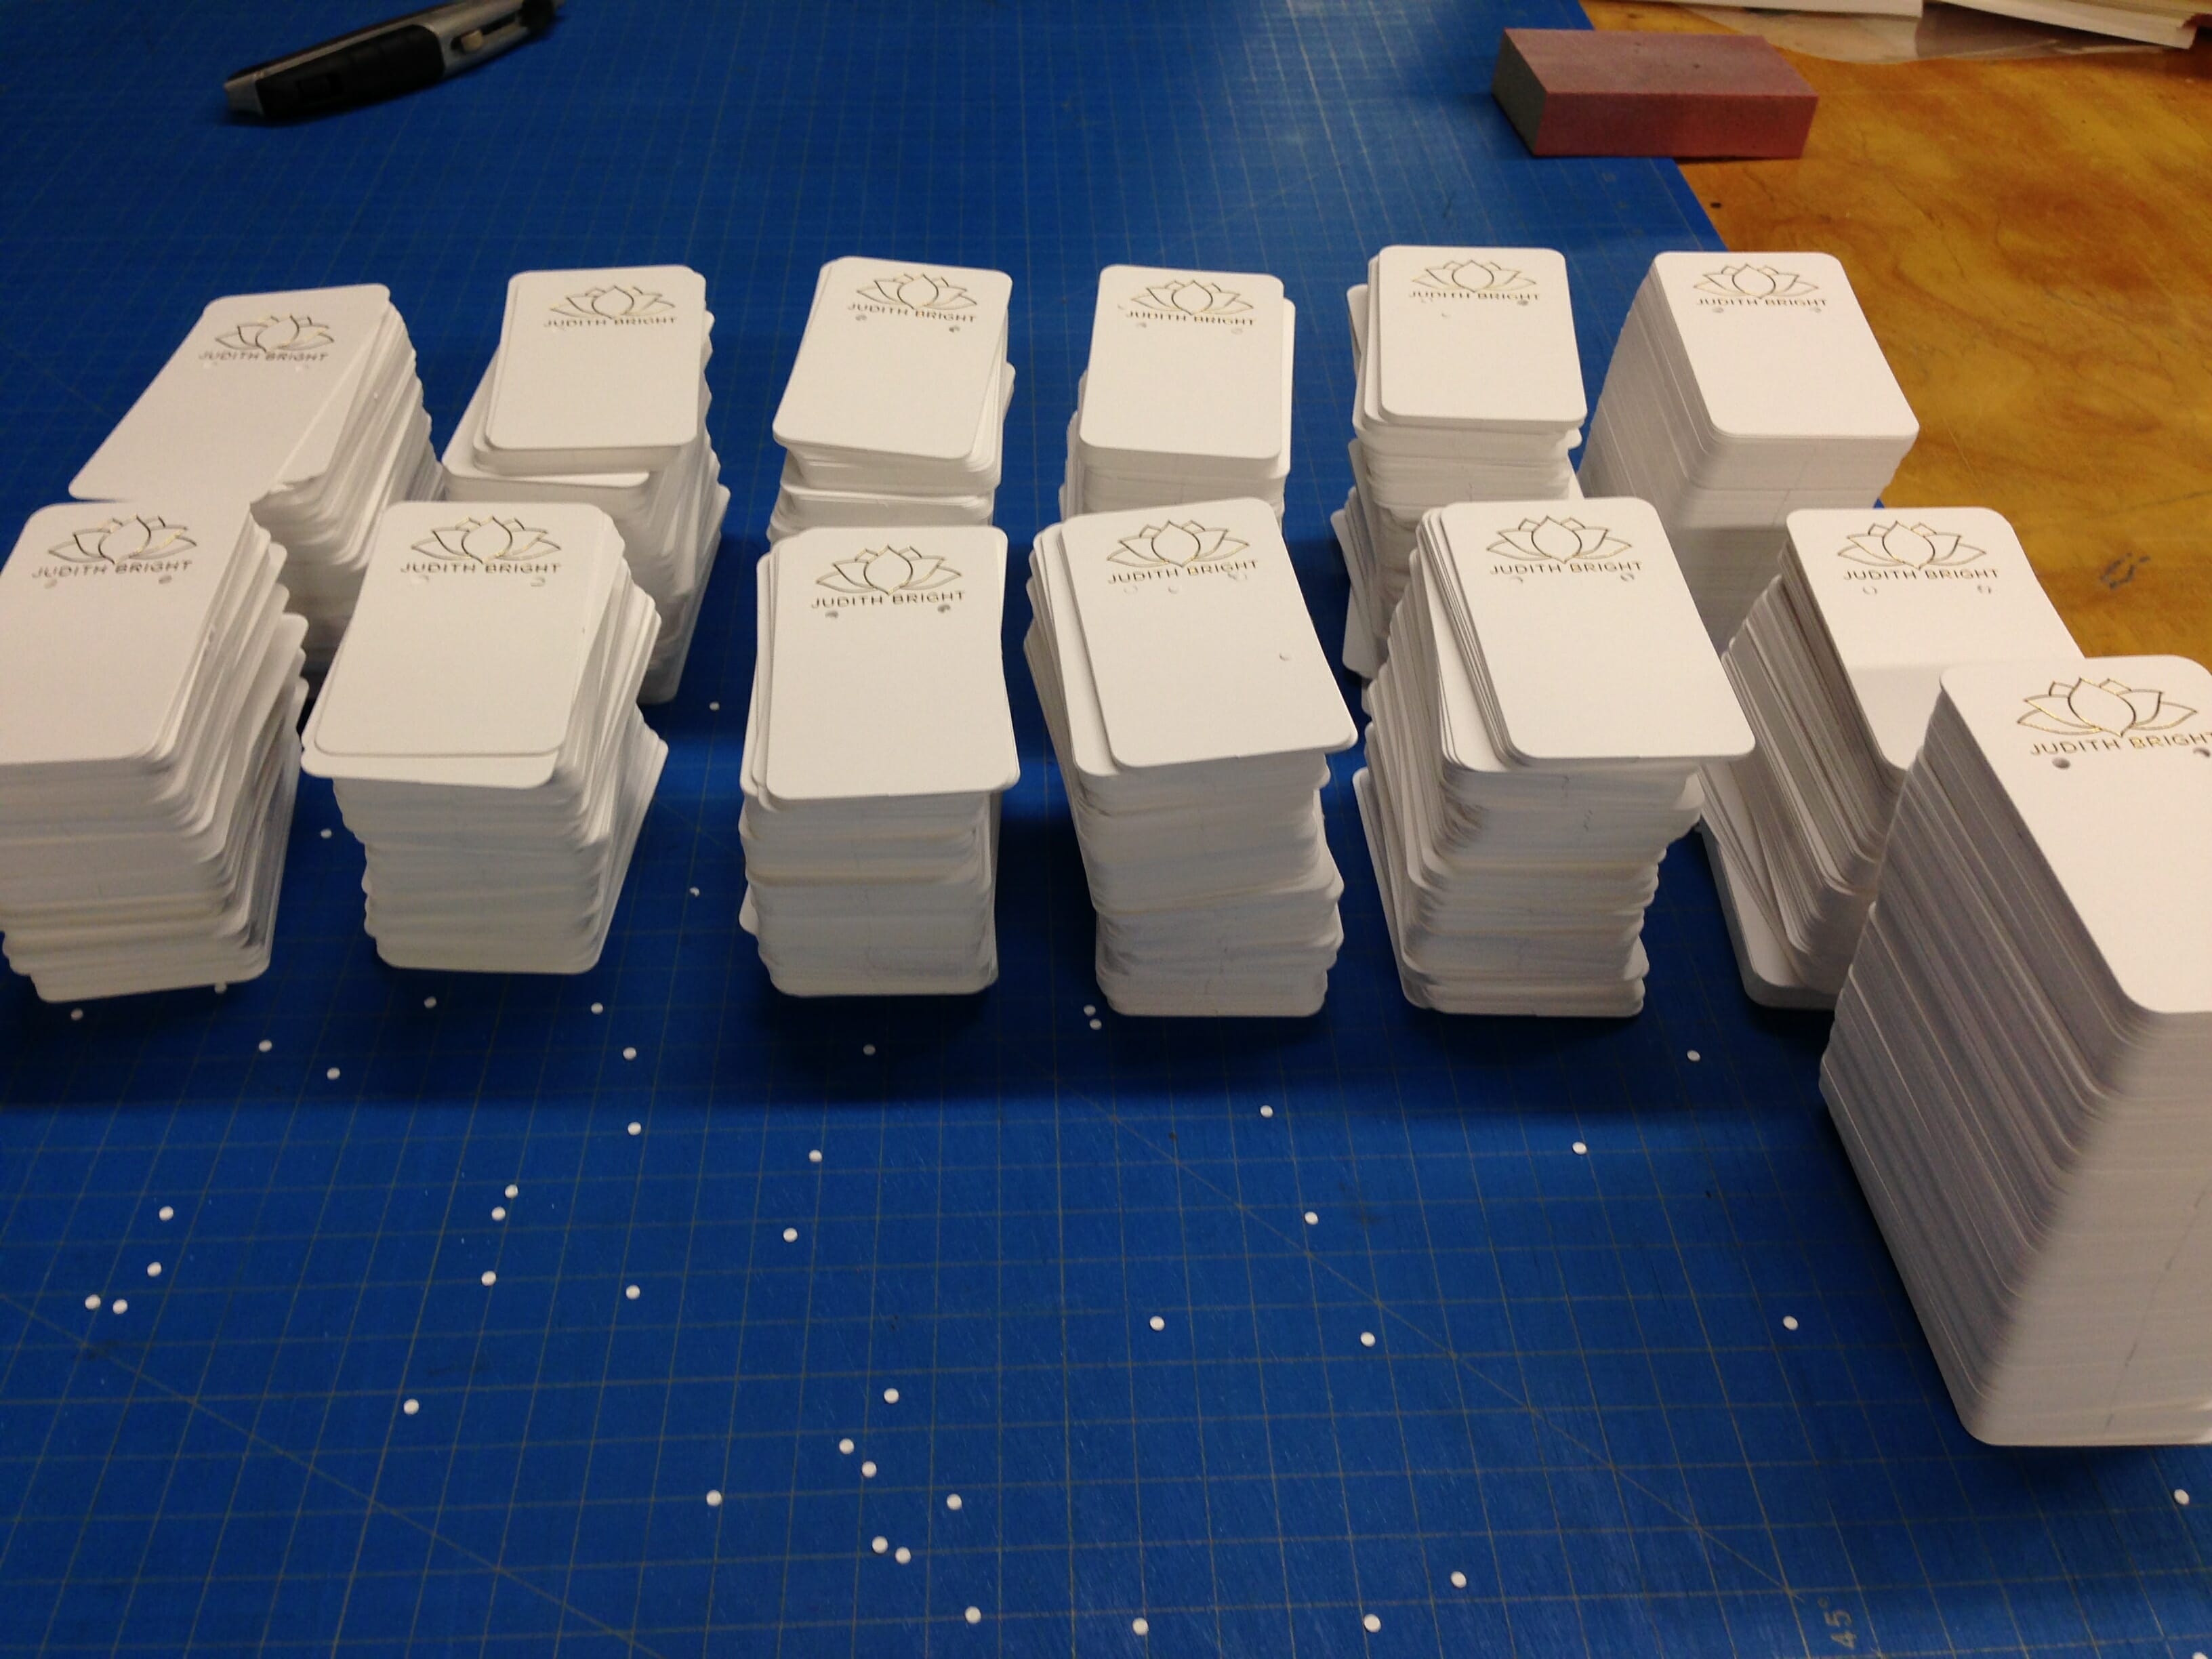
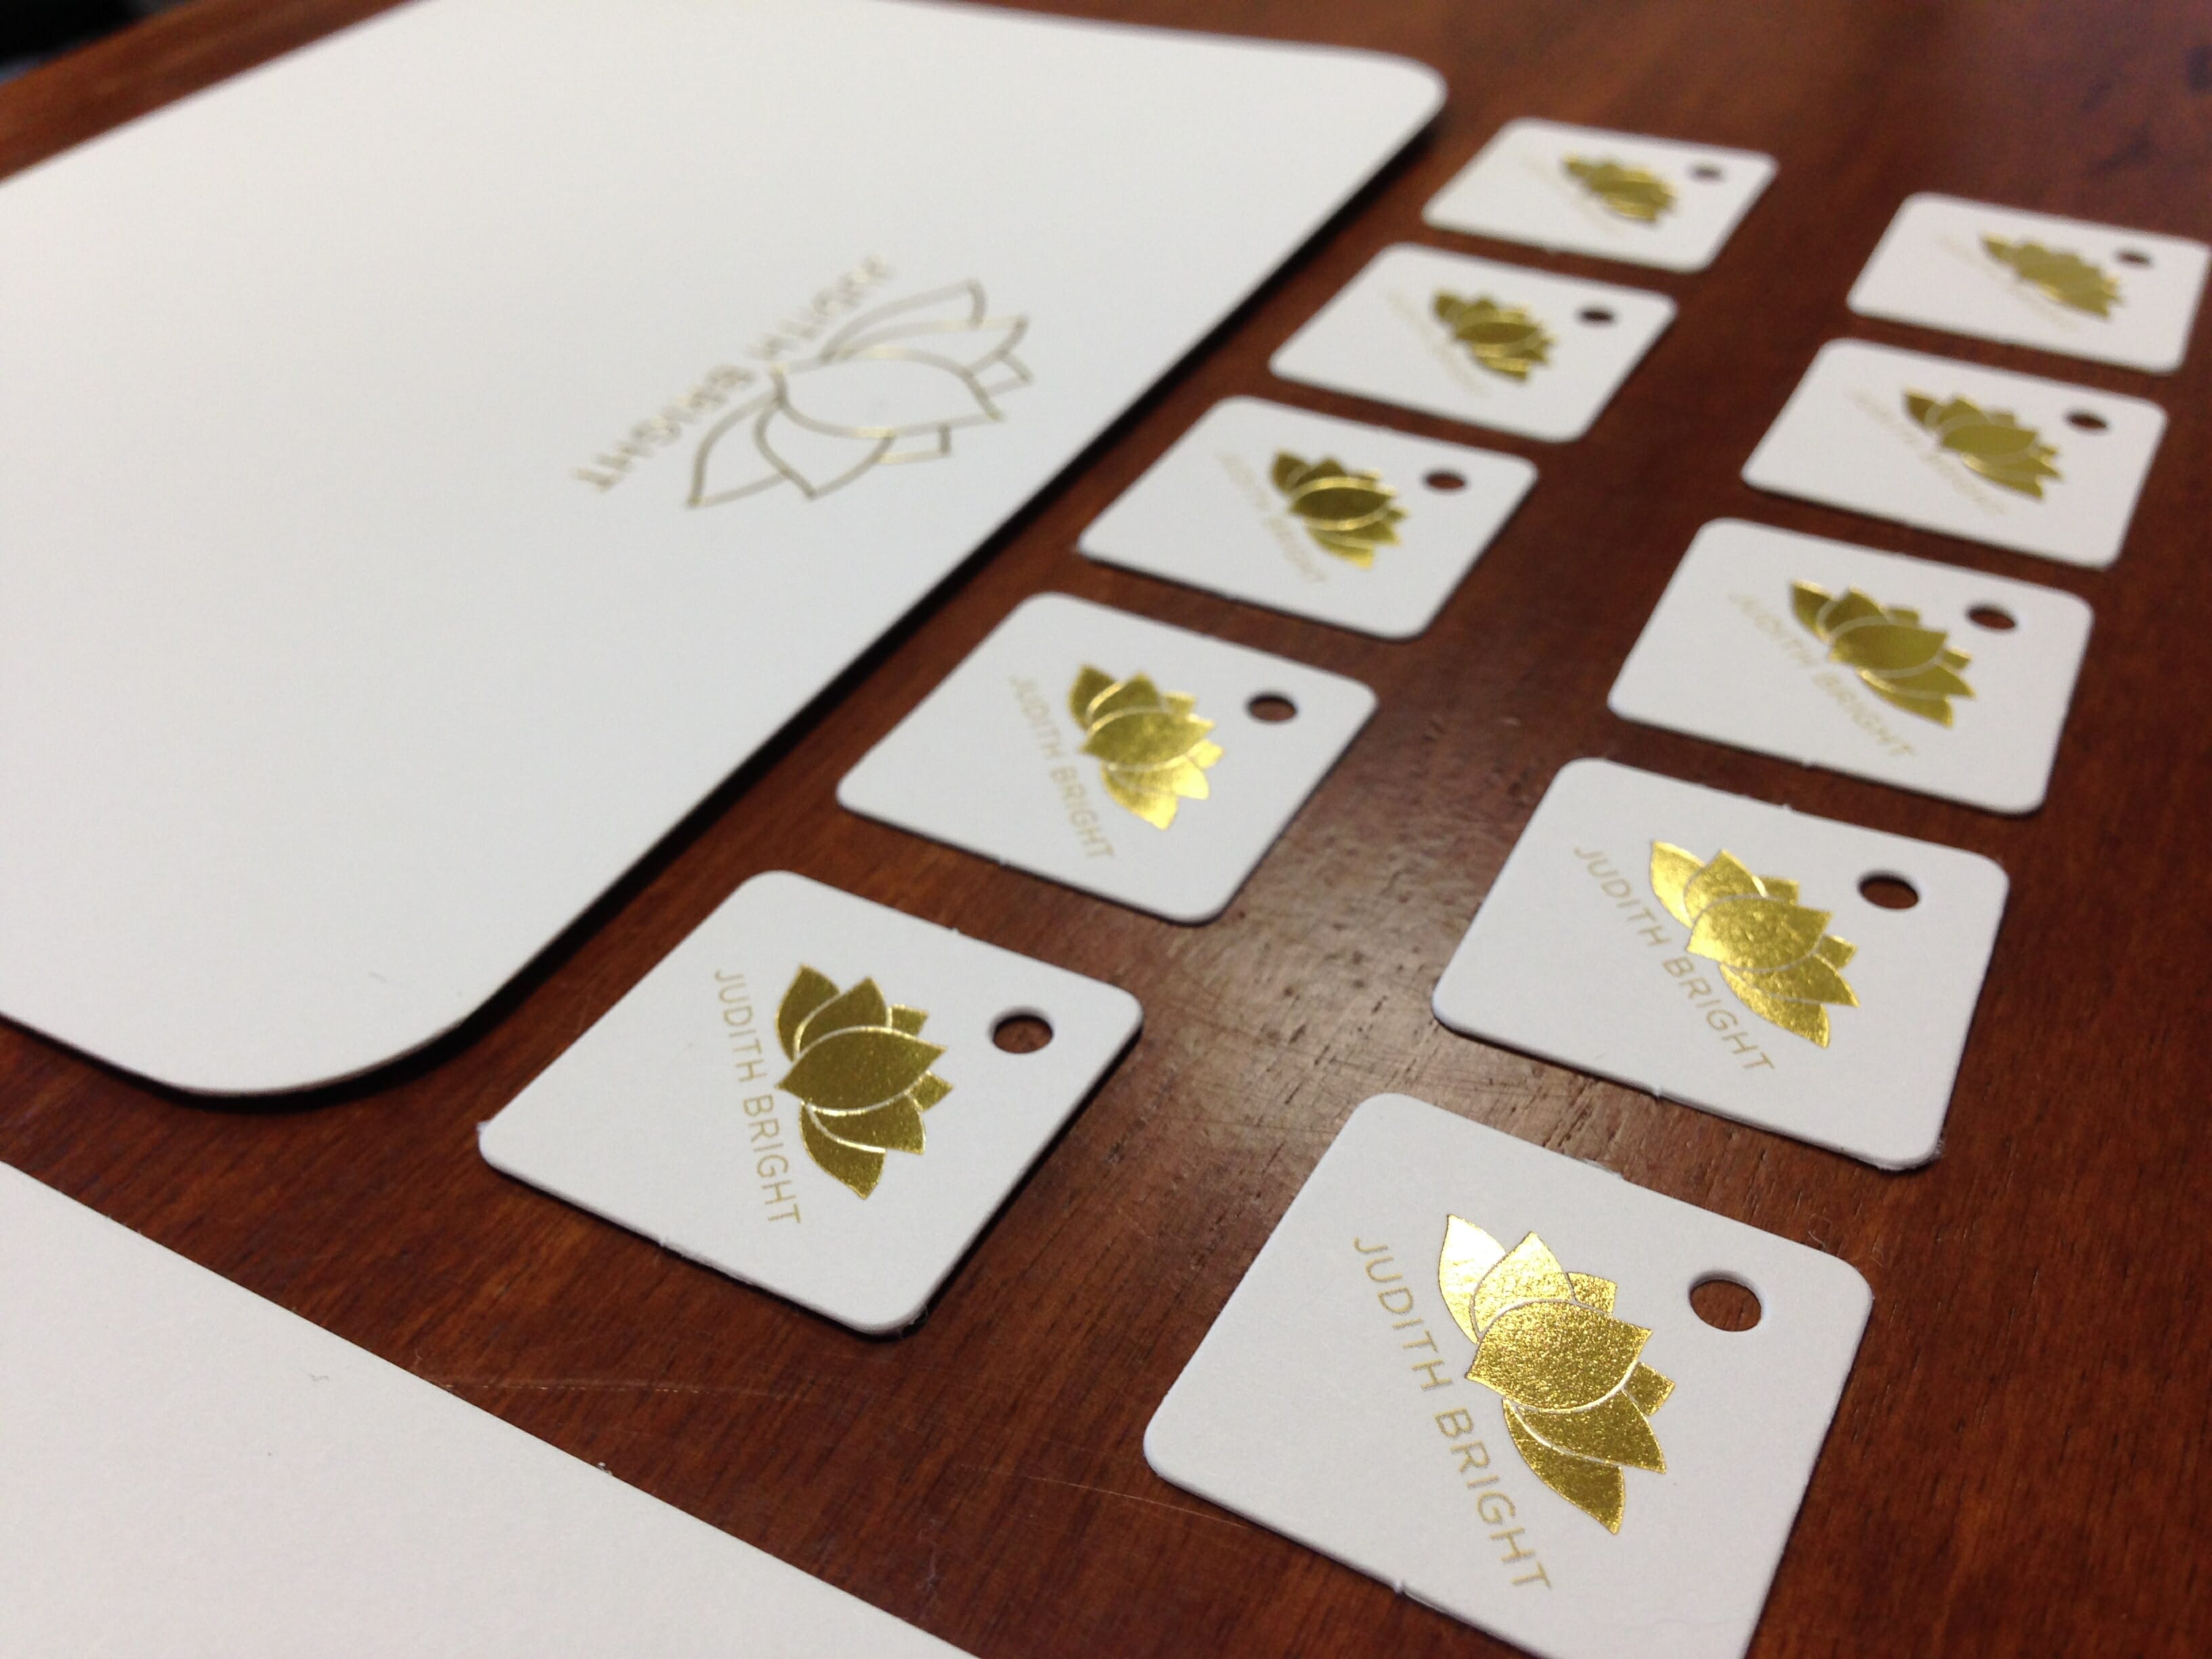
Completed die cut and foil stamped rectangular earring cards
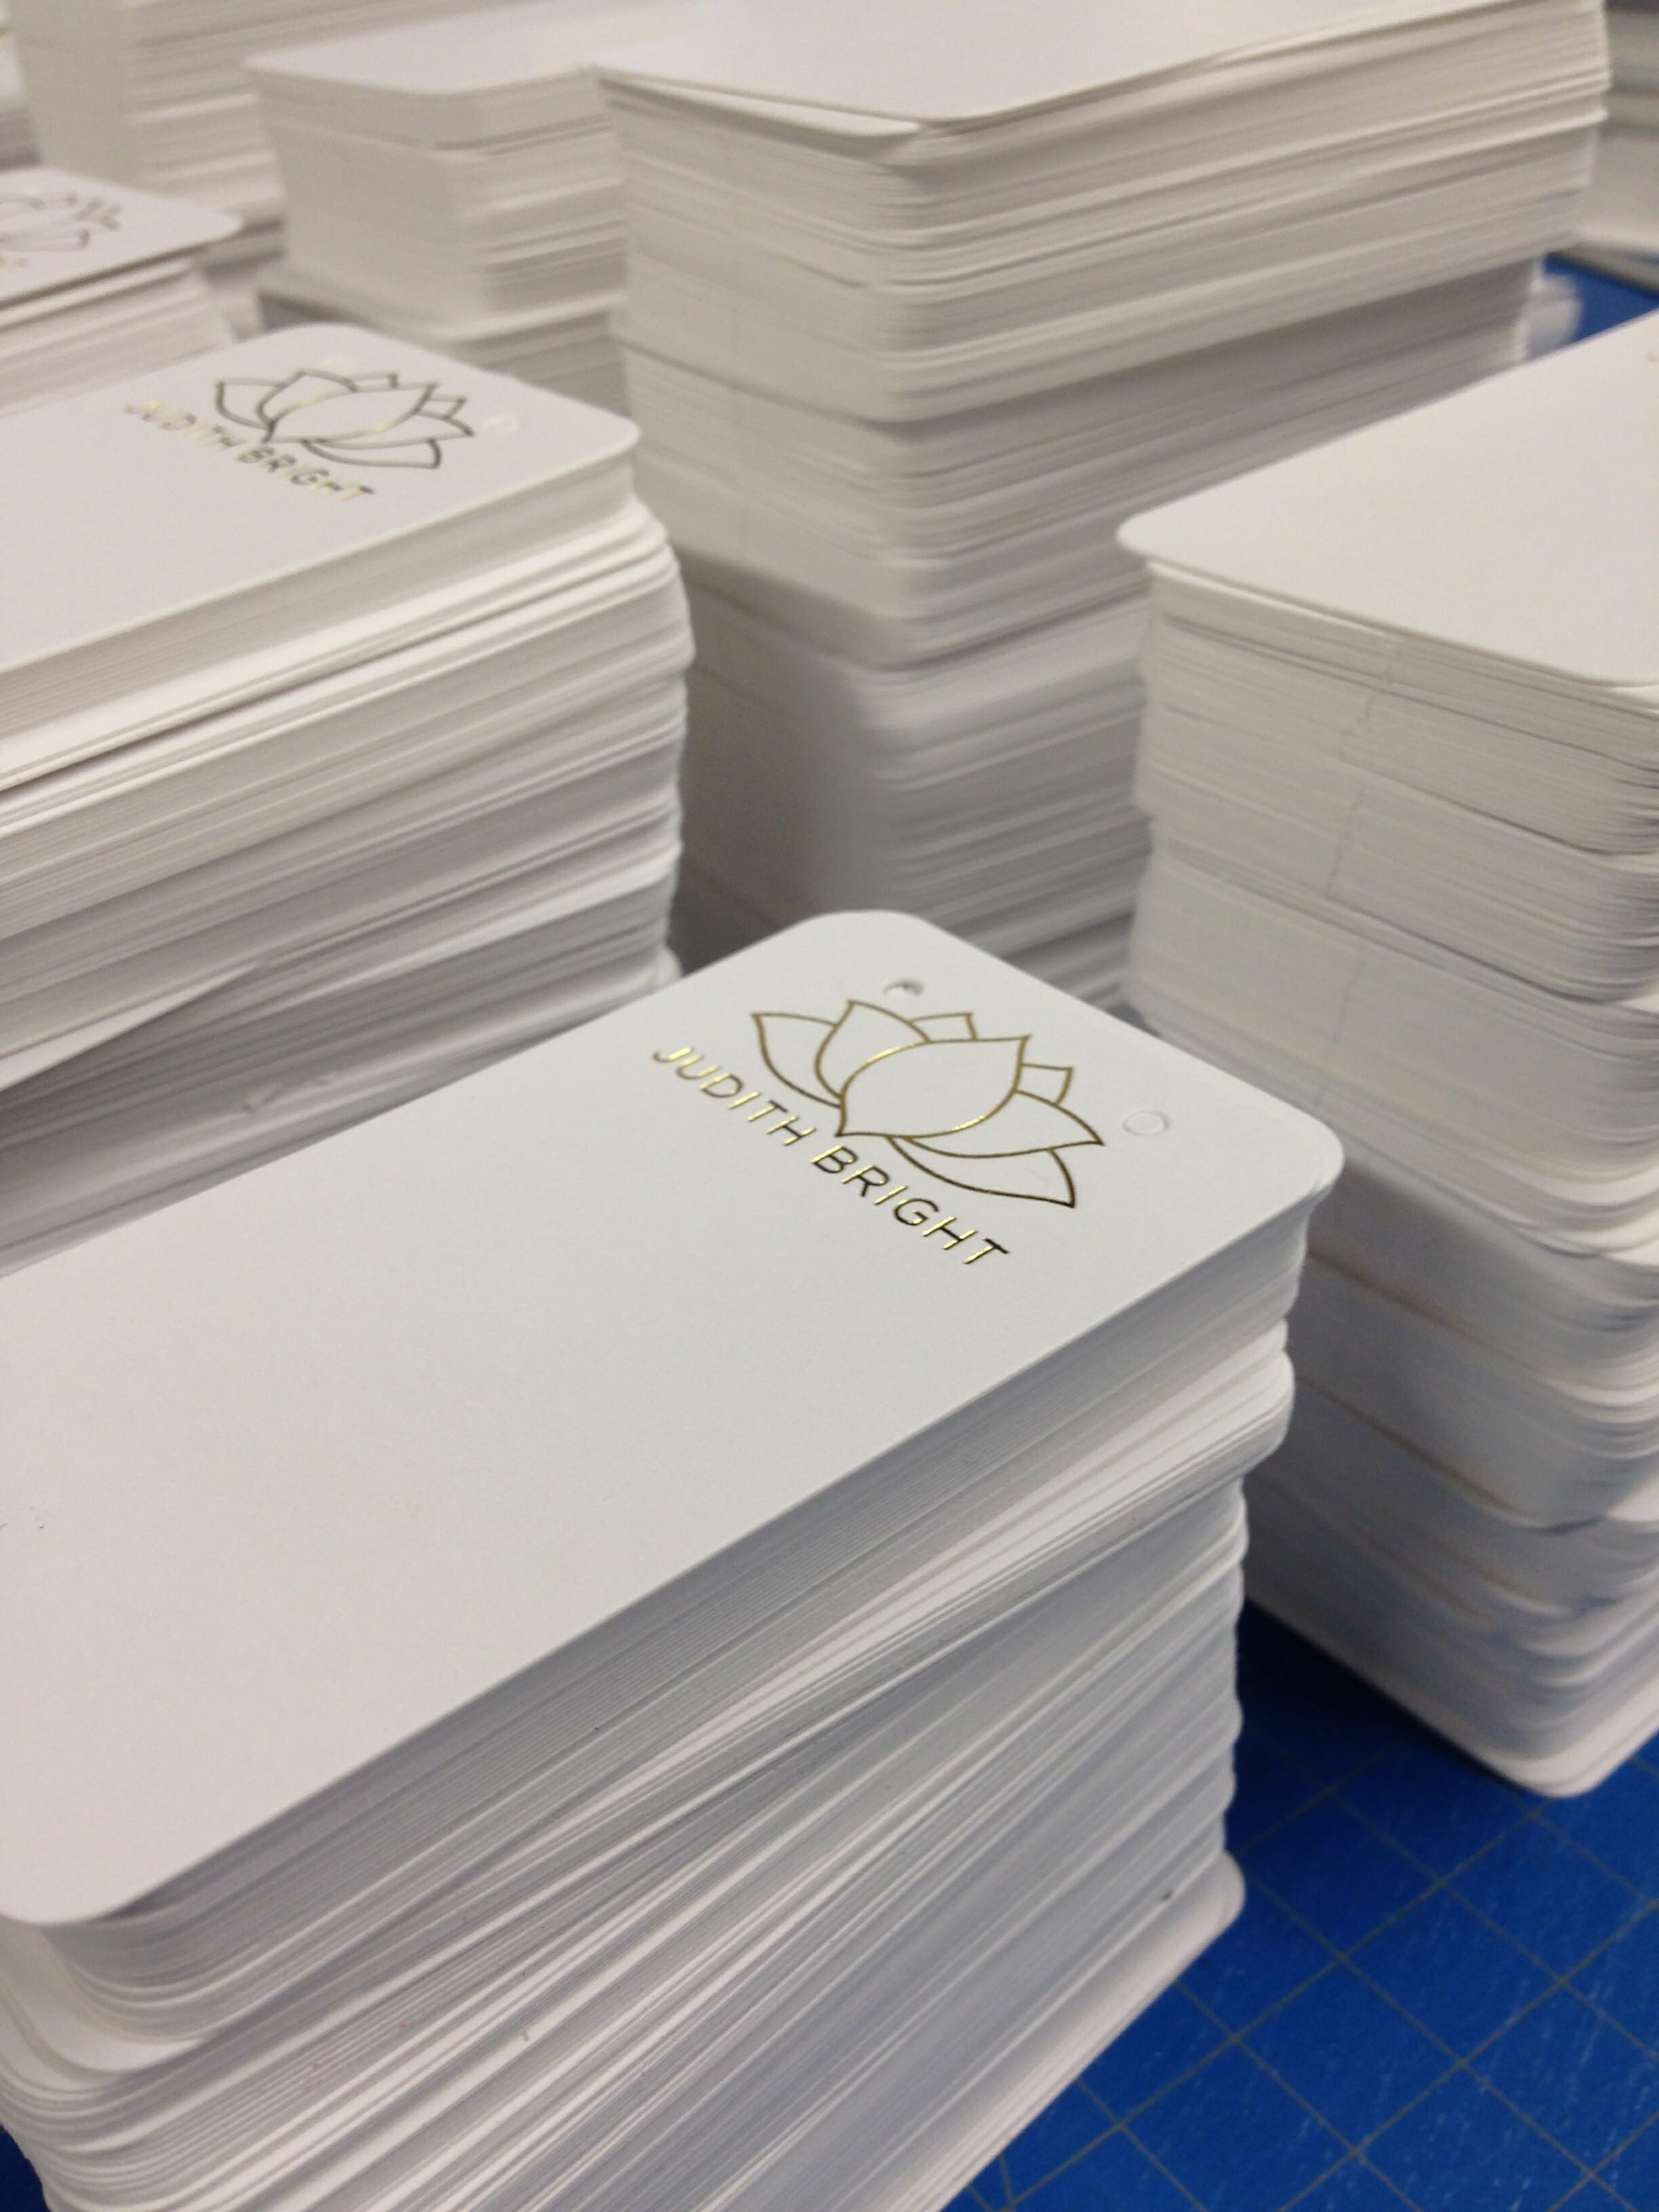
Completed die cut and foil stamped rectangular earring cards
Completed die cut and foil stamped rectangular earring cards
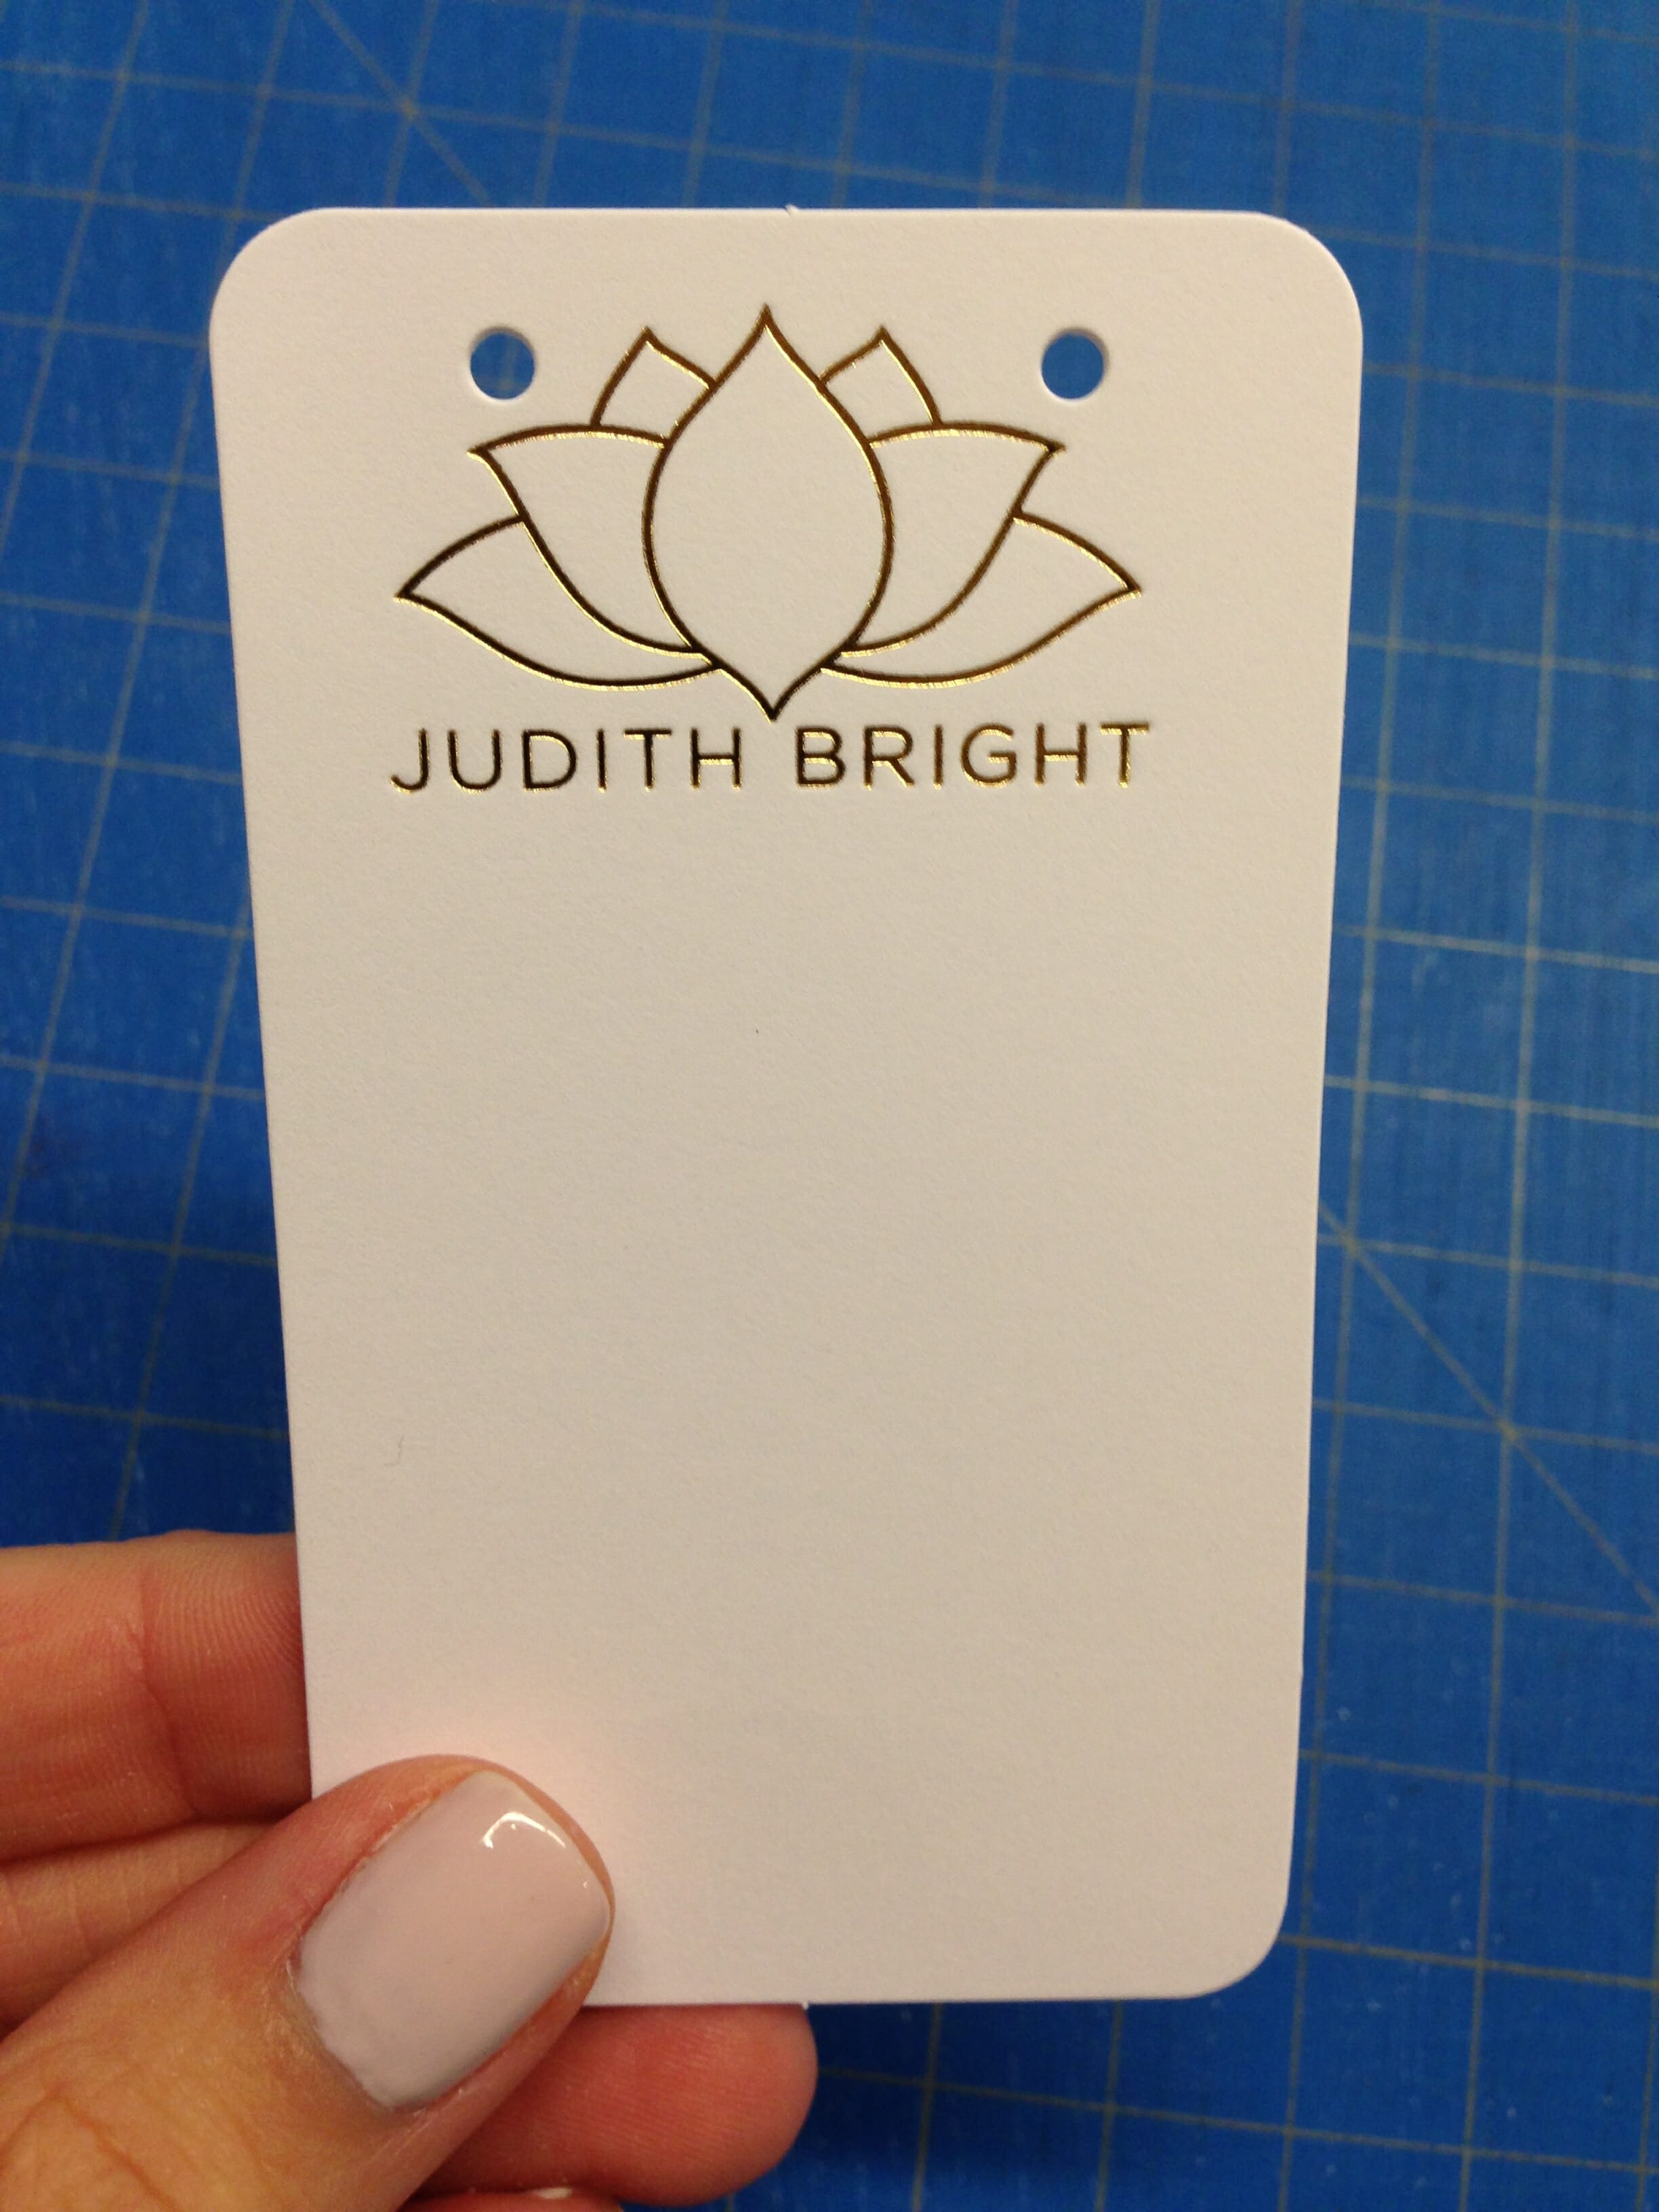
Ta-Da!
After meticulous design, layout, letterpress and handwork, the cards and tags are complete. Stay tuned for Judith Bright gift cards… we are in the process of creating new ones!
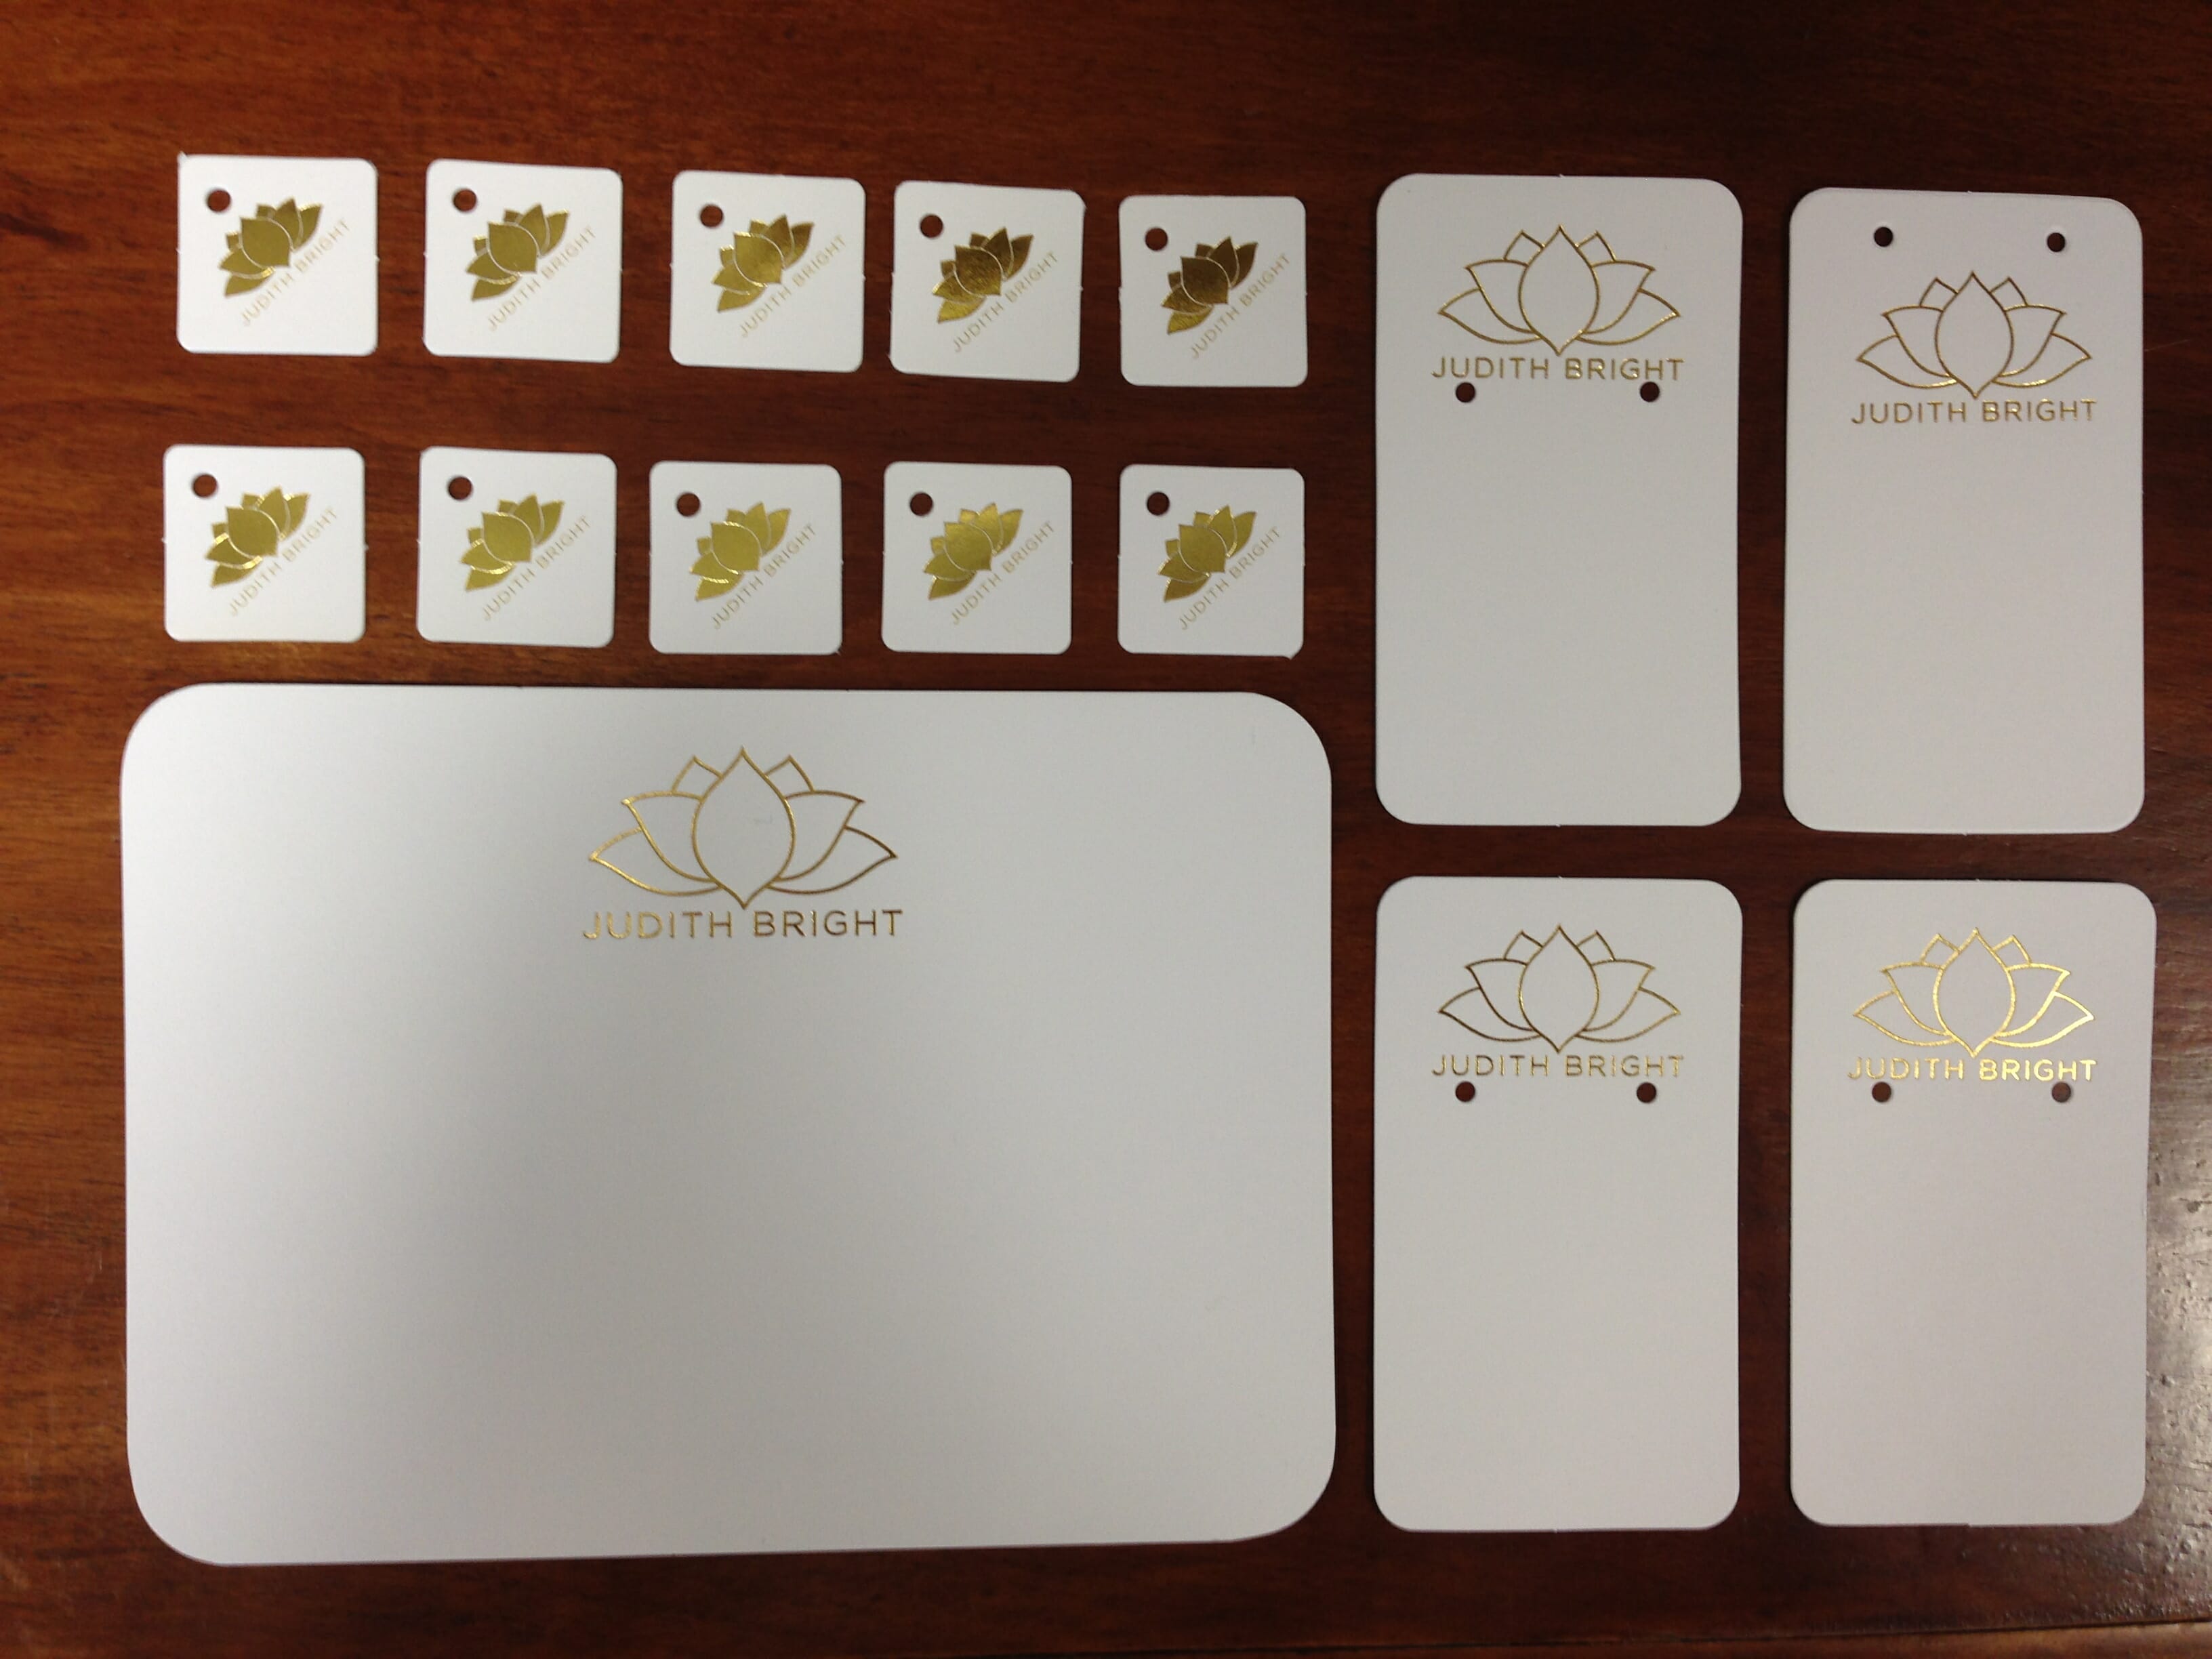
Completed die cut and foil stamped Judith Bright tags and cards
Completed die cut and foil stamped Judith Bright tags and cards
Please contact us if you have any questions or would like a quote for letterpress or die cutting. We would love to help you if we can!