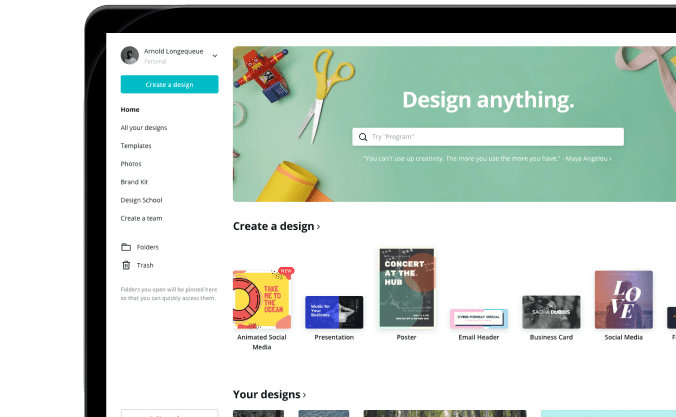
While the Adobe suite of production like InDesign and Illustrator have been a staple in the design and print world for decades, a new product has recently taken the design world by storm. With a simple to use design interface, a low entry cost for new users and a drag and drop, web based design Canva (www.Canva.com) is rapidly becoming a go-to design tool for simple, easy to use design for both digital and print marketing.
As with any new platform, there are some “quirks” to getting the most from Canva. Below are a few of the basics you should ALWAYS follow when using Canva for print design.
Set Your File For Print
One of the biggest issues we see with Canva designs is the bleed (that little extra around the edge printers need to trim your prints all the way to the edge and not leave tiny white edges). Canva actually has a setting to help you achieve the same bleed the AMP team needs for your prints (1/8” on each side).
To see the bleed area of your file, select FILE in the top left corner and then check SHOW PRINT BLEED. This will extend the edge of your image the extra 1/8” on each side. Now all you have to do is ensure that your background or images extend all the way out into this space as needed. If you have a white background to your print, there is nothing to extend, but you still need to turn on the bleed feature.
When making adjustments, known that anything in the 1/8” bleed area will be trimmed off your print in the finishing process so if you want it to show up on your print, don’t let it creep into the bleed area.
DOWNLOAD FOR PRINTING
Unlike an image you are using for digital only visuals, a print file is a bit more involved. In addition to bleed which we talked about above, crop marks are also needed to ensure we trim your printed file correctly.
Start by clicking the DOWNLOAD (the arrow pointing down in the top right corner).
Next, under FILE TYPE pull the menu down and select PDF PRINT if it’s not already selected.
Lastly, check the box next to CROP MARKS AND BLEED. This will create your print ready PDF with the 1/8” bleed and crop marks both showing in your PDF that you are going to send us.
Now you can press DOWNLOAD and Canva will create a PDF file for you to send us that is ready to print.
CONVERT YOUR FILE TO CMYK
Canva by default creates files in RGB as it was initially designed to create digital only images for your RGB screen, yet all of our printing is done in CMYK. We can convert your PDF files to CMYK, but there is typically some color shift in this process as you are now using 4 base colors (Cyan, Yellow, Magenta and Black) instead of 3 base colors (Red, Green and Blue) to create the colors in your image.
For this reason it is best for you to use a simple CMYK conversion tool like pdf2CMYK (https://www.pdf2cmyk.com) so you can see the color changes prior to sending us your file. It will save time in the order process by eliminating the need for you to do a redesign after you see the file we converted to CMYK.
GO CREATE!
These are just a couple of the basic issues we have seen as Canva has come on the scene and are in no way the only things to watch out for. You still need to follow basic design principles for print materials such as high resolution images etc.
As with any design tool, it’s only as good as the content you put in to it. If you are just not able to get the results you are wanting in the design process, let us know! The AMP team of designers are here to take your ideas and create exactly what you need!
