Have you ever read a blog post about business cards that stated the obvious? Such as “put all your information on your card,” or “don’t use ugly colors?” Well, we have. Here’s what we have to say to those blog posts: duh! So we wanted to create a more descriptive, specific blog post about creating both unique and print-ready business cards.
Step 1: Business Card Design
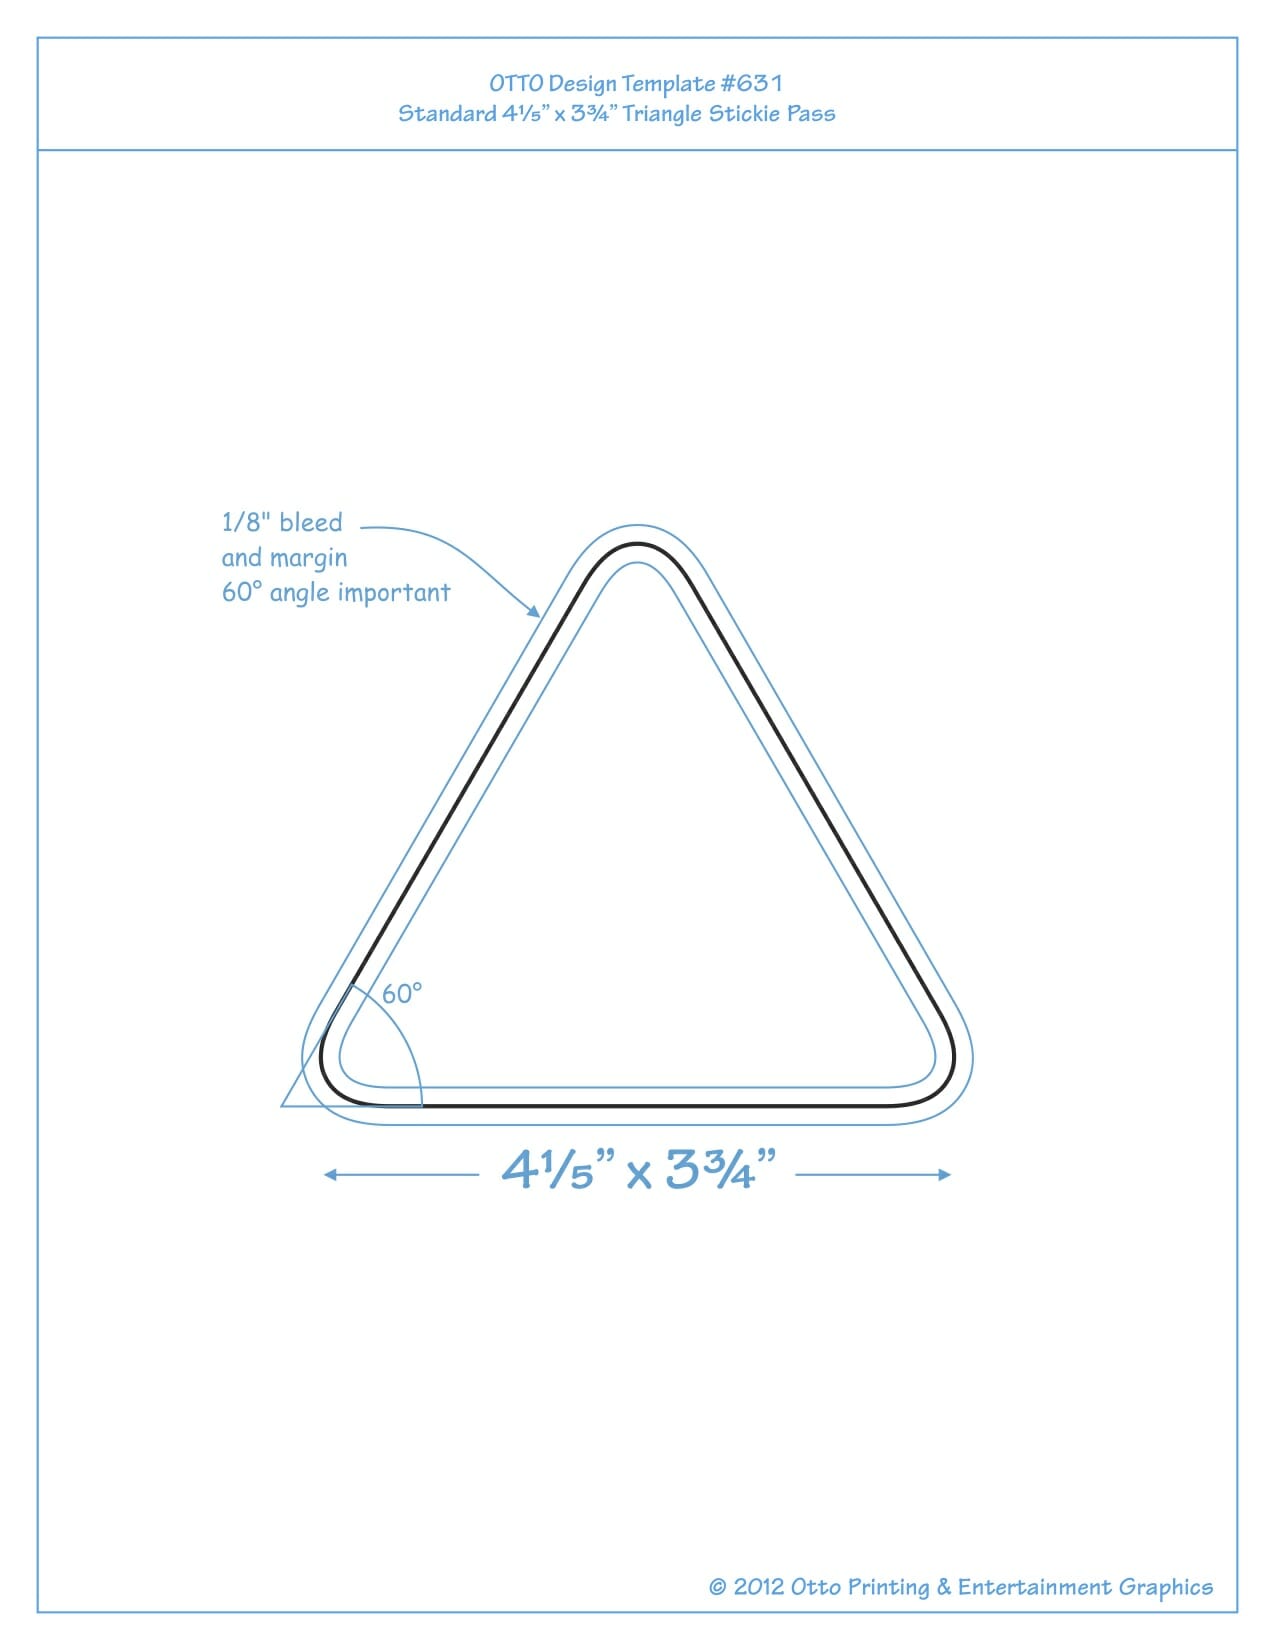
When you design a card, make sure the images, logos and other information are located at least 1/8 inch away from the edges of the card. The cutting process is not exact, and you would not want any artwork or text trimmed.
On that same note, make sure your card has bleed. Bleed is a term used to describe documents that have images or elements that touch the edge of the page, extending beyond the trim edge and leaving no white margin.
If you use a picture, make sure the resolution is at least 300 dpi. Even if your photo looks fine on the screen, it may look blurry or fuzzy when printed.
Know the difference between color components used by computer screens and printers. Screens use a red, green and blue color scheme and mix these colors to create other colors. Printers either use CMYK or PMS. CMYK stands for cyan (blue), magenta (red), yellow and black. PMS (Pantone Matching System), or spot colors, are pre-mixed with existing and published color formulas instead of simulating colors by combining primary colors. Most printers use CMYK, so your best bet is to create your design in CMYK colors.
Step 2: Business Card Paper
When it comes to paper, the first thing to know is cover weight versus text weight. For business cards, you always want cover weight. Text weight is much thinner, and it is used for things such as pages in a magazine.
Within cover weights, there are hundreds of papers to choose from. Hundreds. Want a basketweave, woodgrain or houndstooth paper for your card? They exist. How about an astro metallics palm tree green paper for your card? Or a paper with gold specks? You can search the internet all day for different paper types in different colors. However, unique papers typically cost more and take more time to produce. So if time and budget are not factors in your decision, go for a unique paper!
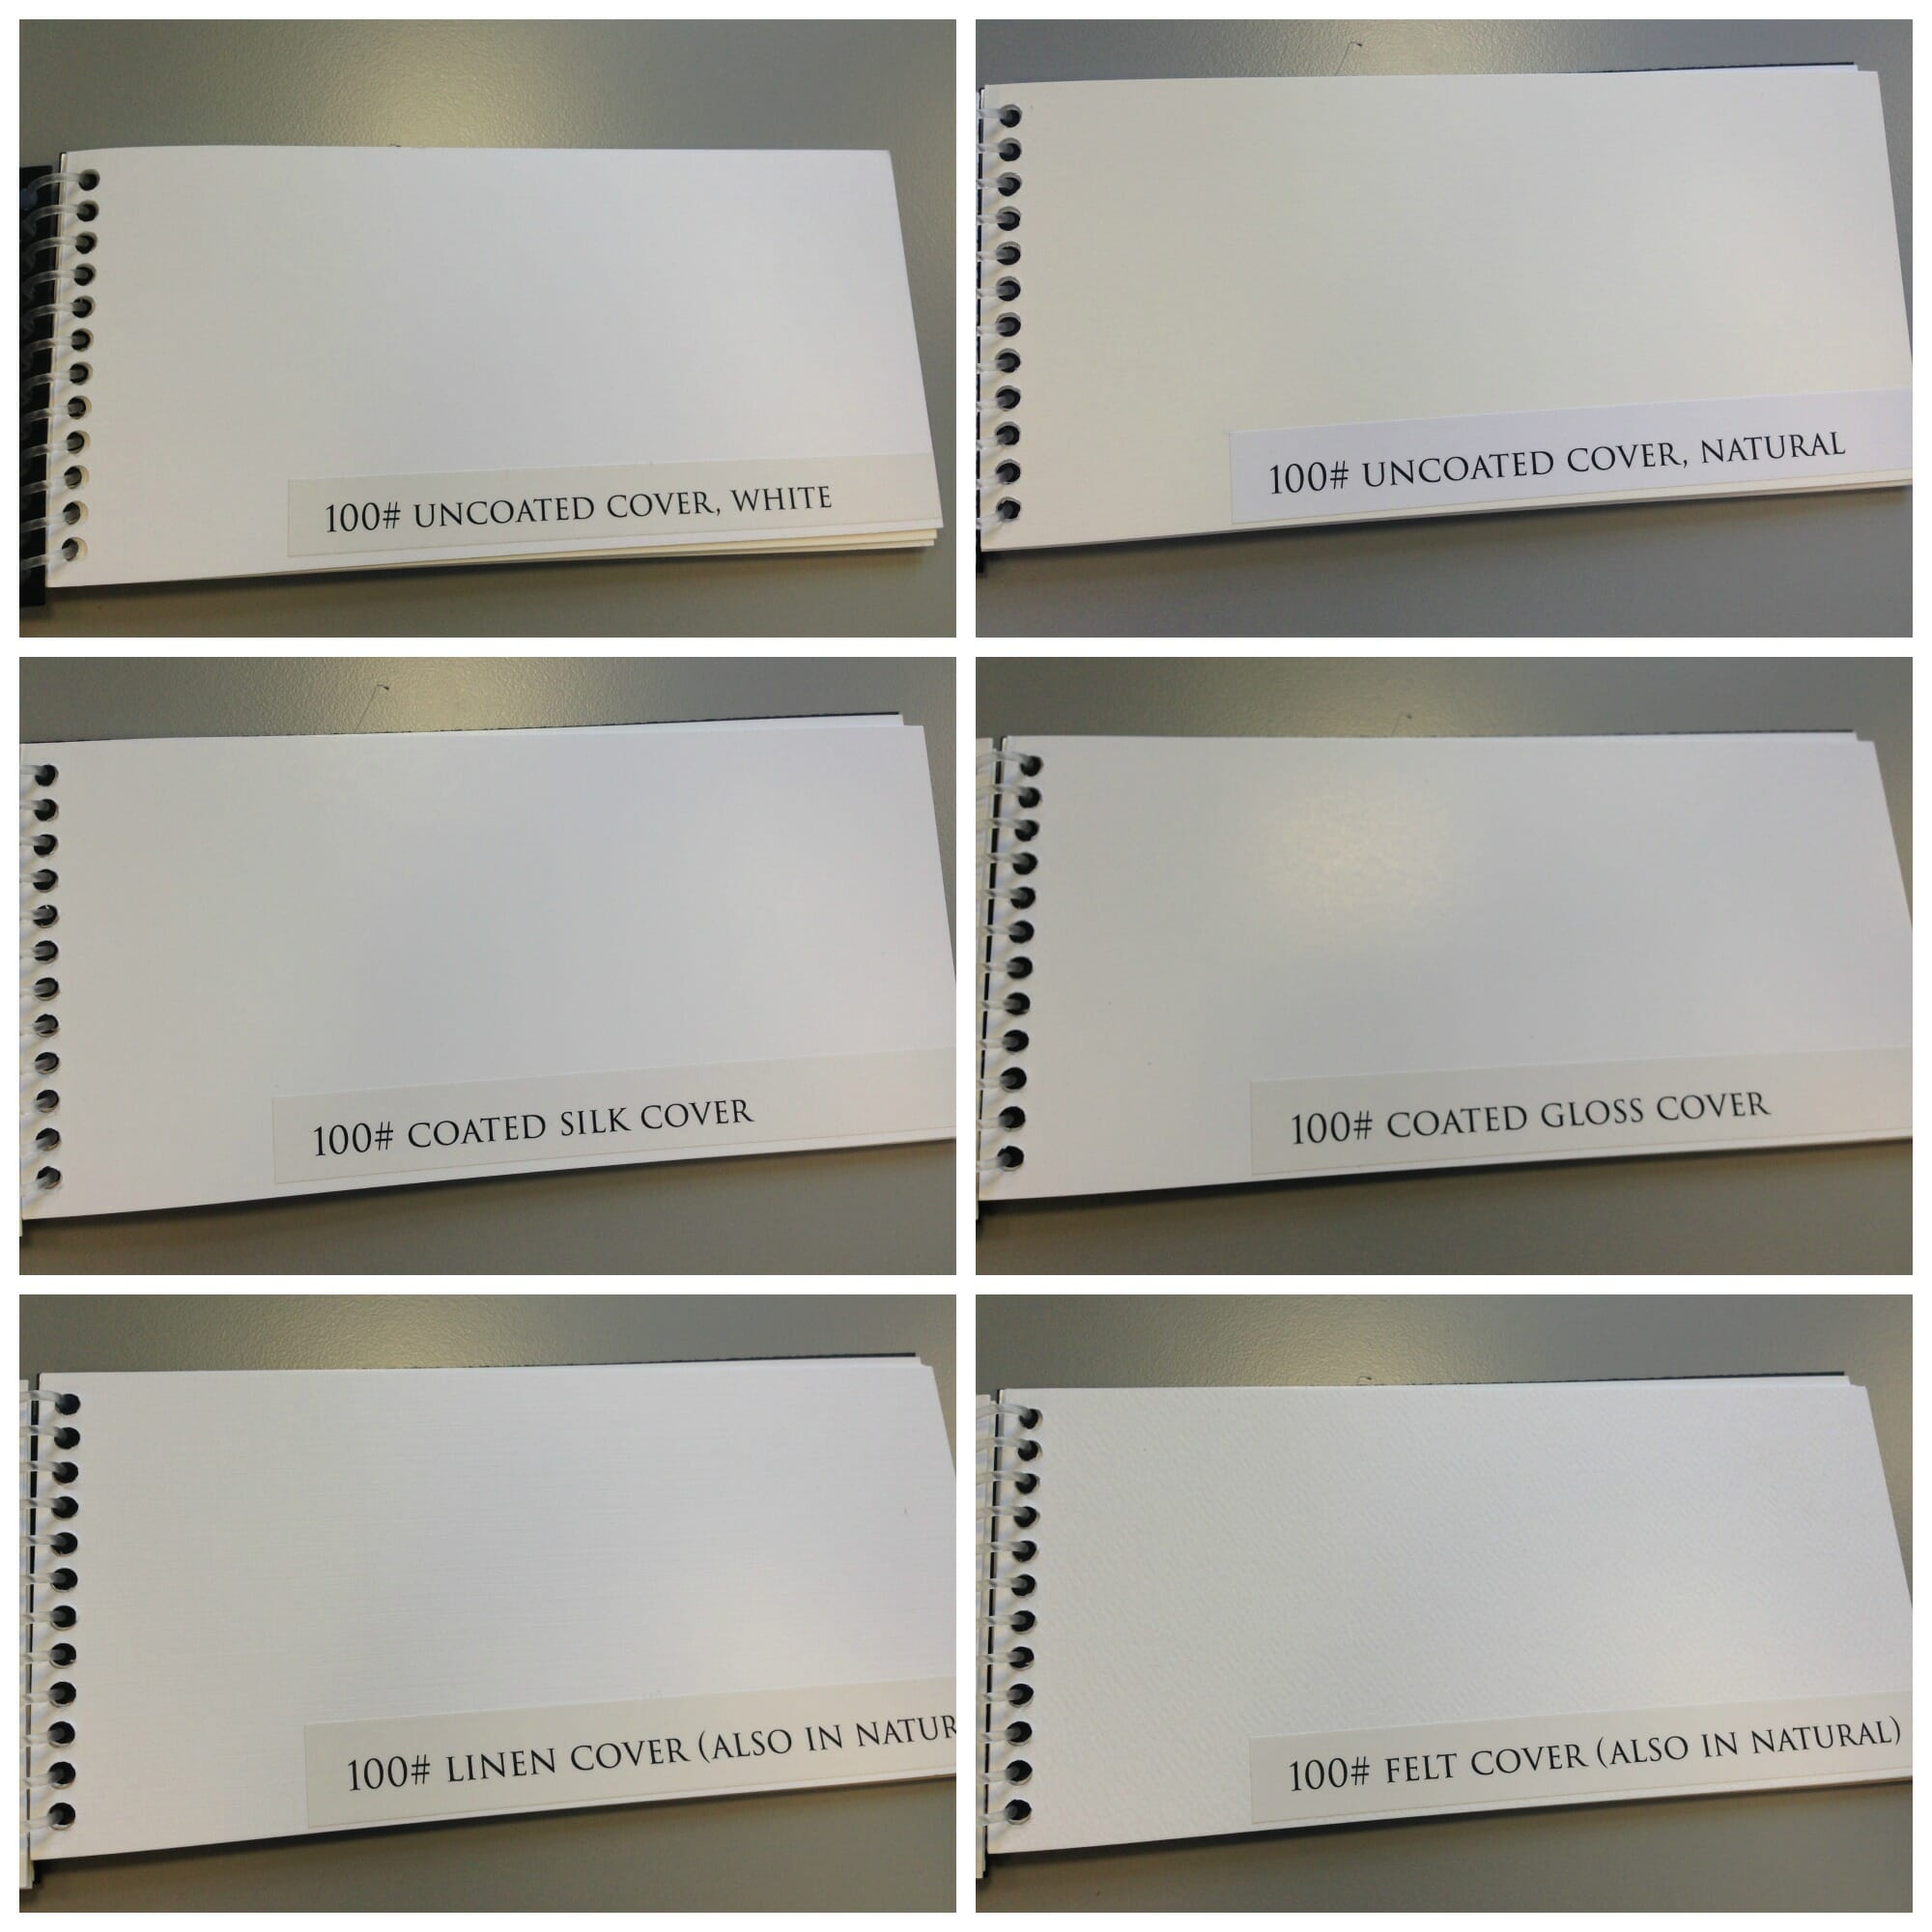
Most people, however, choose from a select few types: uncoated, silk, gloss, felt, matte and linen. Sometimes uncoated, silk and gloss are lumped into one category called “smooth.” Again, there are hundreds of different colors, but most people go with white or natural. Natural is more of an off-white, as you can see below.
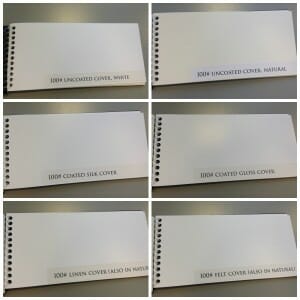
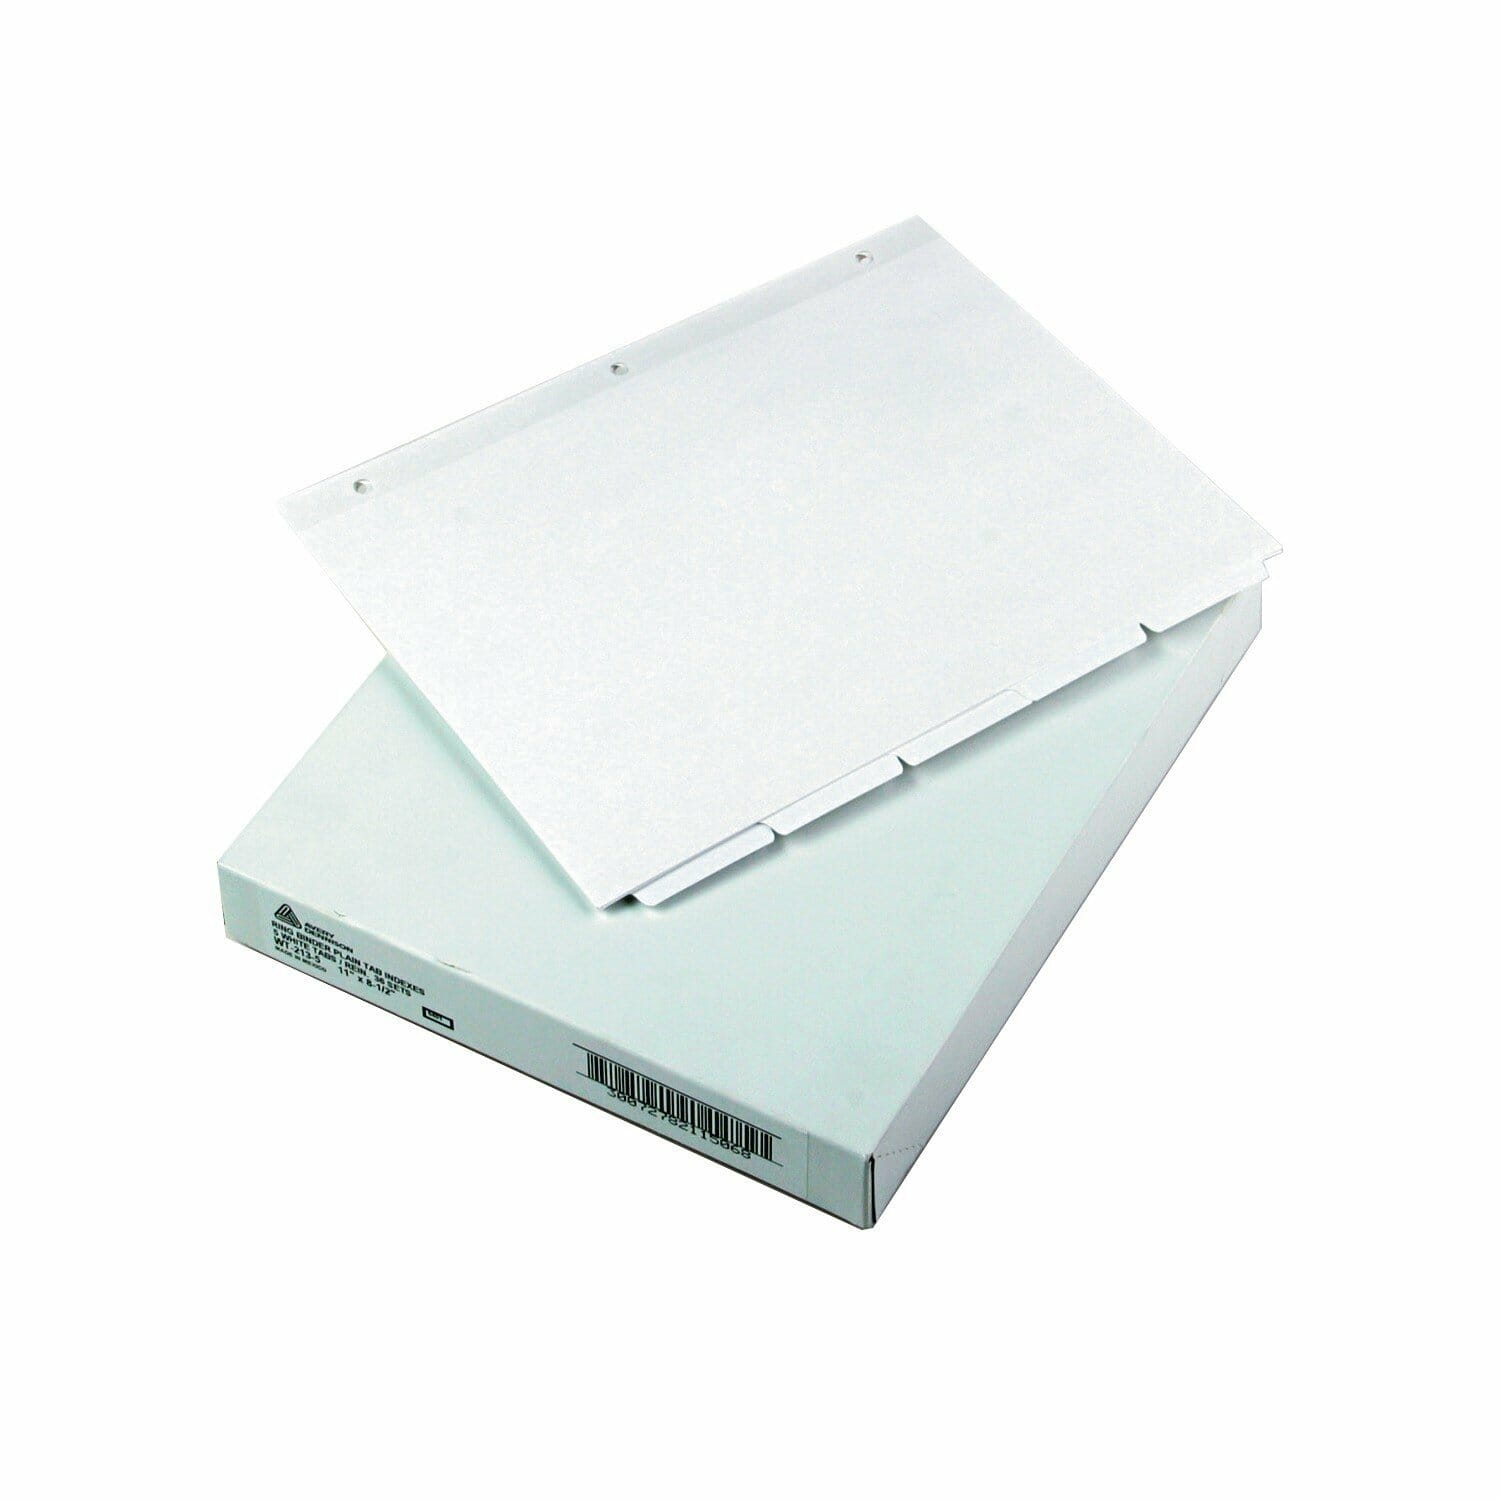
Basic business card papers
What’s the difference between matte and glossy? Matte has a silky and smooth surface but not the shine of the glossy business card paper. Gloss is good for cards that have a photo as it really makes the picture pop.
Step 3: Business Card Weight
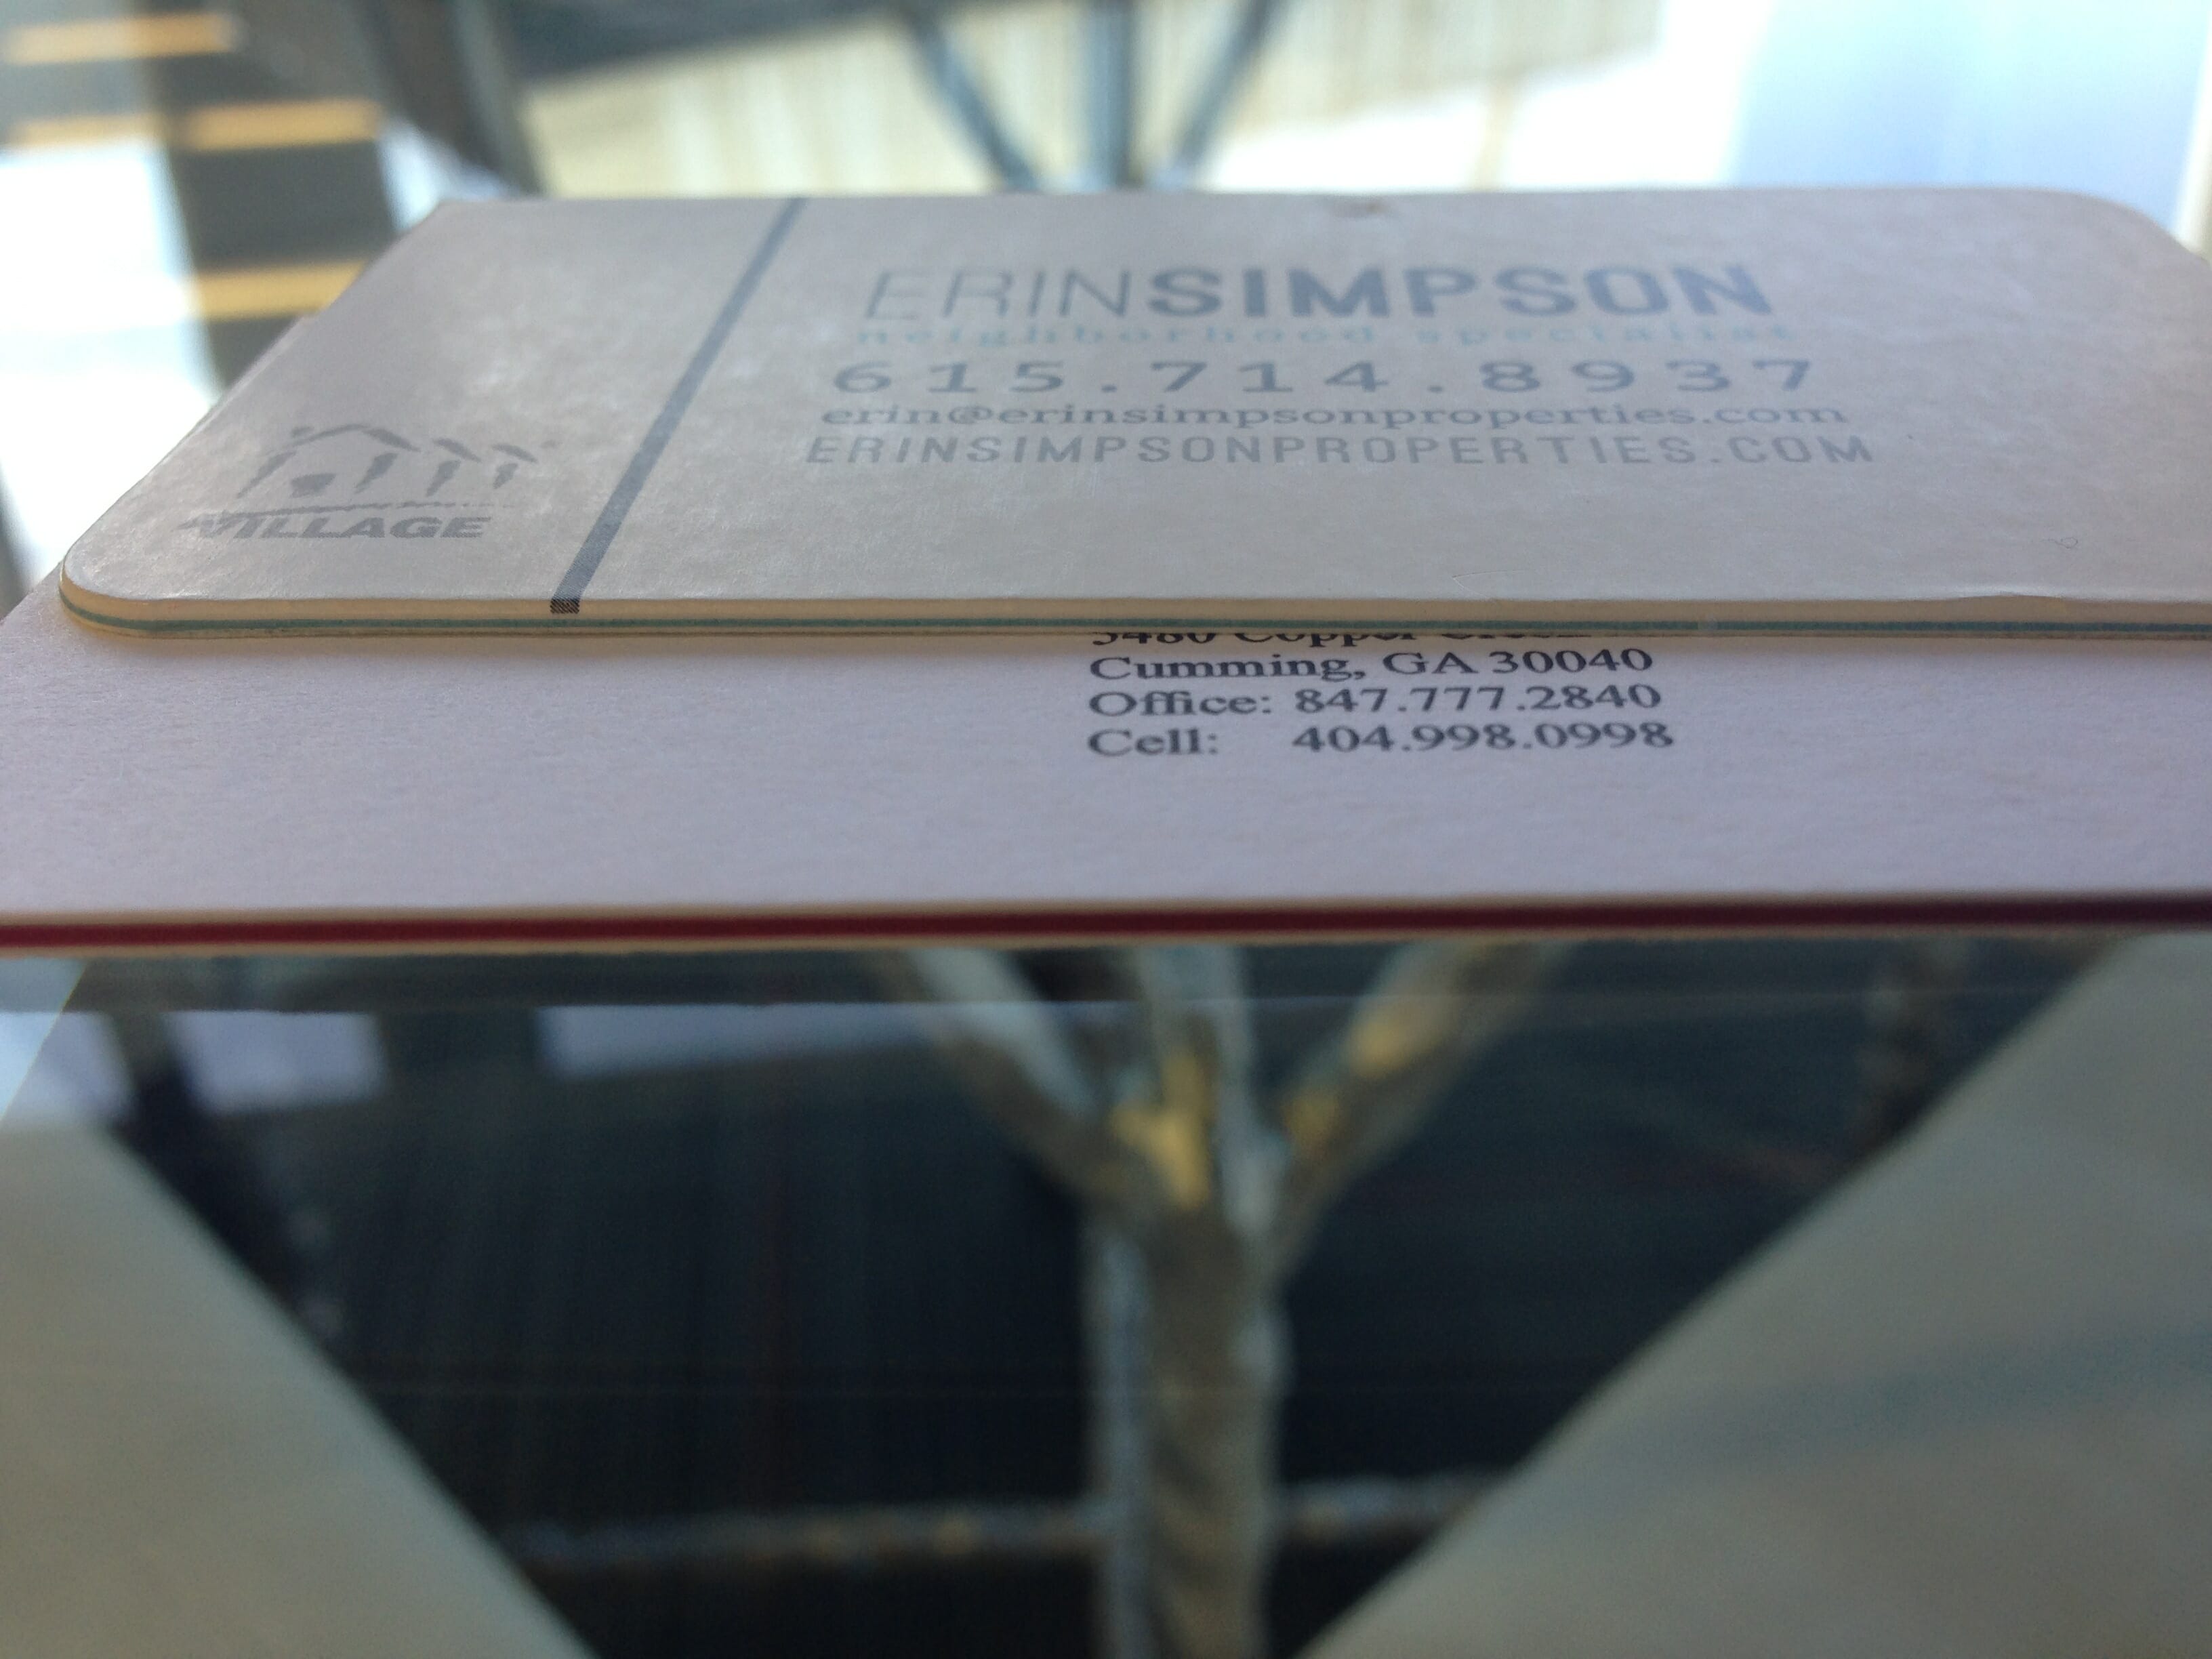
Once you’ve selected the type of paper you want, you need to decide the weight of the paper. The thicker the paper, the sturdier and more professional it’s going to be. Most print shops use 80-lb cover paper as the standard because it’s cheaper. As a general rule, you should not use paper that is less than 80 lbs. We actually use 100-lb paper as the standard business card paper, despite its price, because we think it looks and feels better. The heaviest weight we own is 130-lb paper, although you can “sandwich” papers for an even thicker card. A cool way to make your card stand out is to sandwich a different colored paper between your selected paper, as shown below. The result is a thick, unforgettable business card.
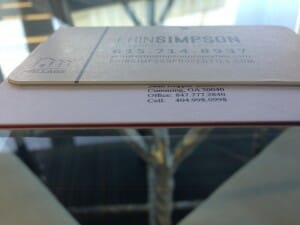
sandwiched business cards
Step 4: Business Card Finishing Options
Here’s where things get fun. There are 6 main types of finishing (7 if you count uncoated) which are not mutually exclusive: embossing and debossing, foil stamping, UV coating, lamination, die cutting and folding. Uncoated means simply no finishing at all. If you want to save money, you might give thought to an uncoated business card.
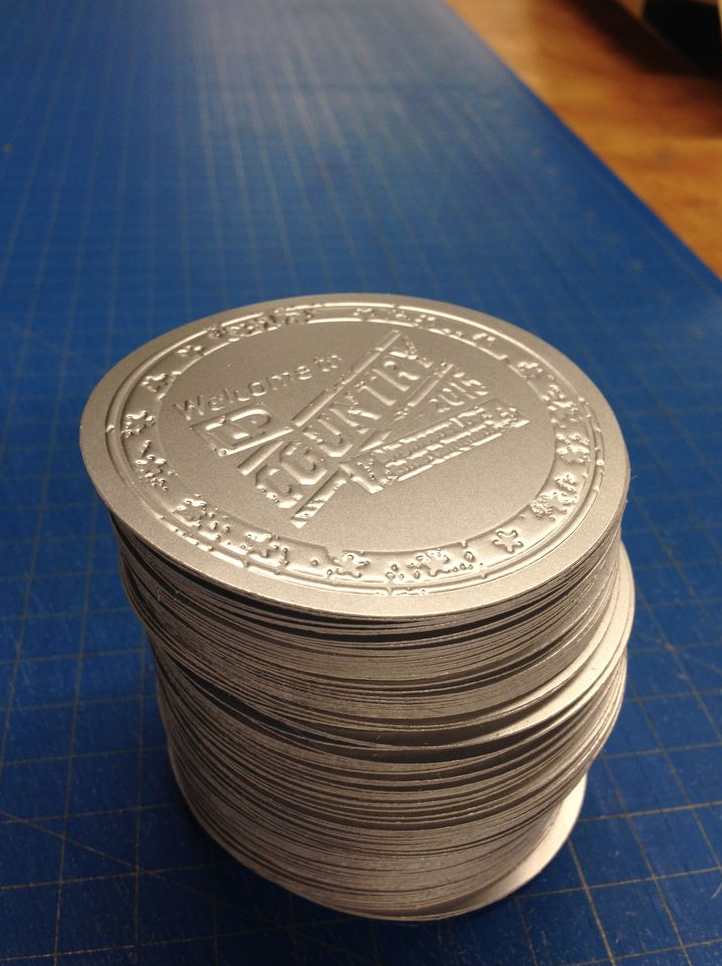
1. Embossing and Debossing:
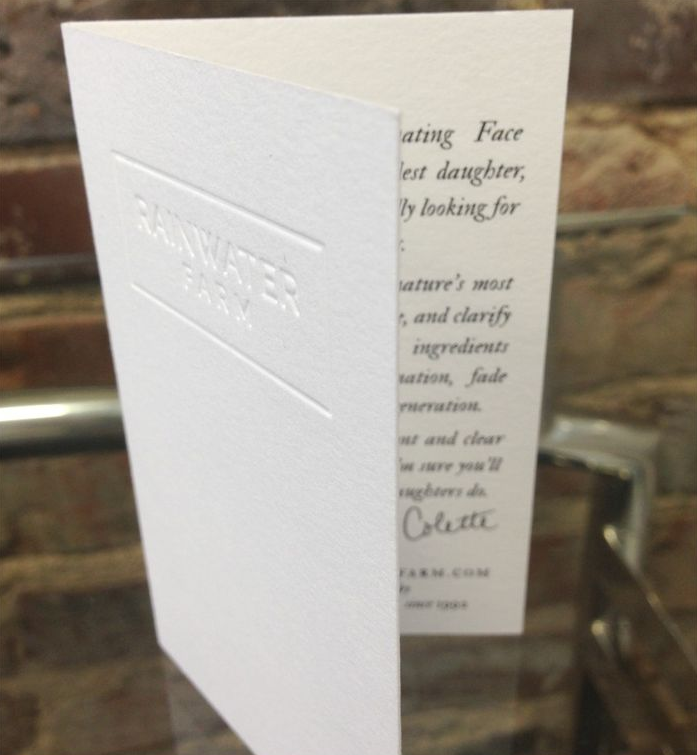
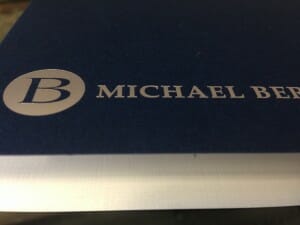
Embossing and debossing, in addition to being one of our favorite types of finishing, are two techniques used to imprint impressed or depressed images onto paper, respectively.
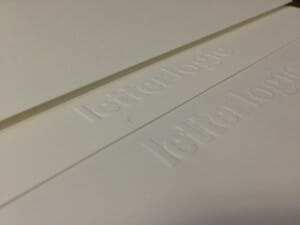
Blind embossed card

Foil-stamped debossed business cards
Embossing and debossing are used frequently for wedding invitations because they create a very elegant look and feel. The unique touch makes your brand (and you) more memorable because it triggers a different sense in the recipient. The same goes for textured paper or soft-touch lamination. Once you decide to emboss your business card, you then need to decide if you want it “blind embossed,” or left plain, as shown in the picture above. If you want to make the imprint even more memorable, you can add ink or foil stamping.
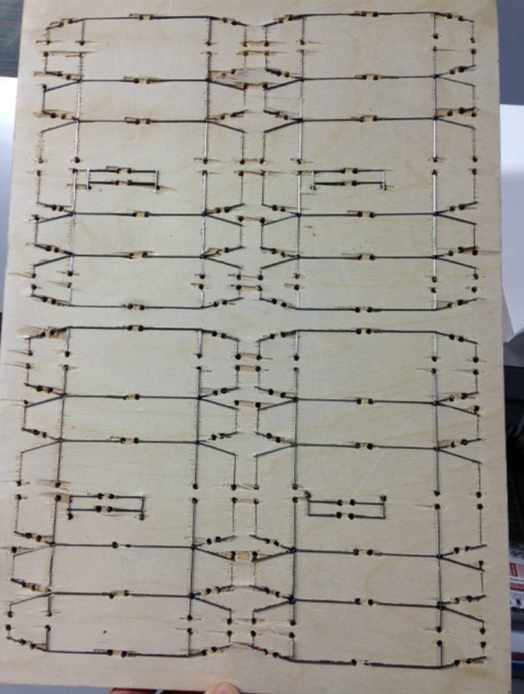
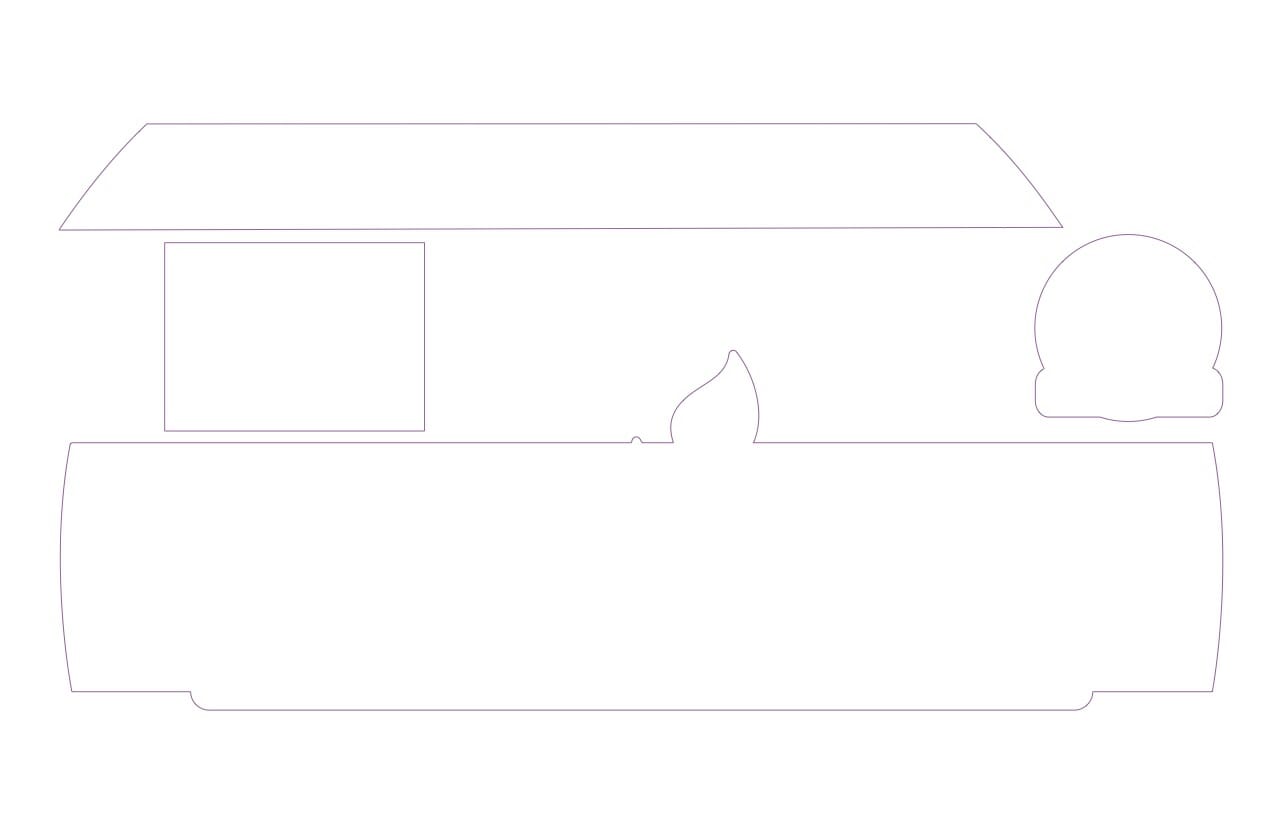
Embossing and debossing are two of the most expensive finishes because they require a die. Similar to a mold, a die is a specialized tool used to cut or shape material mostly using a press.
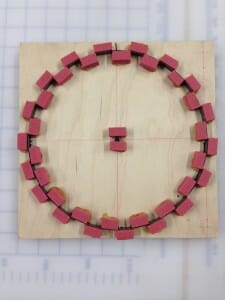
Circular die
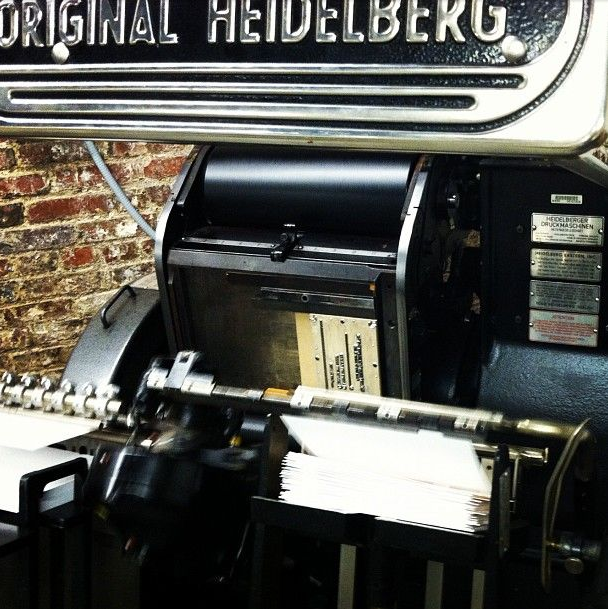
We use a 1971 Heidelberg Windmill to die cut all of our materials.

1971 Heidelberg Windmill
Embossing is slightly more expensive than debossing because it requires two dies — a male and a female die, or one that is recessed and one that is raised.
2. Foil Stamping:
Foil stamping is often used in conjunction with embossing or debossing to create a more dynamic impression on your business card. They both require a die and adding heat and pressure. For these reasons, the two are often thought to be the same. However, foil stamping is just what it sounds: a thin film of metal. Embossing actually changes the surface of your card. You might be thinking, “why not just use metallic ink?” Well, you can do that, especially if you are trying to save money. Foil stamping just adds a little more pop to the design.
Debossed, foil-stamped card
Foil stamping should be done on smooth, uncoated paper for best results. Textured papers such as linen or felt are more difficult because the uneven surface interrupts the pressing process. It’s also good to avoid using coatings or varnishes in the area to be foil stamped. Because foil stamping requires a die, the finishing is on the pricier end of finishing options.
3. UV Coating:
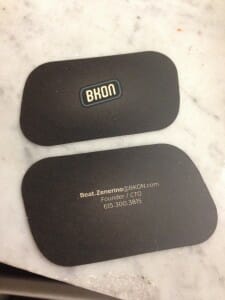
UV coating creates a very glossy, shiny coating on business cards and other papers. UV coating is great for business cards with images, as it makes details pop and stand out. If the image has blues or blacks, the end result is an almost wet appearance. UV coating helps protect your card against both chemicals and abrasions due to its hard finish. BONUS: It’s also environmentally friendly! UV Coatings are solvent-free and do not emit volatile organic compounds (VOCs) during the production process.
It’s a little bit hard to convey in photographs, but do you see how the light reflects off the business card below because of its high shine?

UV Coated Business Cards
One disadvantage of UV coating is it catches and shows oil more easily, such as fingerprints. It can be wiped off, but it’s something to consider. UV coating should not be used on metallic inks, foil stamping or anything that needs to be written on. For this reason, some clients will have only one side of their business card UV coated. Lots of people like to write on business cards, so it’s smart to keep one side uncoated.
You can either spot or flood UV coat a paper. Spotting is using the coating only on certain areas or “spots” of the paper. We don’t do this in our office. Flood UV coating is covering the entire business card. The card above is flood UV coated.
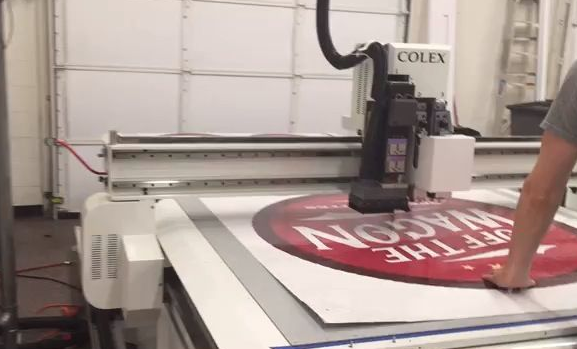
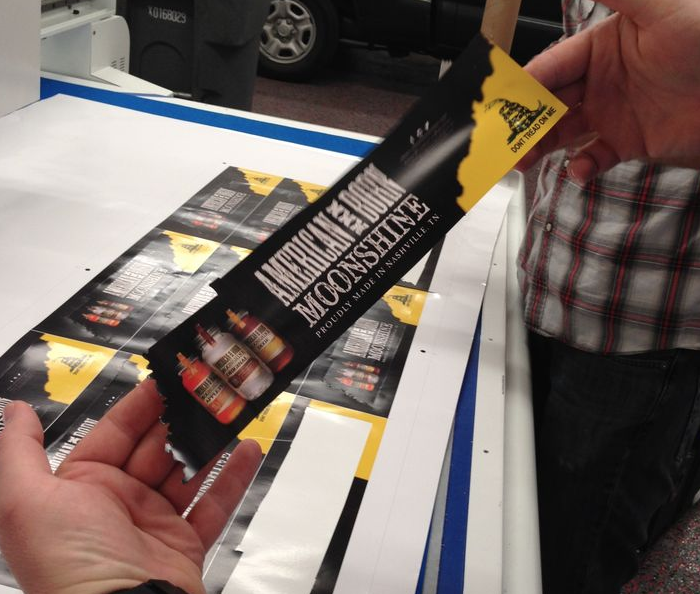
4. Die Cutting:
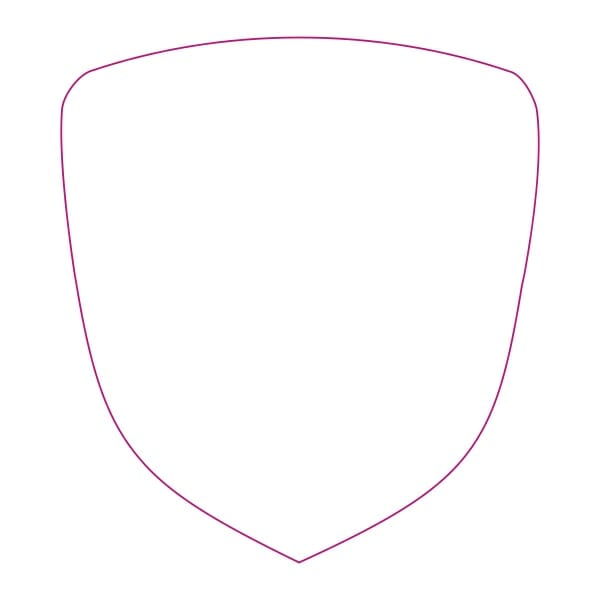
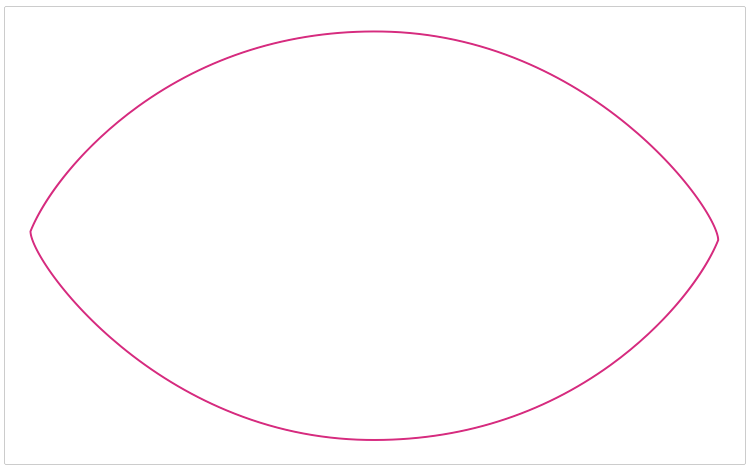
Die cutting is another amp favorite. Die cutting is essentially making your business card (or other paper material) into a shape. A unique and fun way to make your business card memorable. Die cutting, as it implies, requires a die to be made, which ups the price. However, ask your local print shop what dies they have in-store. They may already have a business card in the shape of a rhomboid!
Rhomboid die cut business card

Business card with single cut die cut
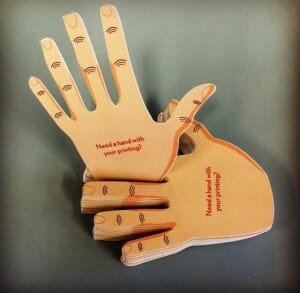
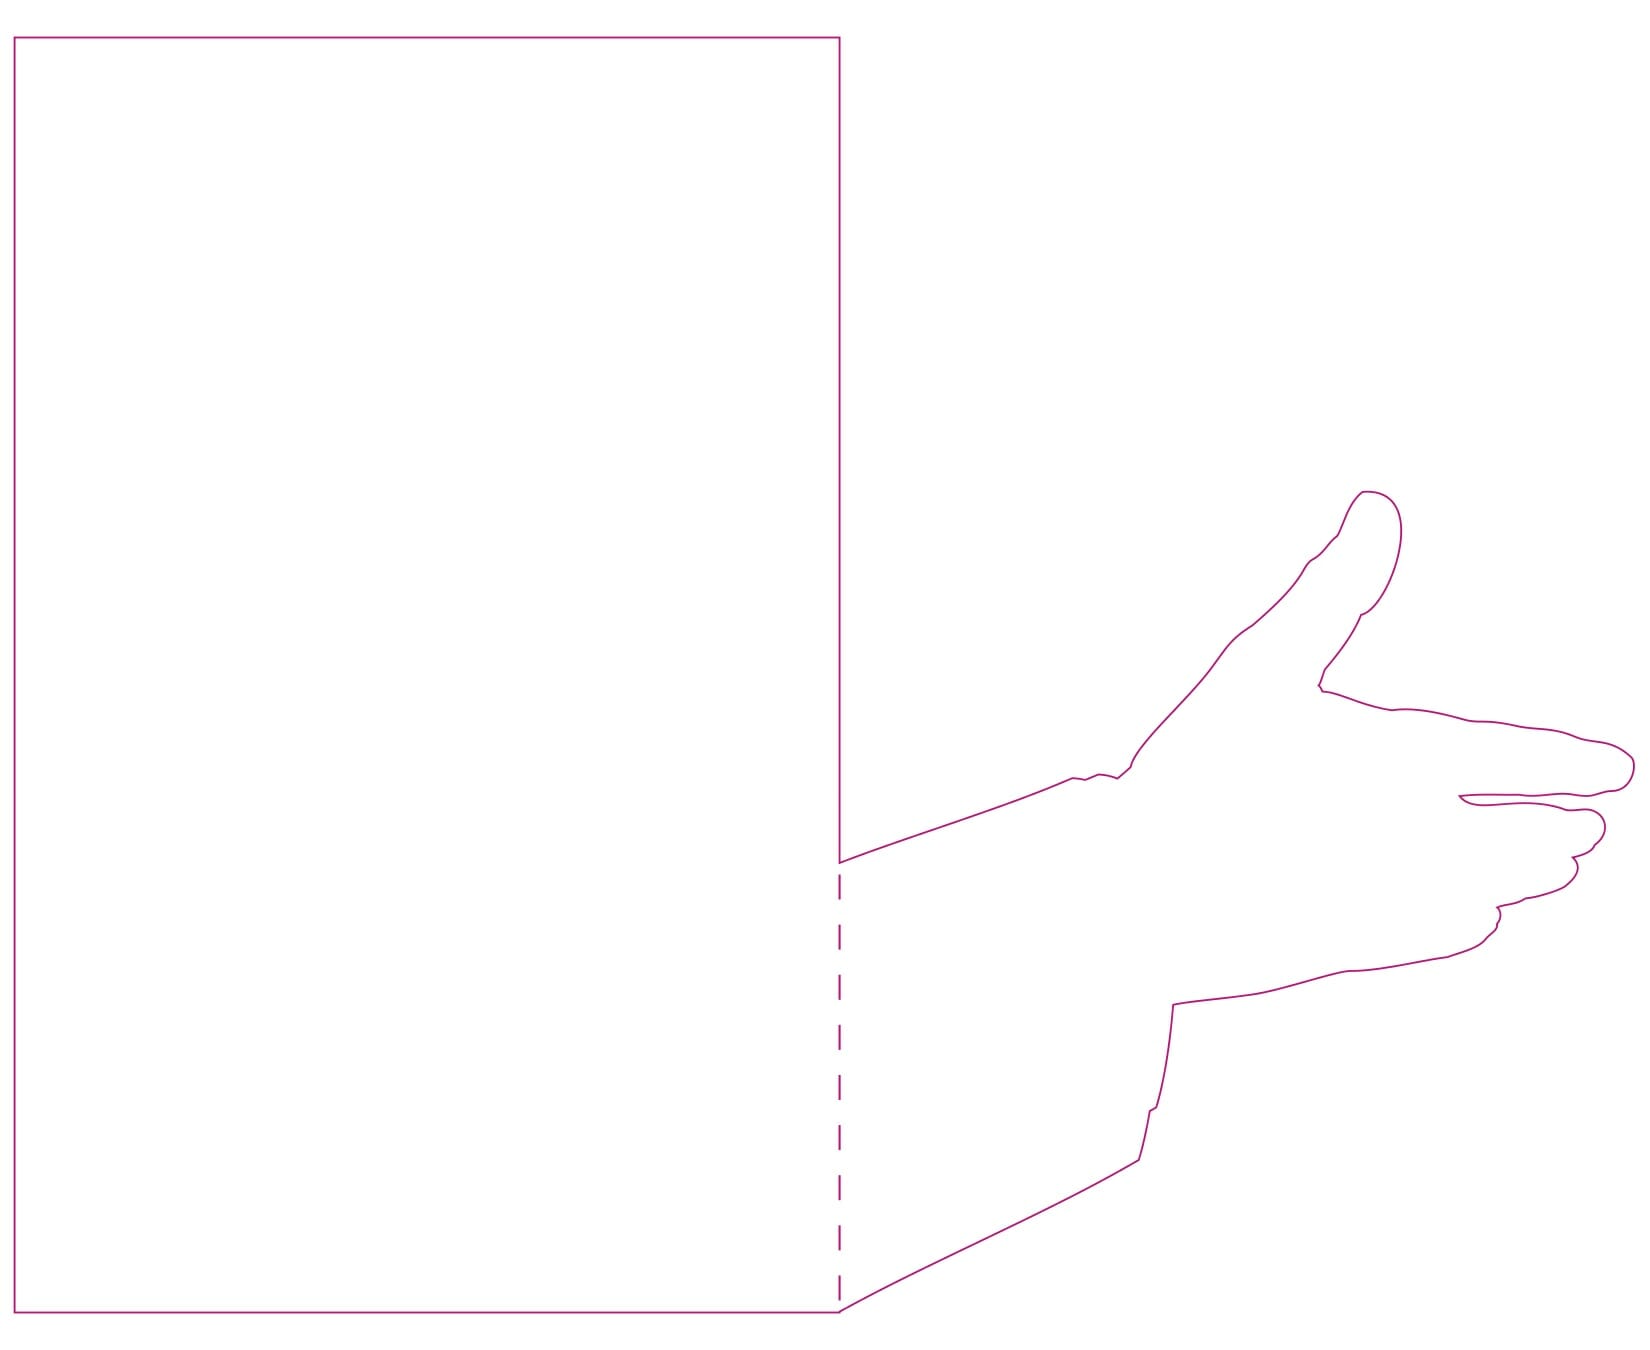
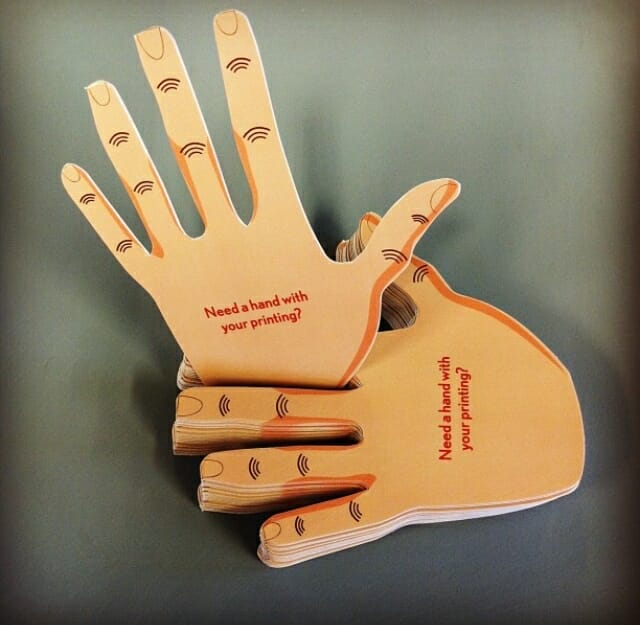
Die cut business cards in the shape of a hand
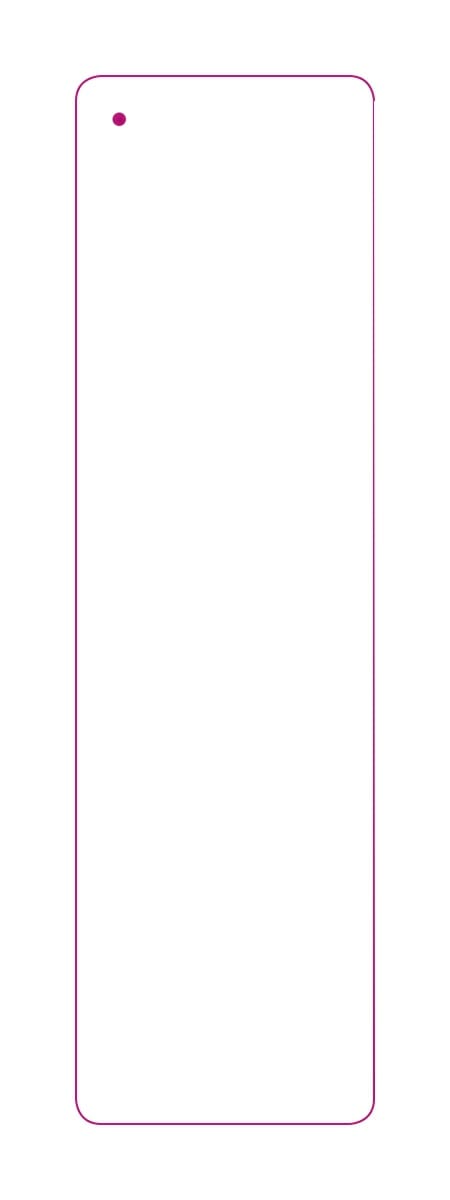
Insider tip: round-corner business cards are an easy way to make your business card look more unique and professional. At amp, it is one of our “rush” options because we can do fewer than one hundred cards by hand. However, if you need more than 100, the business card will require its own die.
5. Folding:
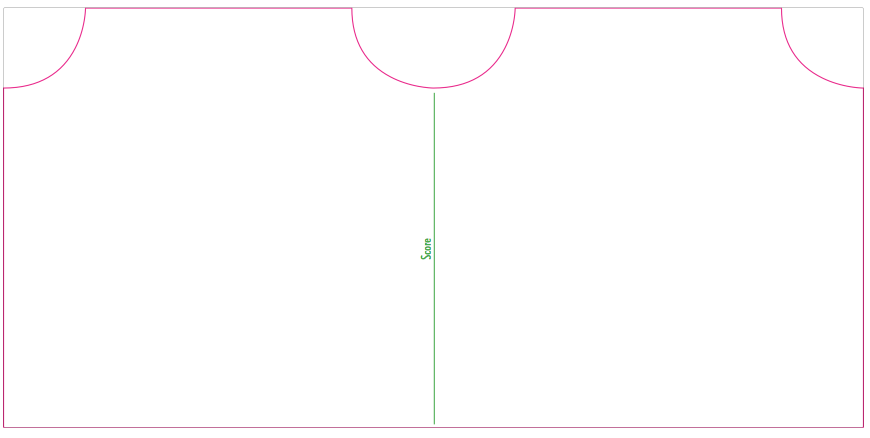
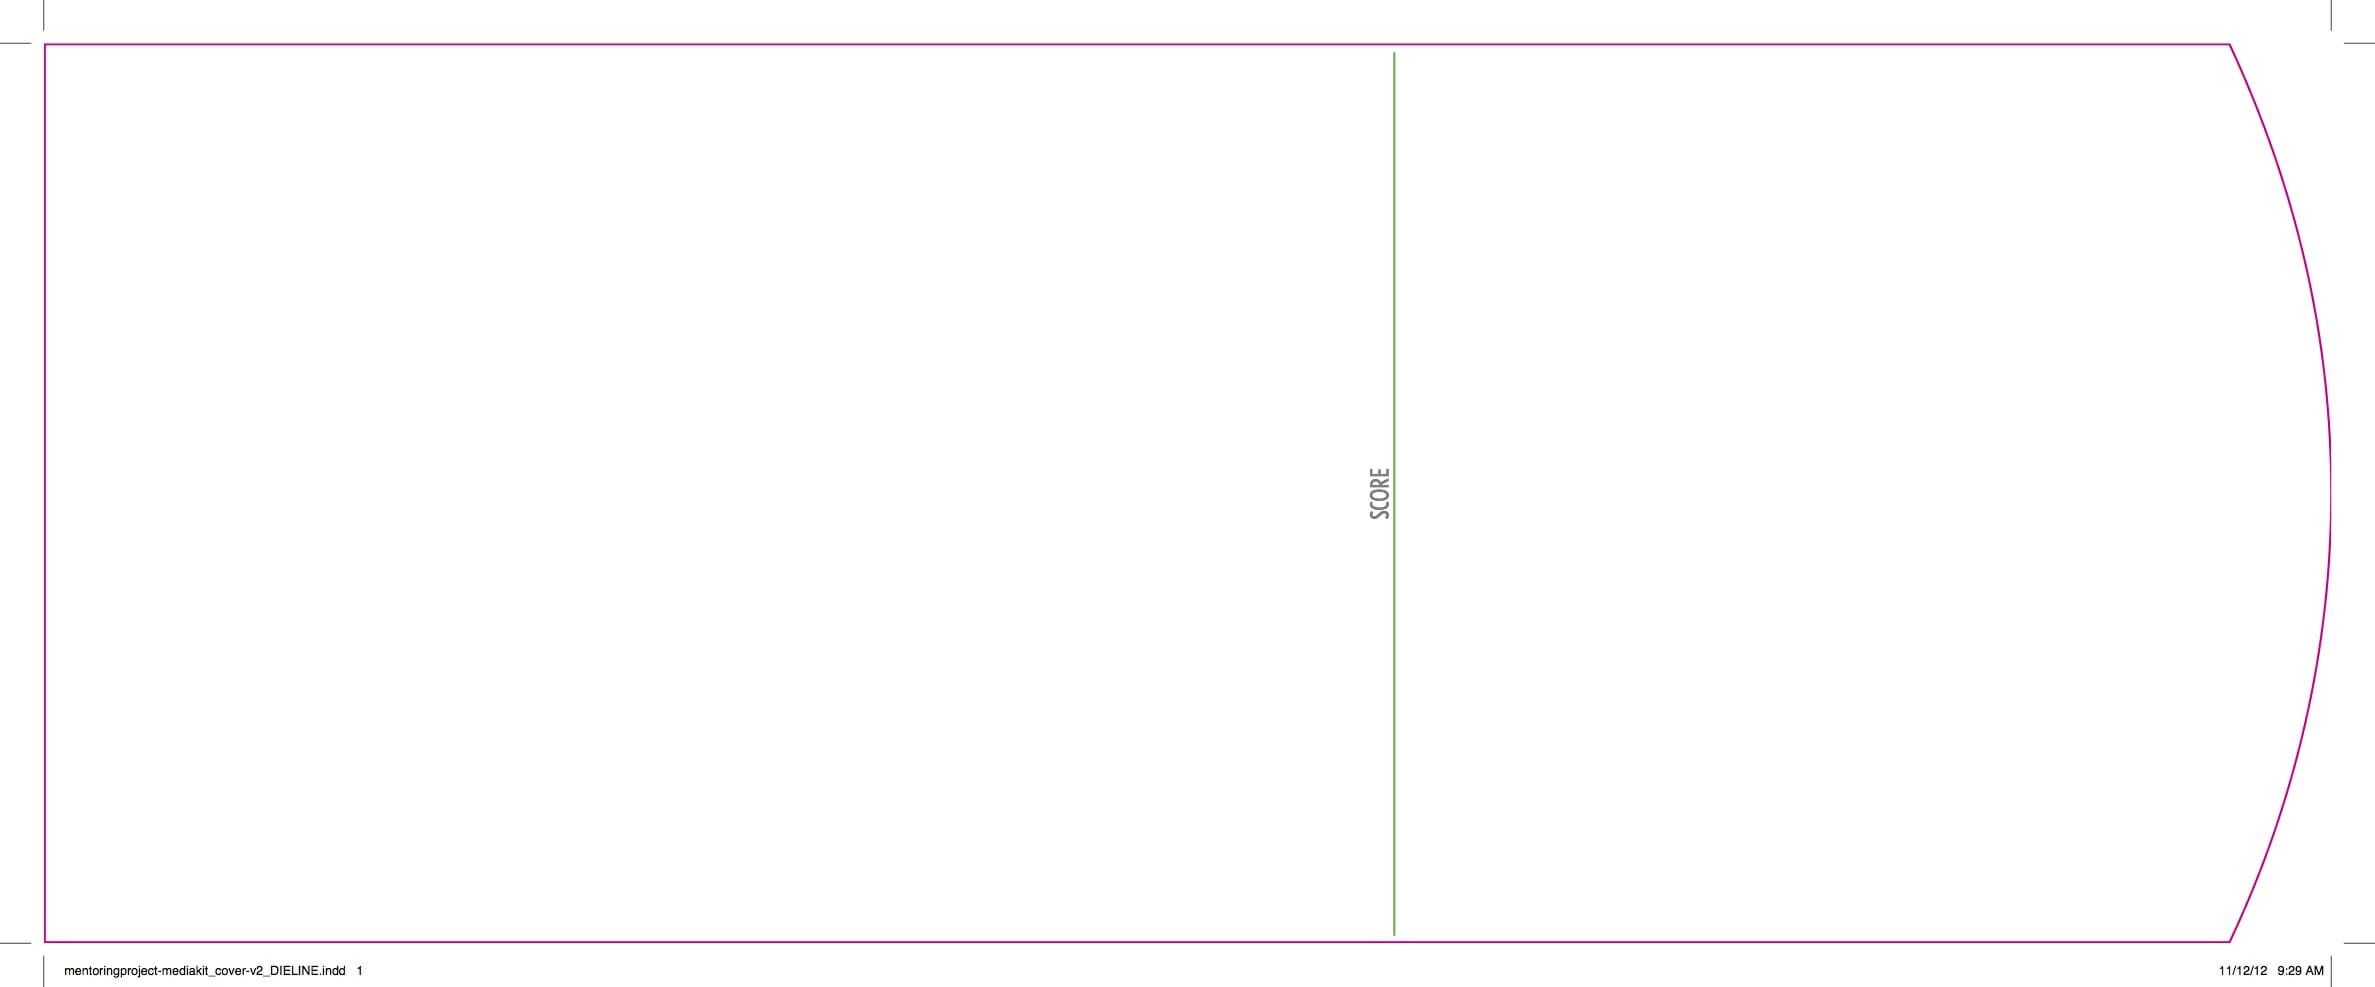
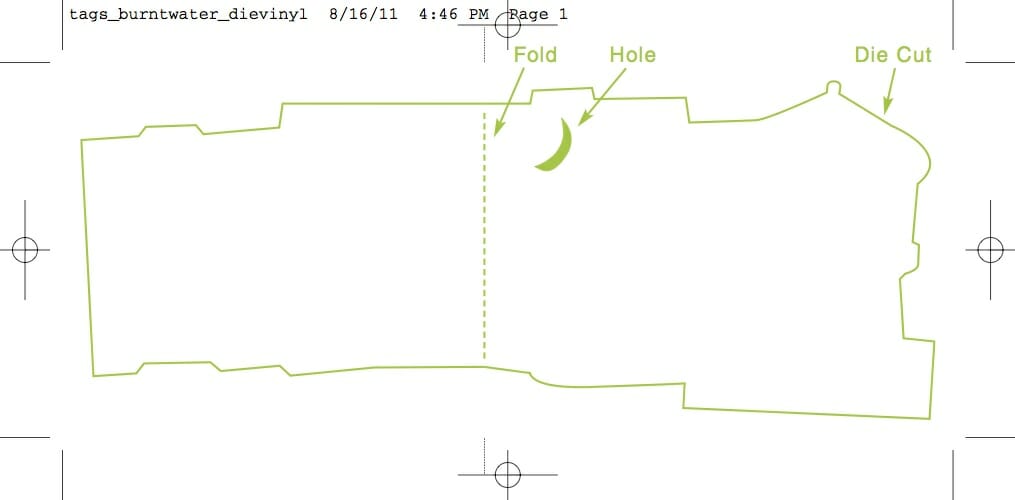
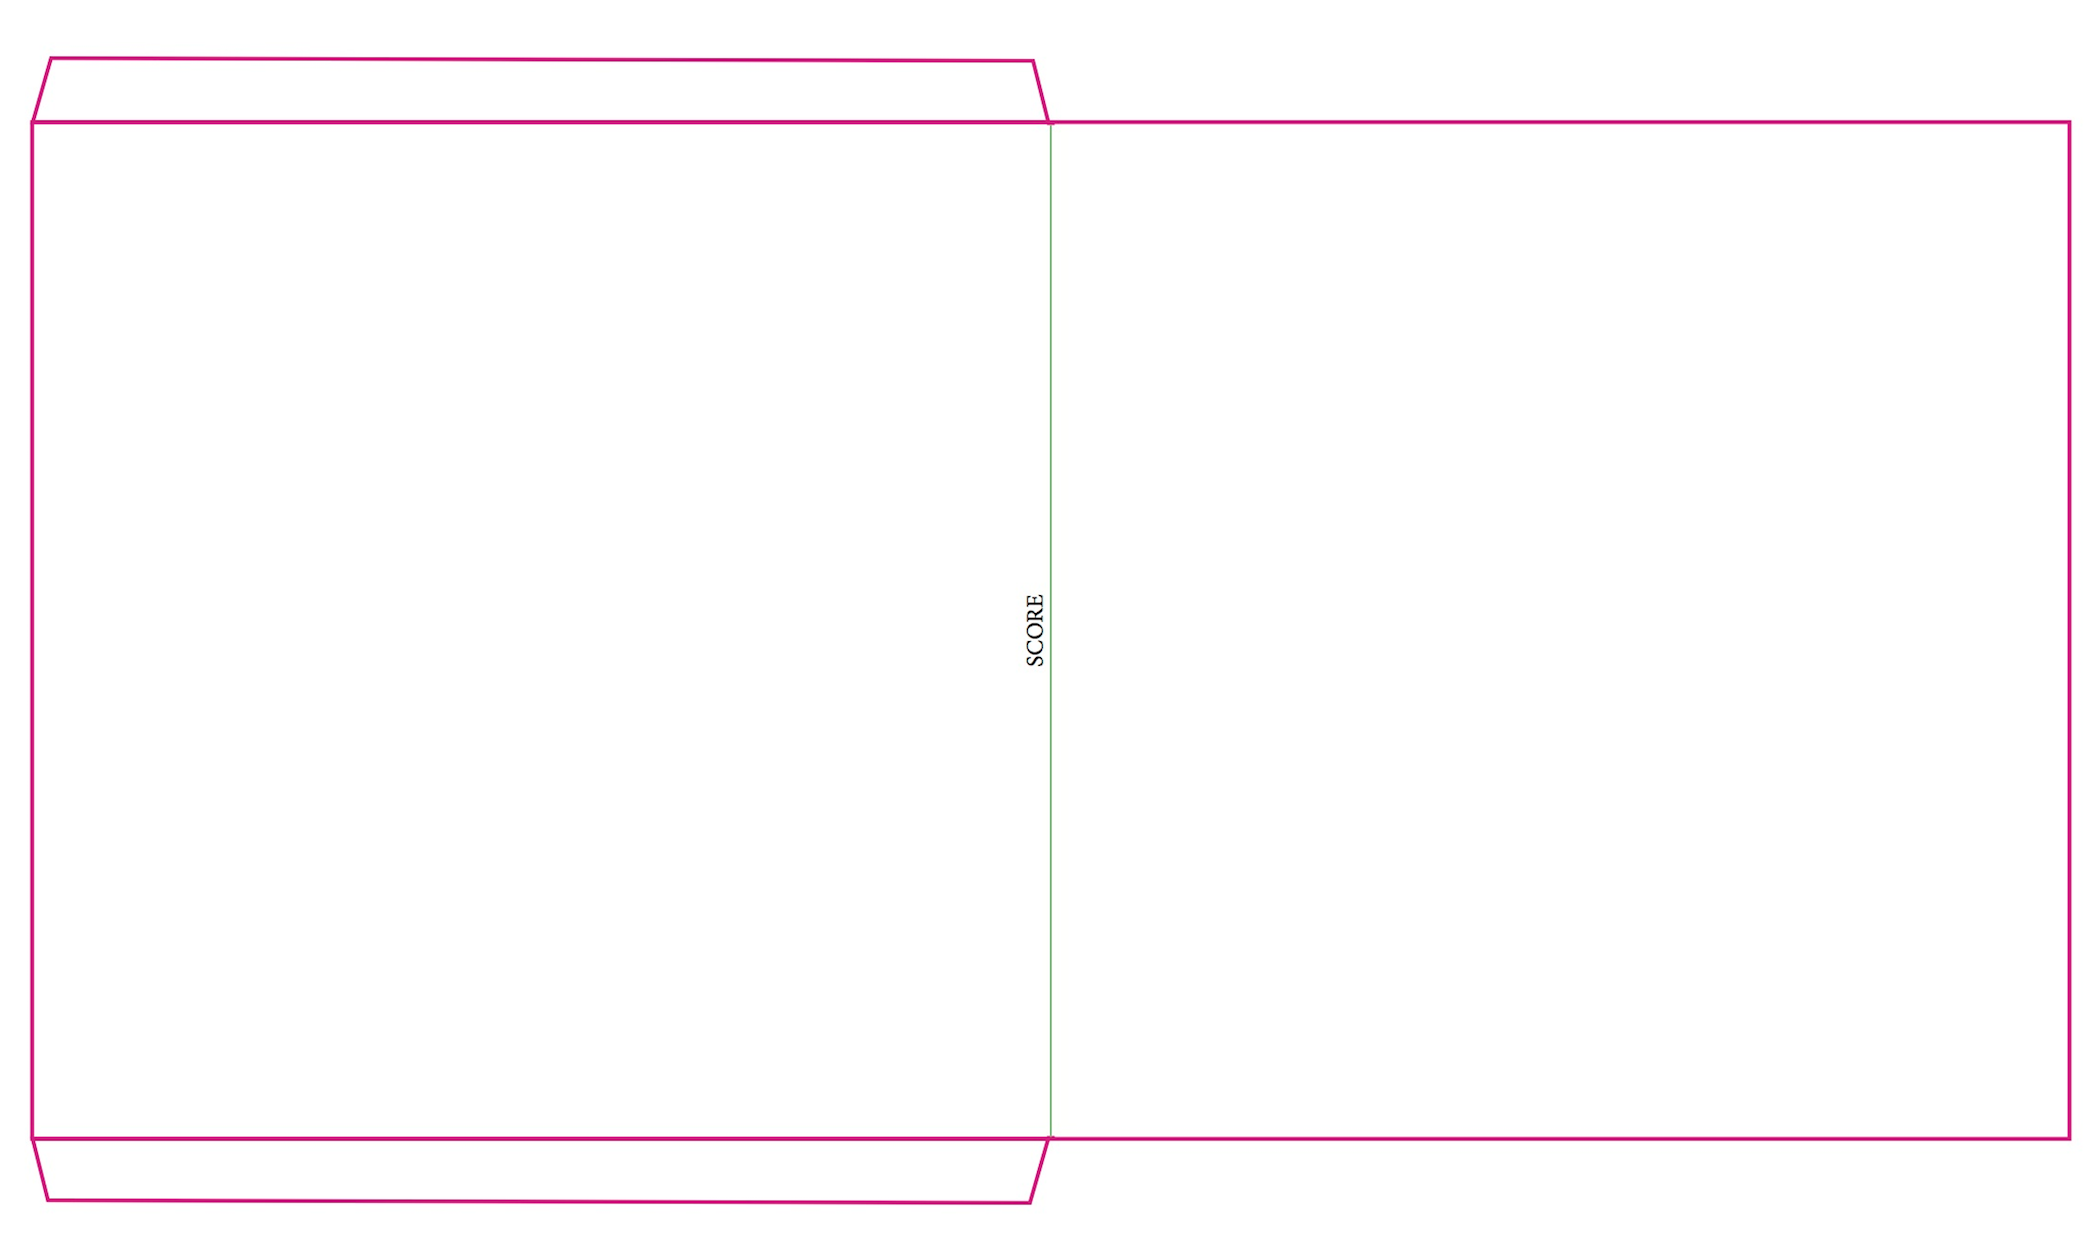
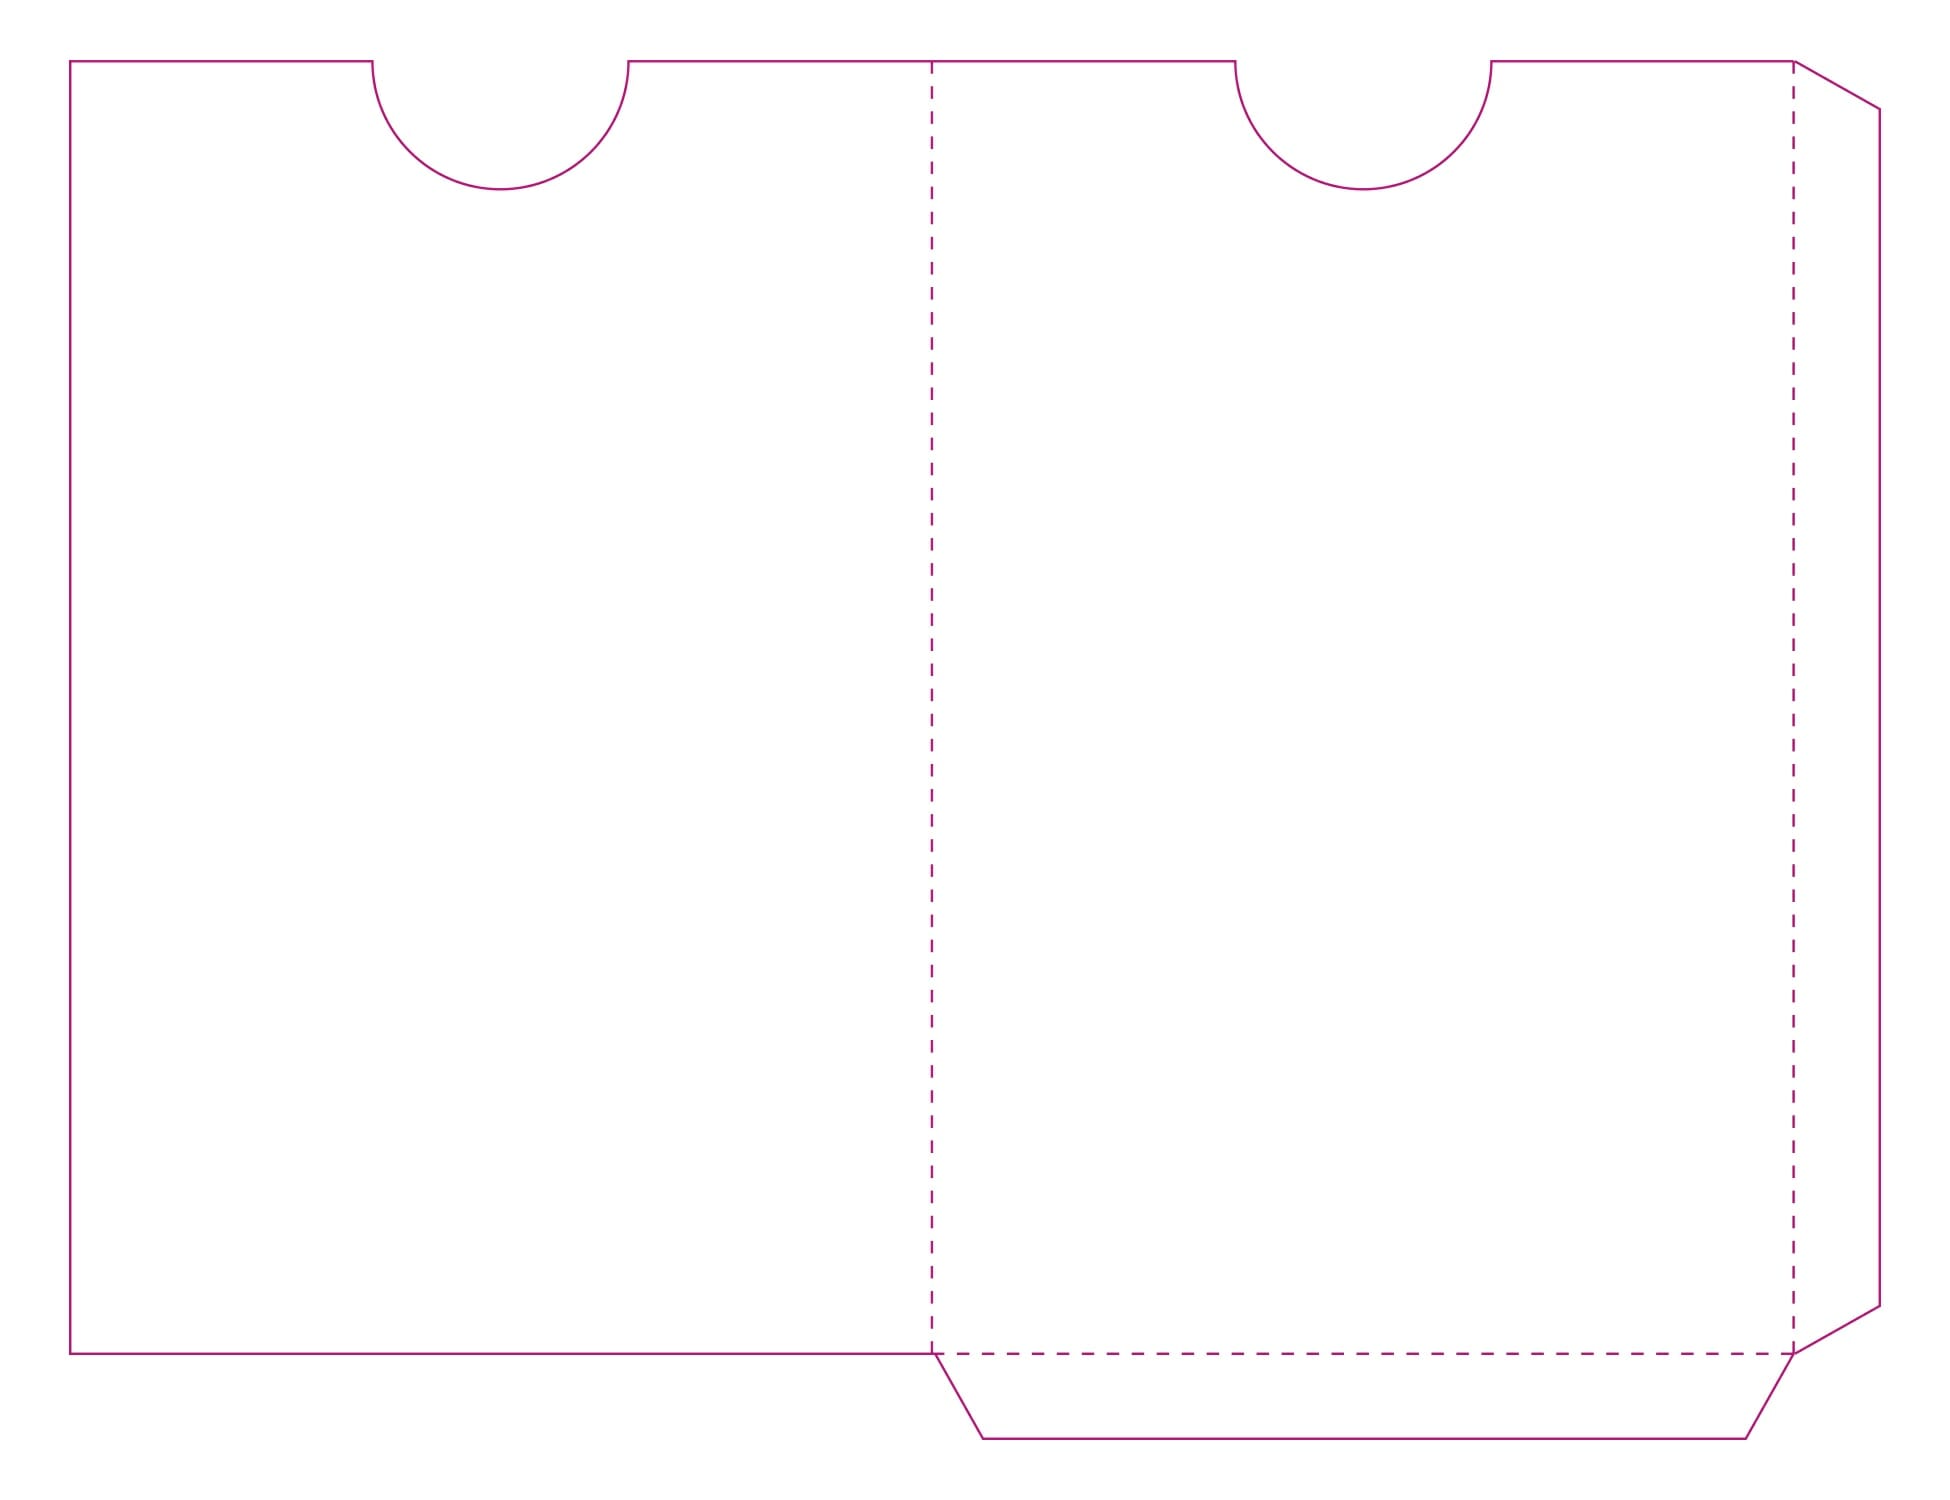
Folding is just what it sounds like. Business cards can have a fold to add more space (and more copy) and/or a unique design. As business cards are printed on cover weight, they will need to be scored in order to be folded. Scoring is any method of reducing paper stiffness along a line in order to aid in folding. We use a machine to do this for us, which speeds up the process.
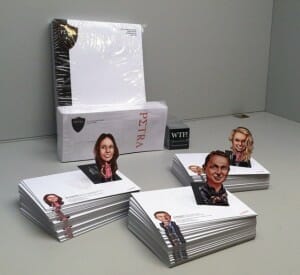
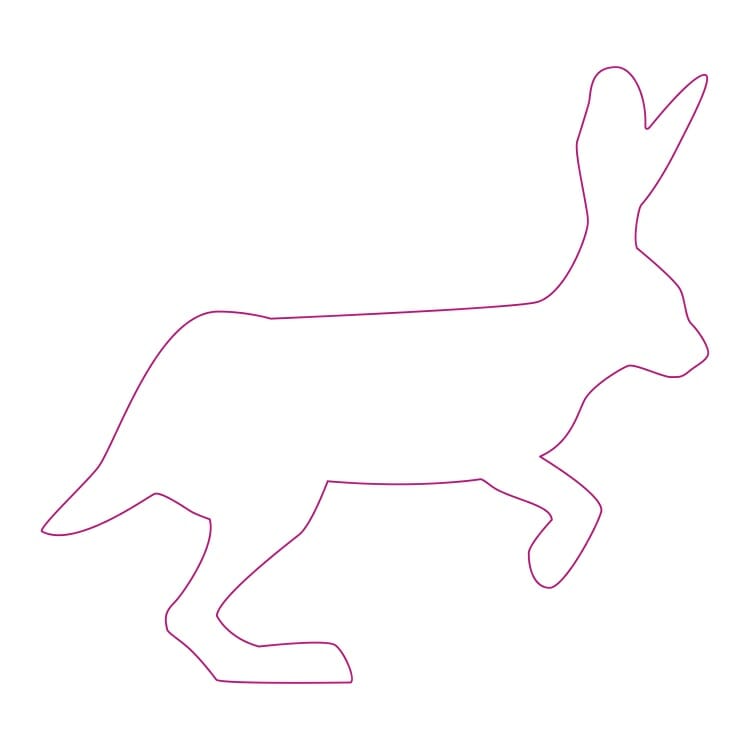
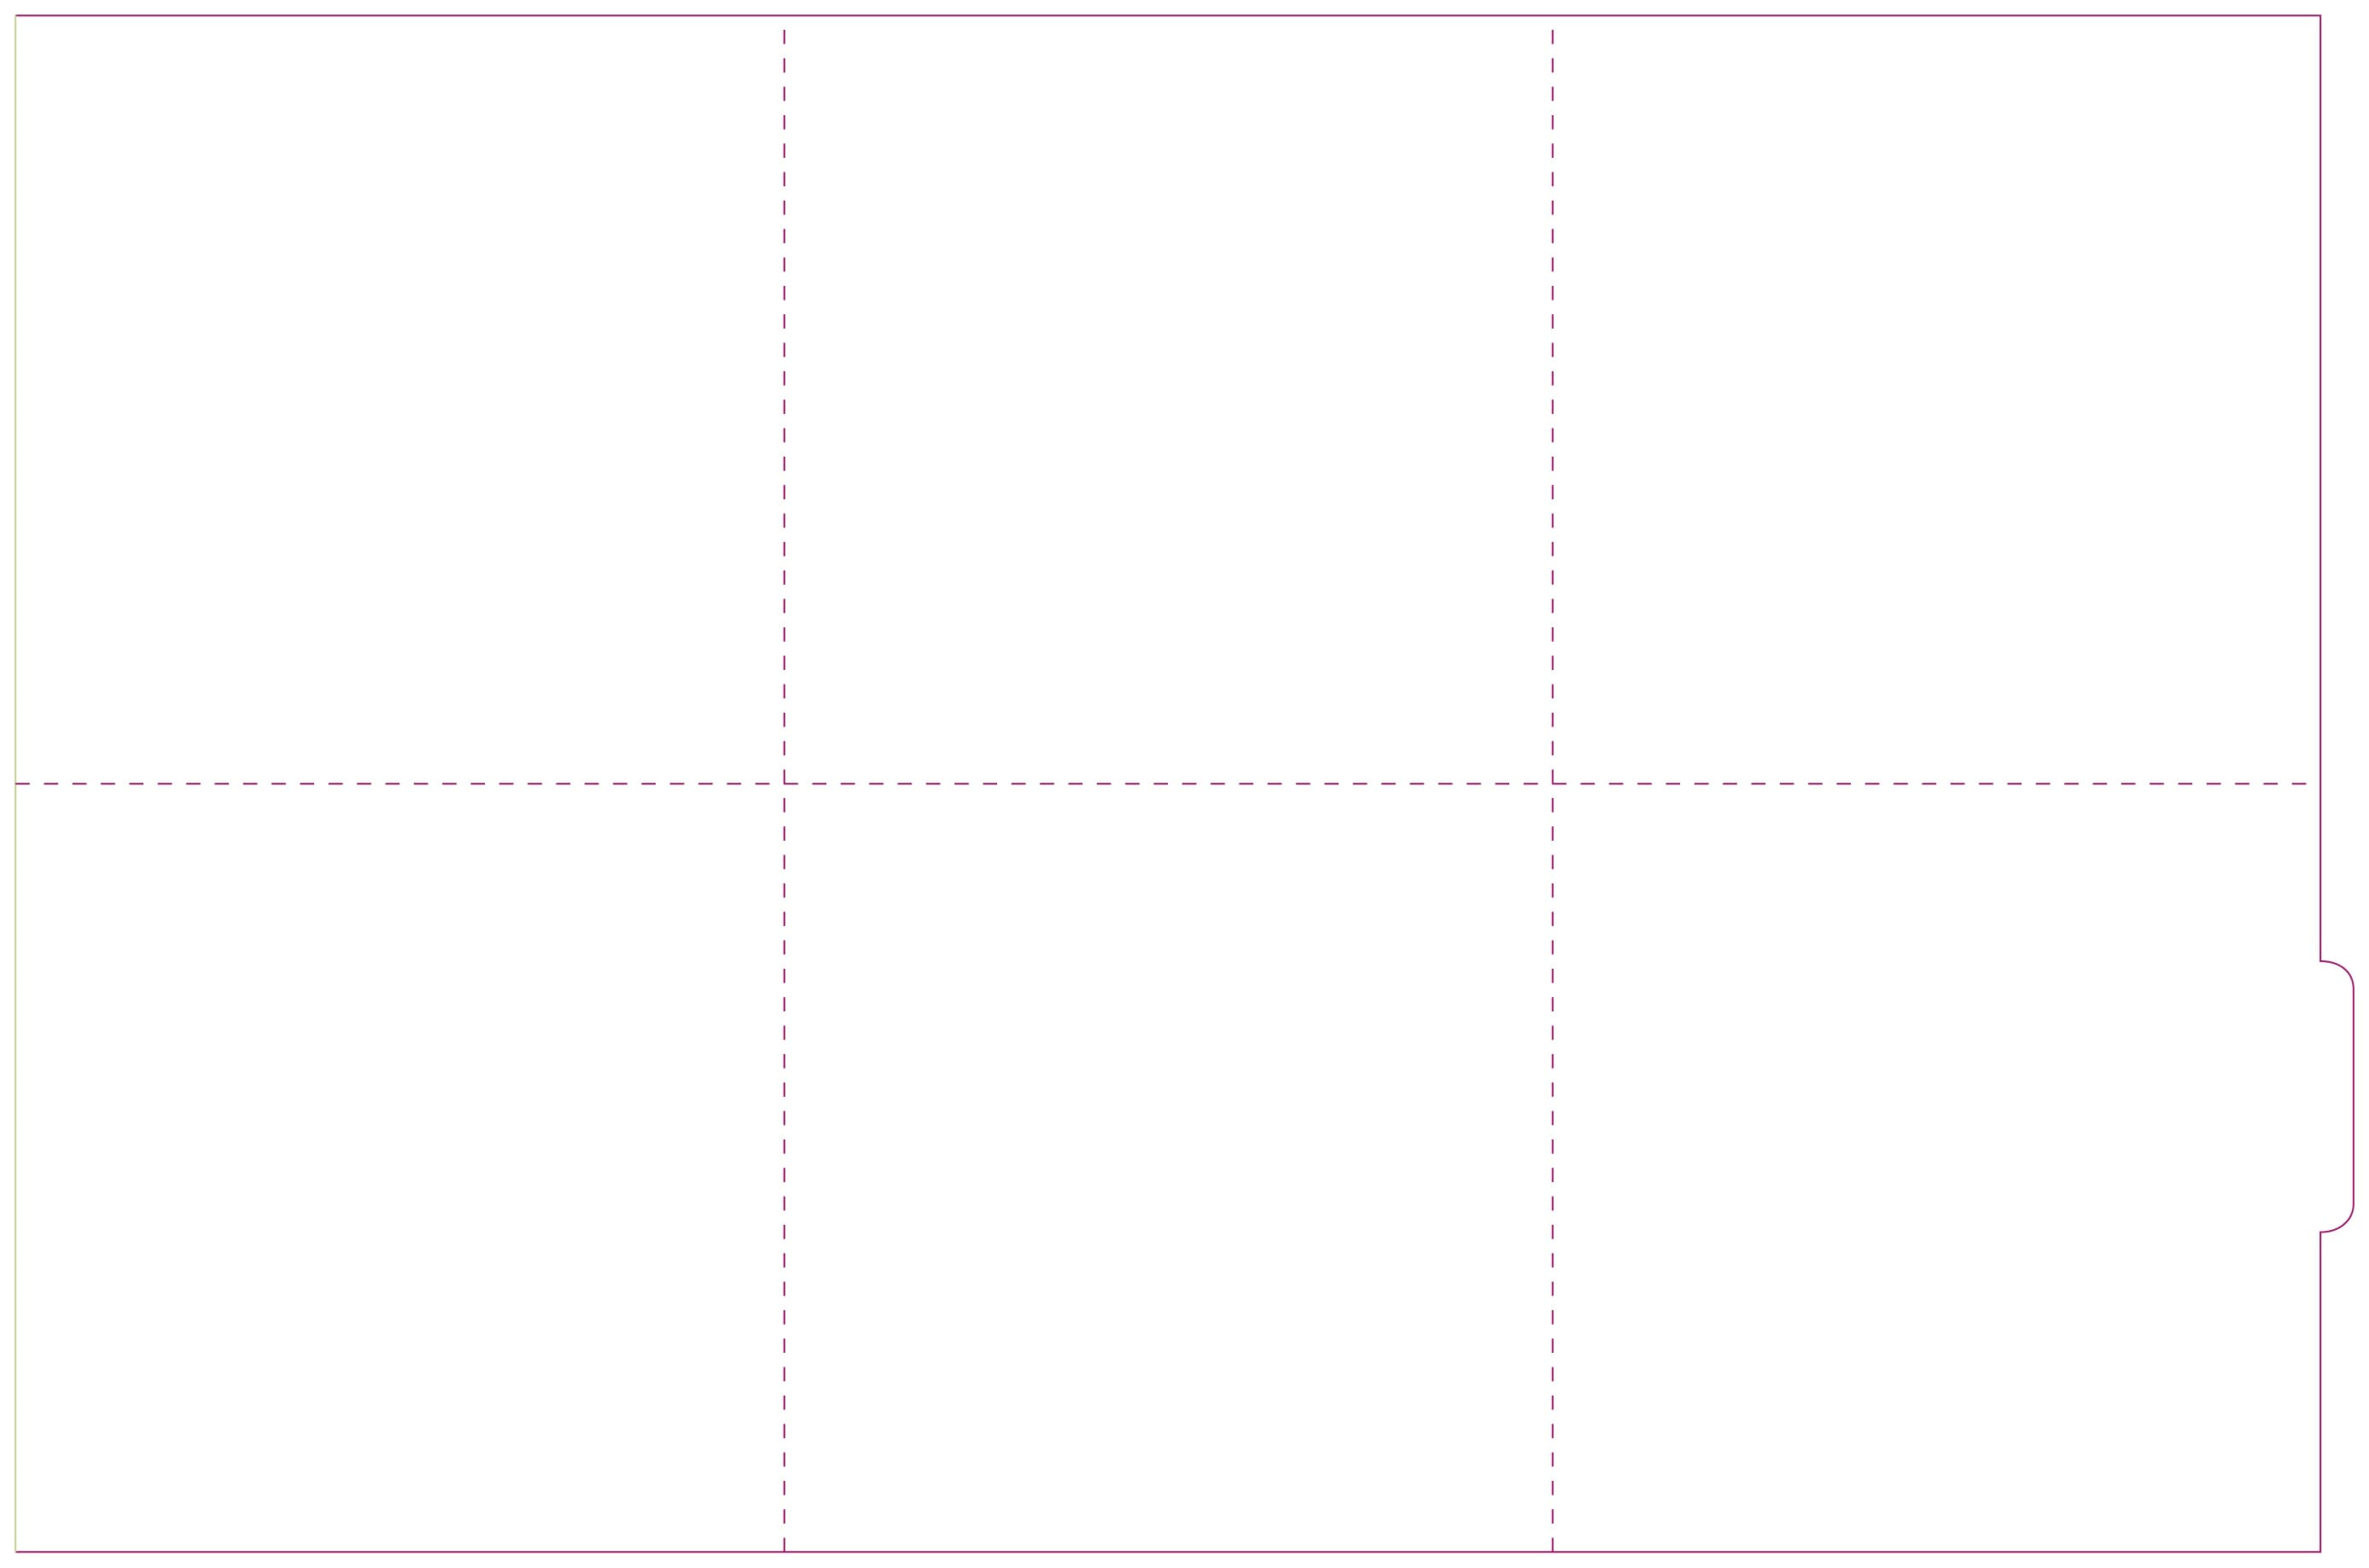
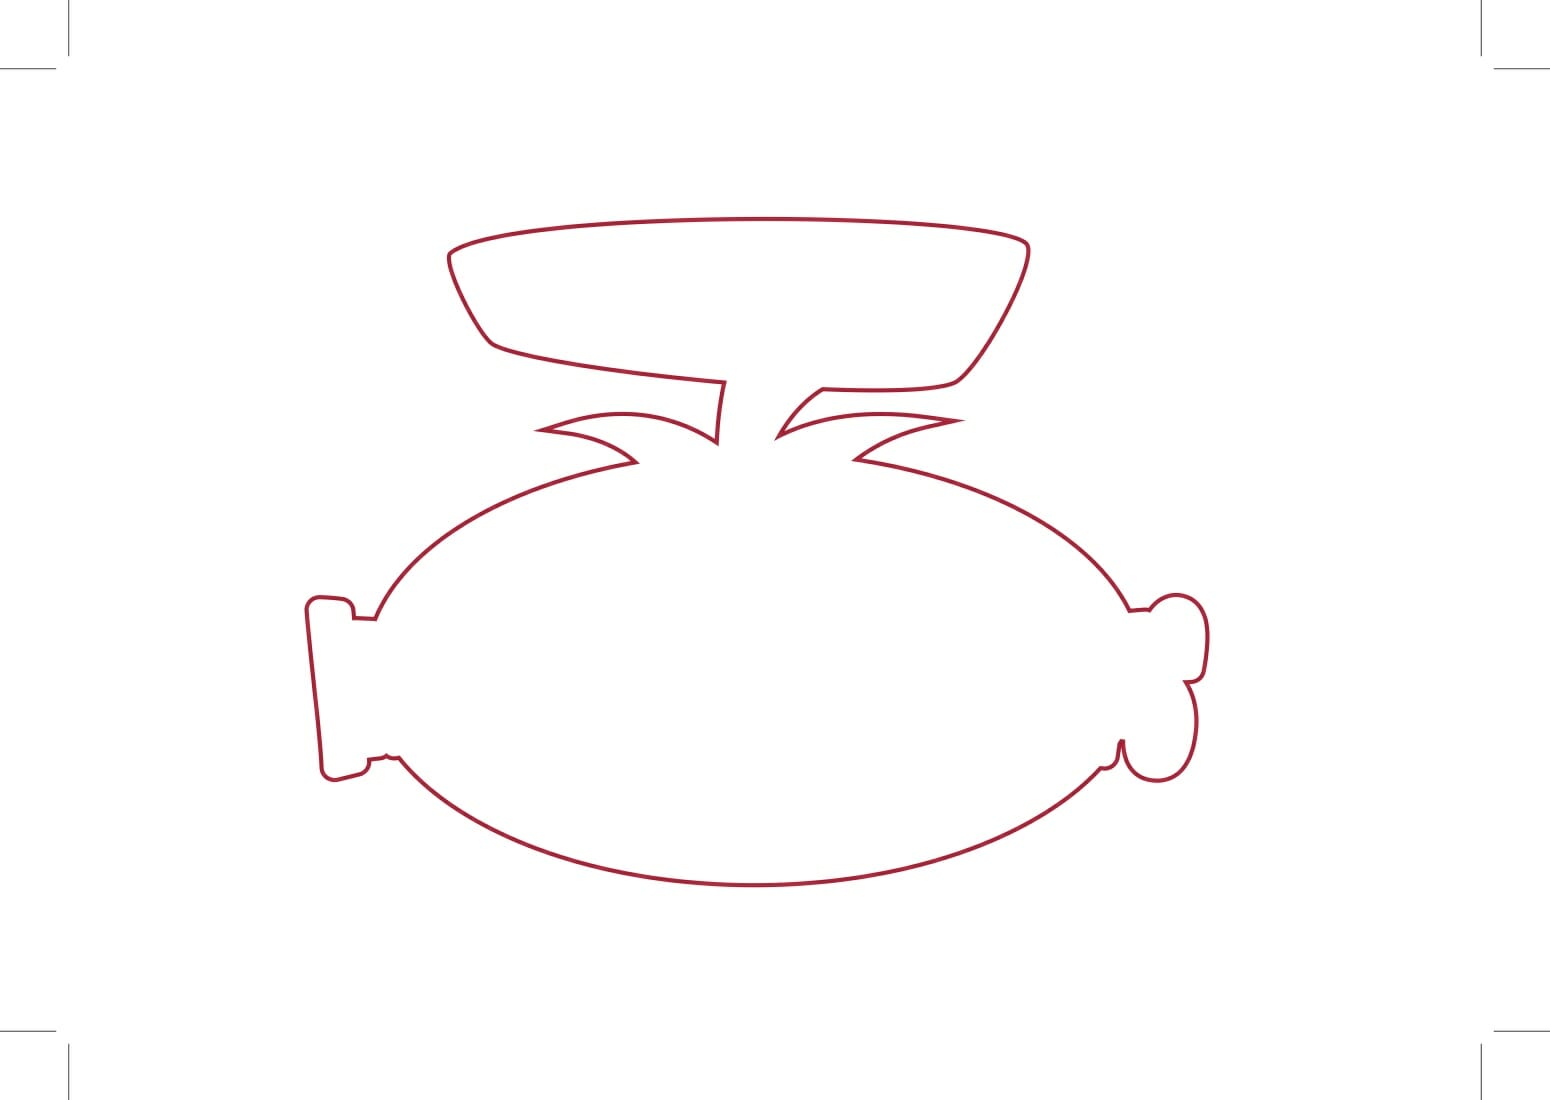
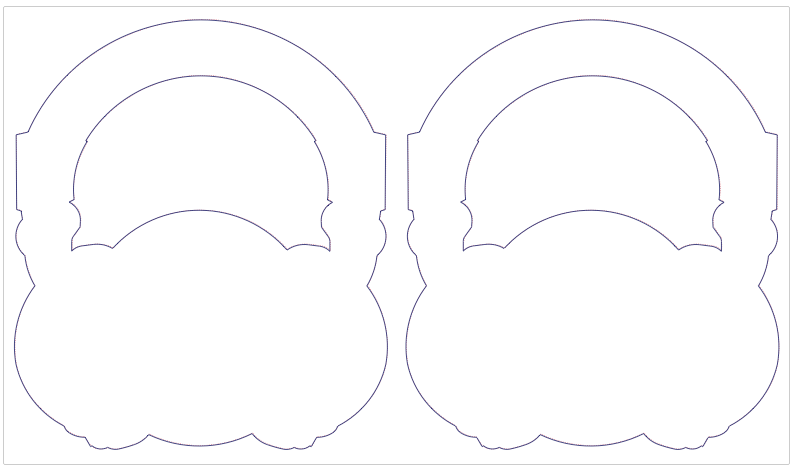
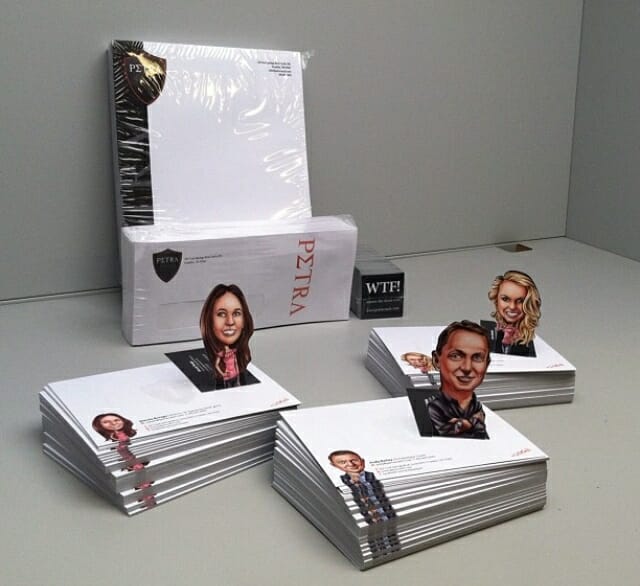
Folded and die cut business cards in the shape of a caricature
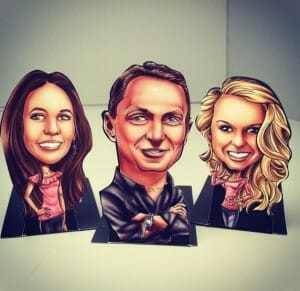
Folded and die cut business cards in the shape of a caricature
6. Lamination:
When most people think of lamination, they think of sealed-edge lamination, such as the kind found on menus. This isn’t always pretty, but it protects the material from water, dirt and abrasion. Flush-cut lamination is more commonly used with business cards, as it offers some degree of protection but still looks nice. As business cards have a shorter life-span than menus, flush-cut lamination makes sense.
There are several different types of lamination, including matte, gloss and soft-touch. Yes, there are matte and gloss papers, as well. Matte and gloss lamination just add another protection layer. Textured paper should not be laminated as it would lose its tactile nature, thus defeating the purpose of the unique card. Soft-touch is one of our favorites. If you select this type of lamination, you will want to hold your business cards all day! Below are pictures of the different laminates, although in the case of soft-touch and matte lamination, it is almost impossible to see. However, for some people, that is the best part. It doesn’t look like a laminate, but it has the feel and protection of a laminate.
Gloss-laminated (10 mil) business cards
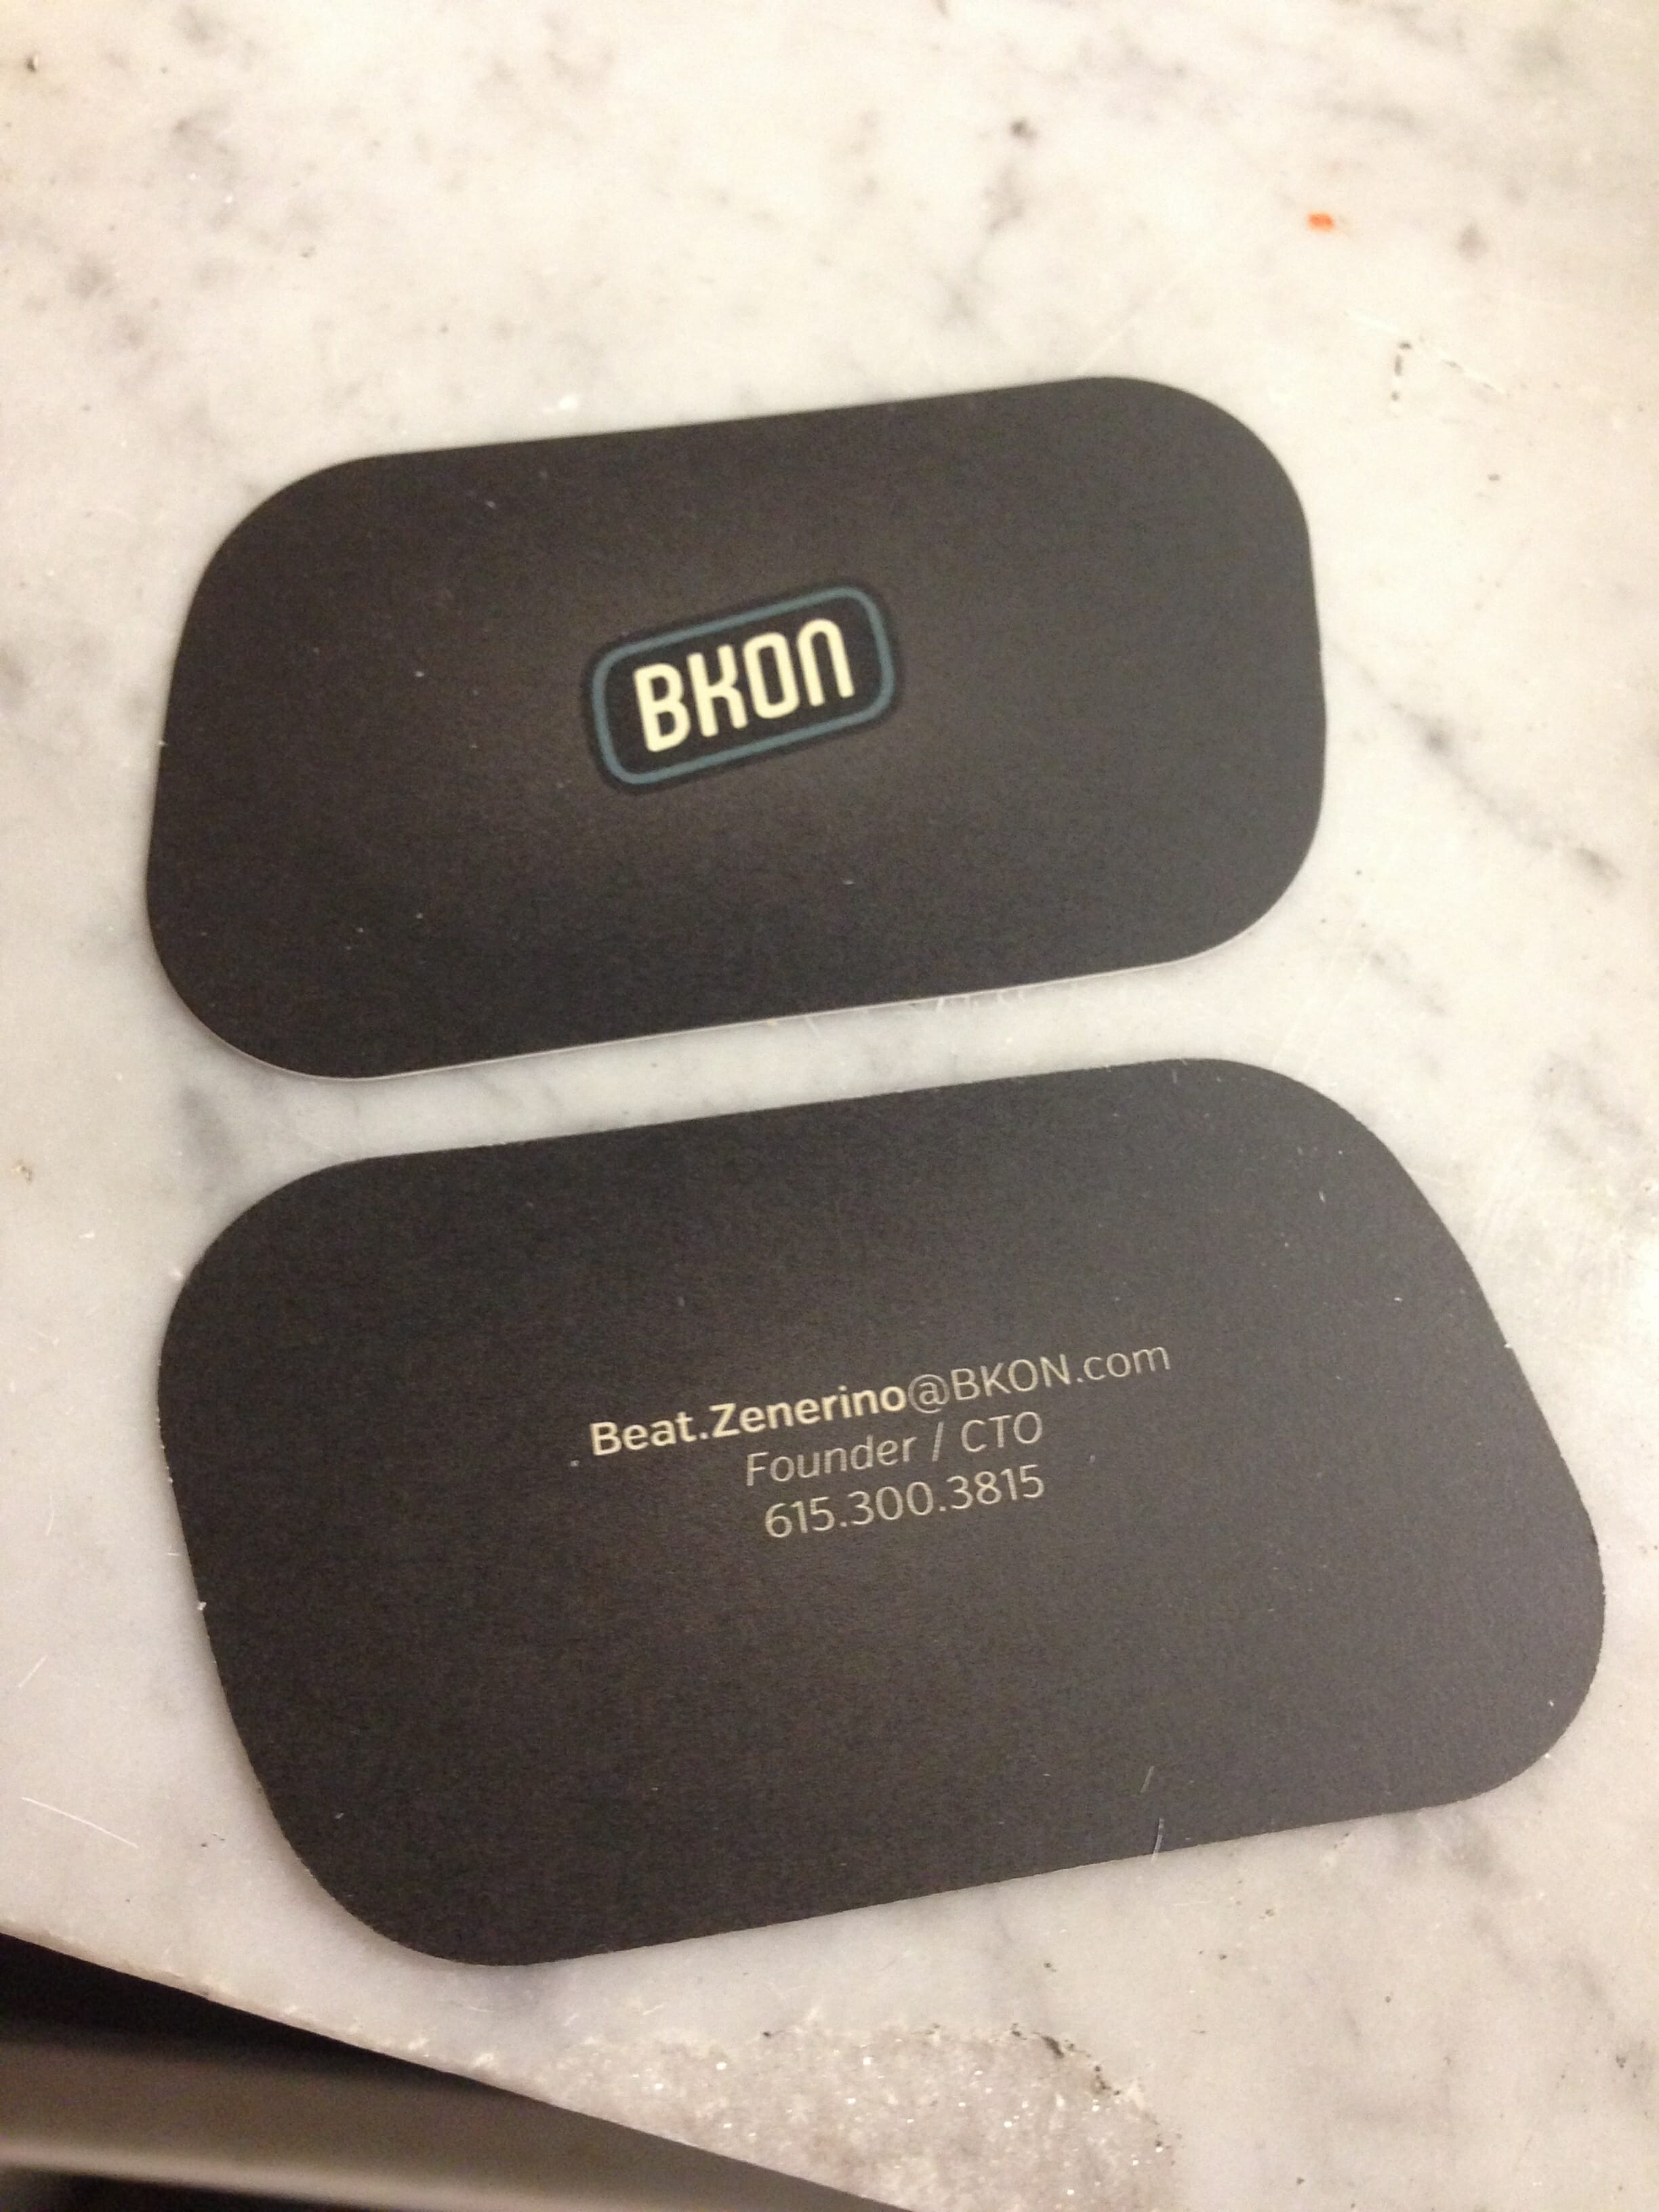
Soft-touch lamination on business card

Matte-laminated business card
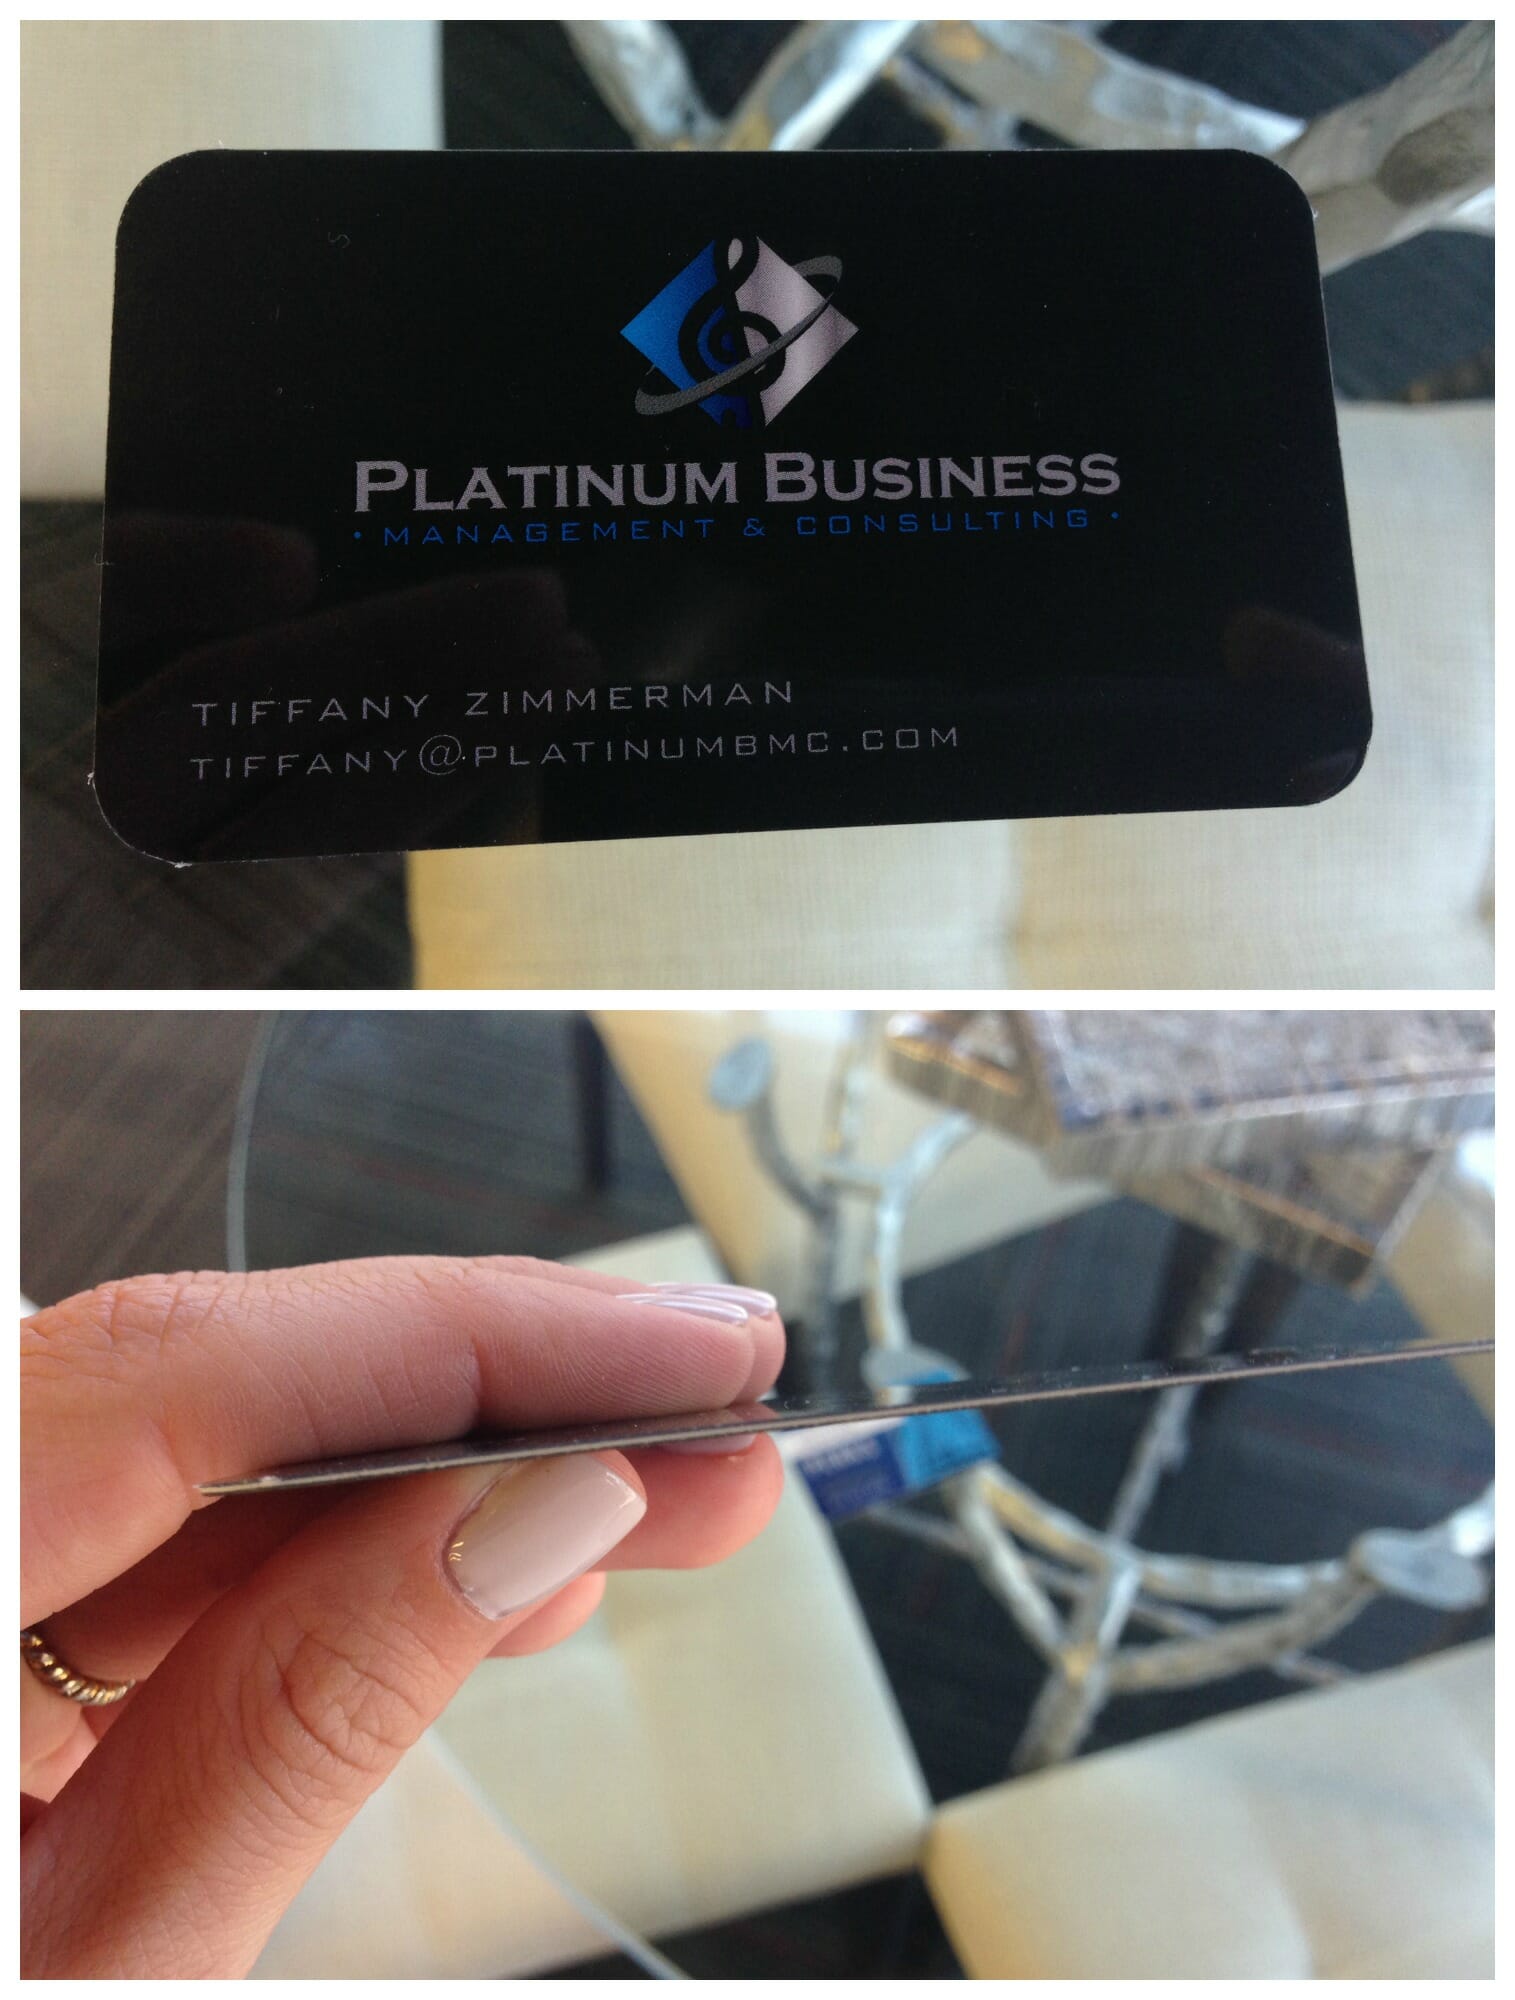
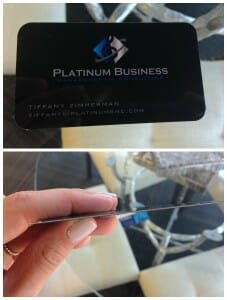
If you decide you want to laminate your business card, you will need to decide the thickness of the laminate. 10-mil is a very thick laminate, as shown in the Platinum business card below. Compared side-by-side to a plastic business card, the thicknesses are roughly similar. 3-mil would be a very thin laminate, but it would still protect your card. You should ask your printer for samples to see what thickness you prefer.
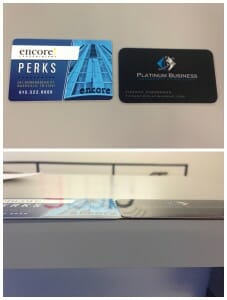
Plastic v 10 mil lamination business card